How to Pressure Can Diced Onions for Long-Lasting Flavor
There are a few different ways to preserve onions. If you don’t have a lot of space to keep whole onions throughout the winter or extra freezer space to keep frozen onions, consider Canned Diced Onions! This year, we had a GREAT crop of onions and decided to try canning! We froze a lot of diced onions and wanted to save some of that precious freezer space for meat and berries that we collected this summer too. Check my Timeline for Harvesting and Canning in Zone 5 for more of what you can do with your garden goodies!
This post contains affiliate links. This will not cost you anything but will help us offset the cost of running the blog. We only share products we use and would recommend to a friend. Thank you for your support! Click ‘HERE’ for more info.
I did some research, and while most of the onion canning recipes are for pickled onions, I did find a tested recipe from the Clemson Cooperative Extension that gives instructions for pressure-canning onions that are 1 inch in diameter or smaller. I took a little liberty and used this recipe for canned diced onions (because they are smaller than 1 inch, right?). As always, when you are canning, do your own research to feel confident that the canning and preserving you’re doing is safe for your family.
My husband eats onions and peppers mixed in with his eggs every morning, and we often use onions in other recipes throughout the year. These onions are not going to be good for salads, or if you’re looking for a fresh crunch, they’re better for adding to cooking recipes. If you’re looking for some ideas on how to use the onions, check out my pressure-canned chicken soup recipe or my chicken pot pie recipe.


Blanching Vegetables for Freezing or Canning
According to the Clemson Cooperative Extention, before preserving, you should blanch whole onions until the center is heated through (about 3-7 minutes) and onion rings for 10-15 seconds. Since diced onions are so tiny, I blanched them for about 10 seconds. Some canning recipes allow you to cold pack vegetables (like my canned green beans and corn recipes) but you can also hot pack them which calls for blanching first. So, why blanch vegetables? Blanching helps veggies retain their color, texture, and nutritional value. You can over-blanch veggies, so check out a chart (like this one) for the correct times. Over-blanching could result in veggies being too mushy and losing some vital nutrients, like vitamin C.
Supplies for Canned Diced Onions
- Onions (about 1 medium onion will give you 1 cup of diced onions)
- quart or pint sized jars (about 2 cups of diced onions will go in a pint)
- jar lids and rings if you aren’t buying new jars. New lids are recommended each time you can.
- canning tools – these tools make things a lot easier. The funnel and jar lifter are my favorites!
- canning and pickling salt – salt is an optional ingredient to help enhance the flavor and stop discoloration
- pressure canner – I have one similar to this one. Remember you have to use a pressure canner for this recipe, NOT a water bath canner.
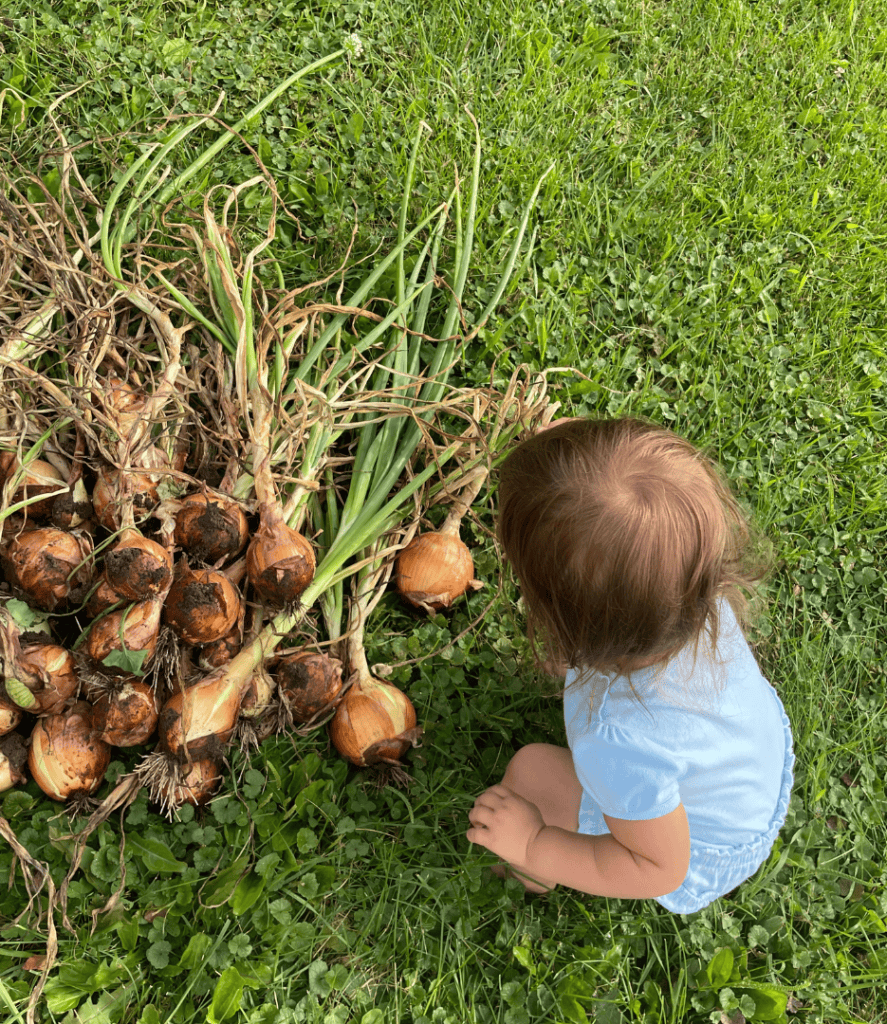
We started our canned diced onion journey by pulling all our onions. We usually plant the sets fairly close together and pull them as needed throughout the summer to use fresh and to thin them out so the ones that stay in the ground can grow grow grow.
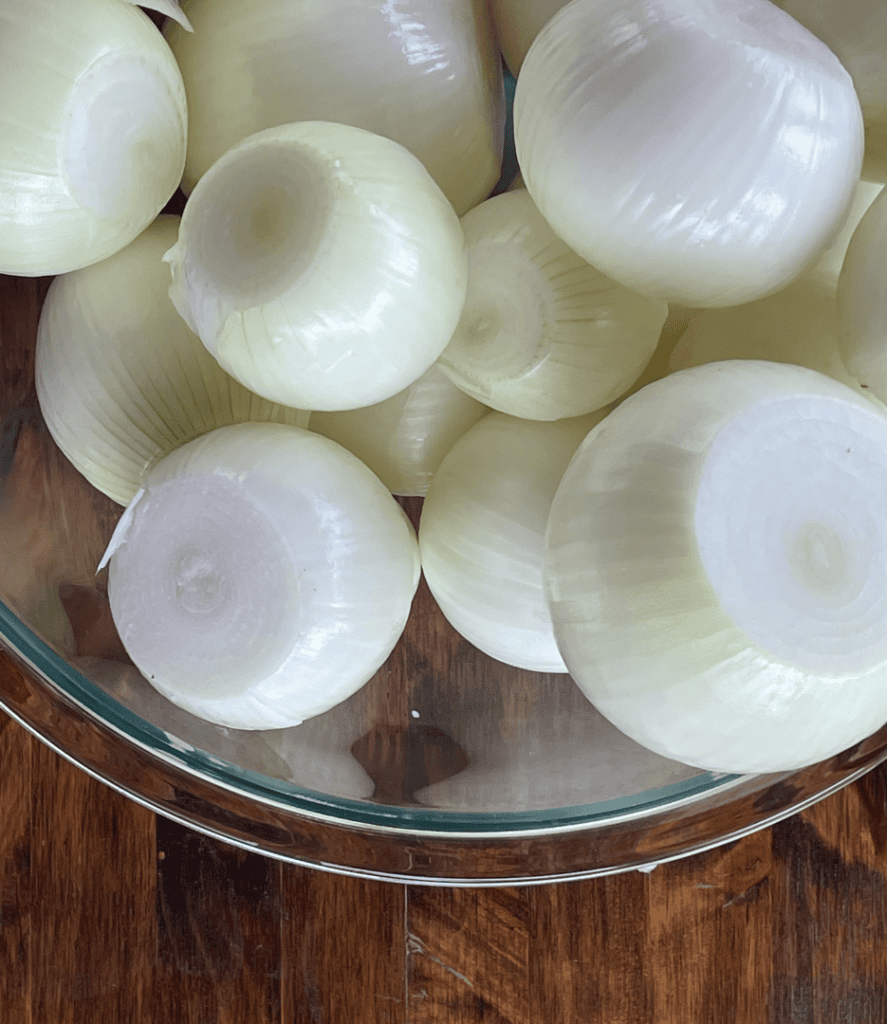
At the end of the season, we pulled them all out. After they were out of the ground, my little helper and I took off all the greens and gave them all a rinse. If you store your onions whole to use fresh, you’ll want to do something a little different. Since we’re going to be dicing ours up immediately, we’re safe to wash all the dirt off and then peel the skin off.
Canned Diced Onions – Step by Step Instructions
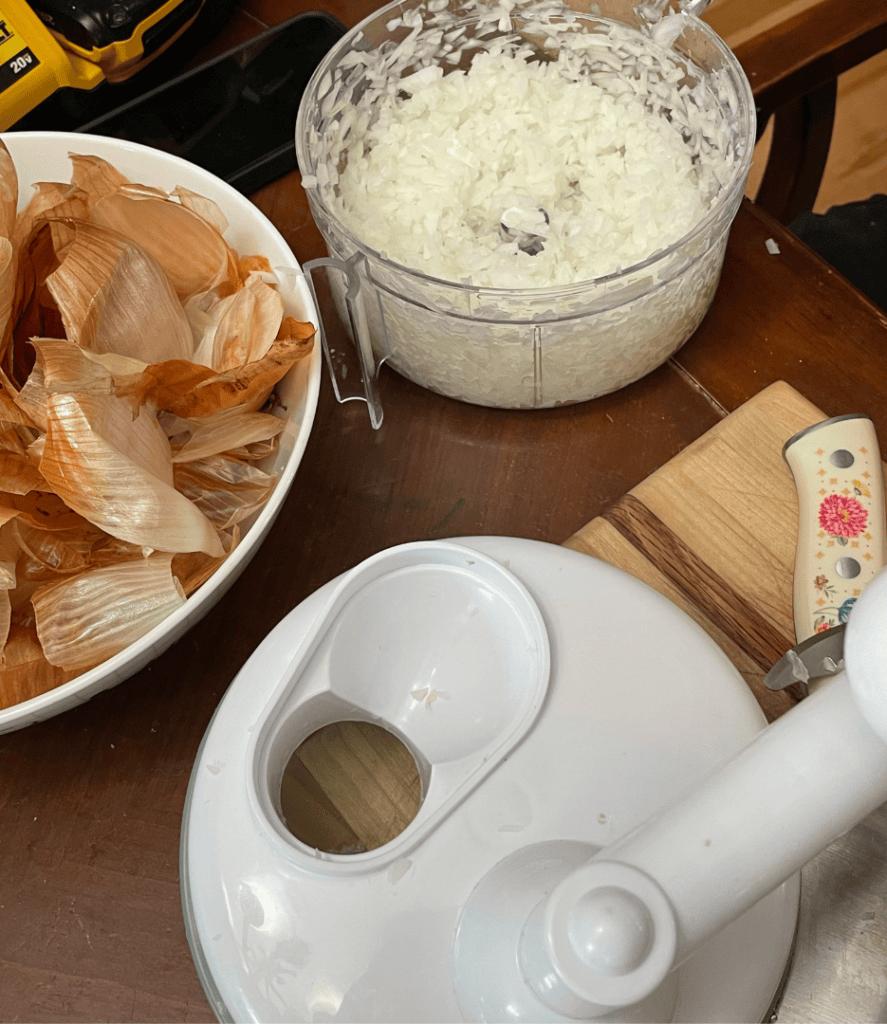
My husband and I tag-teamed this canned diced onions project. He did the cutting, and I did the canning (and we did a little freezing too). If you have tips on how to save some tears during all the onion cutting, make sure to comment below! We have a manual food chopper, which is great for quickly chopping fruits and veggies. It’s smaller than something electric and is super easy to use, clean, and then put away for next time. I also like it because a kid could use it more easily than a big food processor (with parental supervision because there are still sharp edges).
Next up, get a pot and bring some water to a boil. With a slotted spoon, add diced onions to the boiling water for about 10 seconds to blanch them. Work in batches as needed to get all the onions blanched. If you’re using whole onions 1 inch or smaller in diameter, blanch for about 5 minutes.
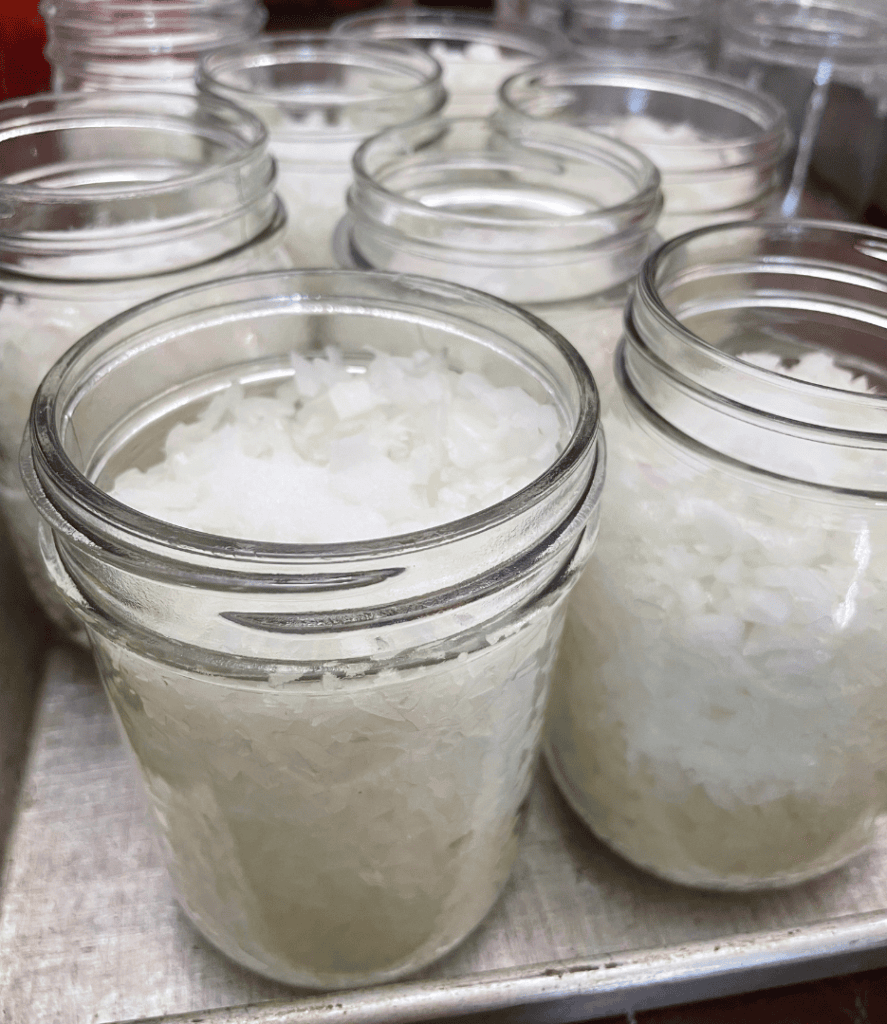
Pack the onions into hot jars and top pint jars with 1/2 tsp salt (1 tsp for quarts), leaving 1-inch headspace. The salt is optional; it is used to help keep the onions flavorful and help keep them from discoloring. Fill the jars with boiling water, leaving 1 inch of headspace. Using a knife or another tool, remove air bubbles. Add more boiling water if needed to keep the onions covered and headspace at 1 inch. Wipe the rims and put lids on fingertip tight.
What is “Fingertip Tight”?
If you’re new to canning, you might wonder what “fingertip tight” means. It means to tighten your rings using only your fingertips and not your hand or wrist movement. The reason you only want to tighten the jars to fingertip tight is so air can escape during processing. As the jar is heated, the contents of the jar expand and the air is forced out. When the jar is cooling, the lid is pulled down and the seal is created. If the lid is too tight, the air cannot escape and may not seal properly. On the other hand, if the jar is too loose, liquid can escape from the jar as it is heated, and it may not seal.
Bust out the Pressure Canner
Prepare the pressure canner by adding about two inches of water. Bring water to a simmer. Put the jars on a rack inside the pressure canner in the simmering water. Make sure your pressure canner has the right amount of water (based on the directions of your specific canner). Mine has two lines inside the canner that indicate the water level should be between those marks. For pressure canning, the water does NOT need to be over the jars.
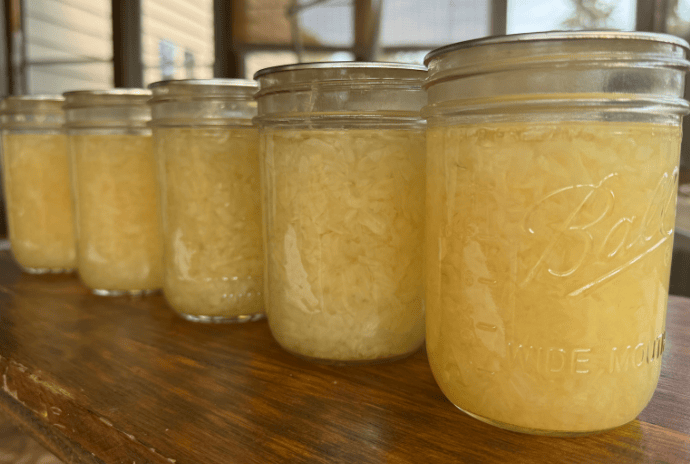
Secure the lid and vent the steam for 10 minutes. Close the vent so the canner will pressurize to 10 psi. (On my canner, it is set to 2). Once pressurized, process quarts or pints for 40 minutes. Turn off the heat and allow the pressure to come down to zero pressure naturally. Once it has reached zero, turn the pressure gauge to open so the rest of the steam is released. Be careful, this will be hot. Remove the lid and let the jars cool for 10 minutes. Remove jars with a jar lifter and allow them to cool undisturbed for 12-24 hours. Check jars for a proper seal. Label and store. If a jar does not seal, store it in the refrigerator and eat it soon!
Additionally, make sure that after you check the seals, you store your jars in a single layer with the rings off. Read more about why here. Thank you for checking out this recipe! If you’re looking for some other canning recipes, see what you think of these:
- Pressure Canned Corn
- Canned Strawberry Rhubarb Pie Filling (waterbath canning method)
- Zesty Dill Pickles (waterbath canning method)

Pressure Canned Diced Onions
Equipment
- Pressure Canner
- 5 Pint jars, lids, and rings
- Canning Tools
Ingredients
- 10-12 medium onions
- 2-3 tsp canning salt 1/2 tsp per pint
- boiling water
Instructions
- Wash, peel, and dice onions to the size you want. You can keep them whole as long as they’re 1-inch in diameter or smaller.
- Blanch the onions by putting them in boiling water. (whole onions should be blanched for 5 minutes, diced onions for about 10 seconds).
- Pack the onions into hot jars and top pint jars with 1/2 tsp salt (1 tsp for quarts), leaving 1-inch headspace. The salt is optional.
- Fill jar with boiling water, leaving 1-inch headspace.
- Using a knife or another tool, remove air bubbles. Add water if needed. Wipe the rims and put lids on to fingertip tight.
- Prepare pressure canner by adding about two inches of water. Bring water to a simmer.
- Put the jars on a rack inside the pressure canner in the simmering water. Make sure your pressure canner has the right amount of water (based on the directions of your specific canner).
- Secure the lid and vent steam for 10 minutes. Close the vent so canner will pressurize to 10psi. (on my canner it is set to 2). Once pressurized, process quart or pints for 40 minutes.
- Turn off the heat and allow the pressure to come down to zero naturally. Once it has reached zero move the gauge to zero to release the rest of the steam. Remove the lid and let the jars cool for 10 minutes. Remove jars and allow them to cool undisturbed for 12-24 hours. Check to make sure they are sealed. Label and store. If a jar does not seal, store it in the refrigerator and eat it soon!





17 Comments
Pingback:
Laura
How long for pints. Recipe says pints but cooking time is for quarts?
Samantha
Quart and pints will process for the same time! 40 minutes for pints or quarts.
Shirley
I love this idea, but are they mushy after they are canned?
Samantha
They are pretty soft after they are canned! They’re best used if you’re going to add them to a soup or a casserole where they’re going to be cooked again and it’s okay that they are soft. It’s a great way to preserve your onions for things like that but definitely doesn’t replace fresh onions when you want a nice crunch.
Chris
How long to process for the half pint or 250 ml jars as pictured?
Samantha
Hey Chris, the processing time for half-pints would still be 40 minutes to ensure the temperature gets high enough to kill harmful bacteria. Good luck canning!
Virginia gearhary
Could you use pickle crisp to keep crispness like you can with pickles
Samantha
Hi there! Unfortunately, pickle crisp won’t keep the onions crisp in this process. Because of the high heat and pressure that is required during canning, these diced onions will be soft. Best for soups and casseroles, and things like that! Freezing might be a better option for keeping them a little bit more crisp.
Mary
How long do they last in the fridge after opening? Trying to decide what size jar to can them in. Since all sizes take 40 minutes I may use a couple sizes and then later choose the size based on what I’m cooking.
Samantha
Hi there! You should use opened onions within about 3-4 days to be safe. Texture and quality will start to go down from there and then they have a higher risk of spoilage. If I don’t use an open container within a few days I usually will just stick the rest in the freezer until I need them for my next soup or casserole.
Kathleen
Can these be carmelized for u in recipes?
Samantha
Hi there, you can caramelize them for use in recipes after they are canned when you open them to use them.
Nell
I have found that a refrigerated onion doesn’t cause nearly as many tears as a room temperature one does. Doterra has an essential oil blend called Purify and having it open next to where I’m chopping onions, also greatly reduces the tears. I hope this helps….tha KS for sharing your knowledge
Samantha
Hi there! Thanks for the tips, I will certainly try these. My eyes are always burning and tearing up when I’m working with onions, it is the worst!
E Moser
Always cut the green end of the onion off first, let it rest a minute before cutting the root end off, and proceed with your onion. The root end wants to force the nutrients up to the greens, and after passing through, the root end gathers that stuff, that makes you cry when you cut into it. to grow more roots and make the plant bigger. You break the pressure balance by cutting the green top first, and letting it equal out, so less pungent juice is released.
Samantha
Such a good tip, thanks for sharing!