How to Make Lilac Jelly
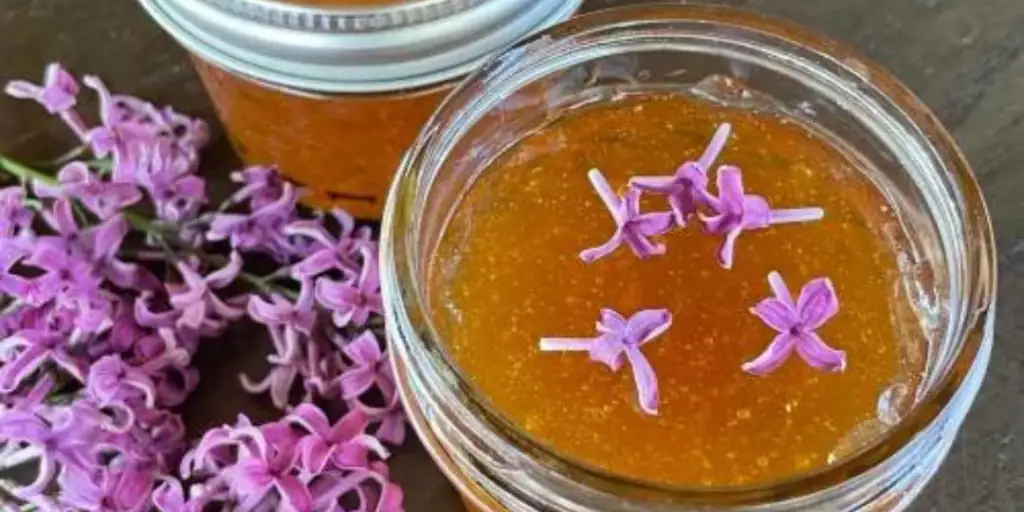
Lilacs mean spring to me and I cannot get enough of their sweet smell! I knew I wanted to make Lilac Jelly. Last year after the lilacs were all done in my area, I saw someone post a recipe for a cake with lilac blossoms. My mind was blown because I did not realize lilacs are edible! Fast forward to this year and I was determined to make something with these lovely flowers. This spring canning recipe is super easy to make and it’s a fun way to celebrate the first few weeks of spring. If you need a few more jelly or jam recipes check out these 12 Jam and Jelly Recipes for Beginners.
This post contains affiliate links. This will not cost you anything but will help us offset the cost of running the blog. We only share products we use and would recommend to a friend. Thank you for your support!
Click ‘HERE’ for more info.
If you are new to canning, a jam or jelly is a great place to start because they are super easy, especially when using pectin. I especially love making my own jelly and jam because you can opt for less sugar (use a low-sugar pectin) and there aren’t any artificial ingredients or preservatives.
I grew up with two lilac trees in my backyard and really loved taking walks to the corner of the property to smell the flowers while they were in bloom. I didn’t know there was such a thing as lilac jelly until recently and was super excited to try it out. Actually, there are a ton of lilac recipes that I can’t wait to try in the future.

Collect & Prepare your Lilacs
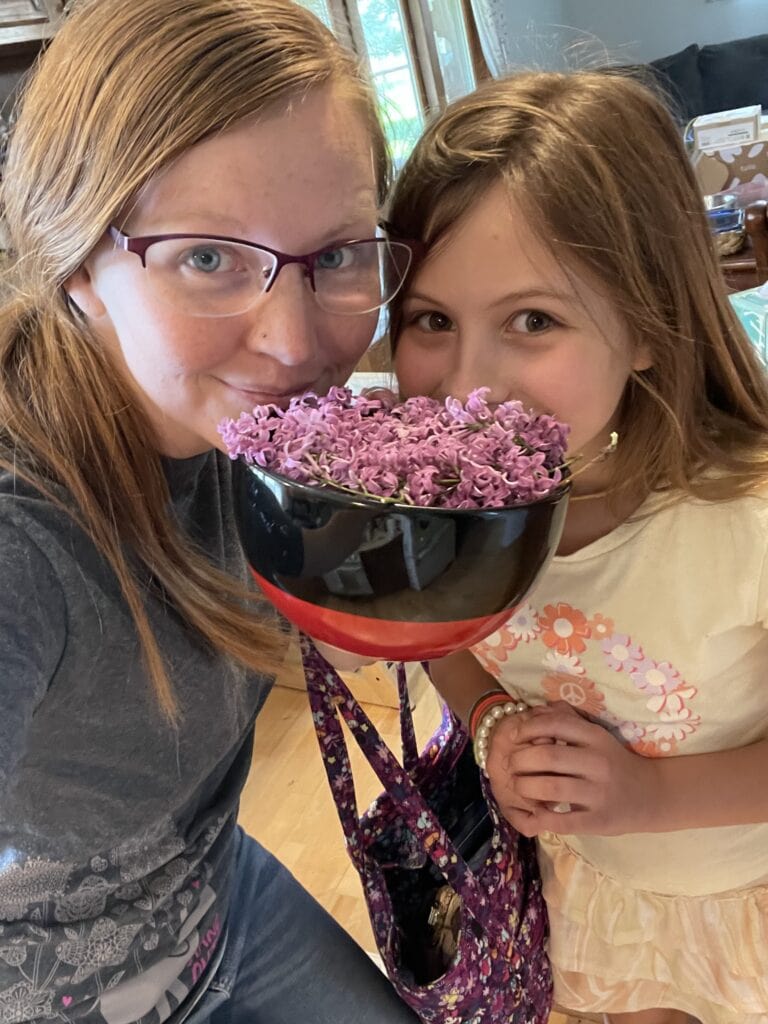
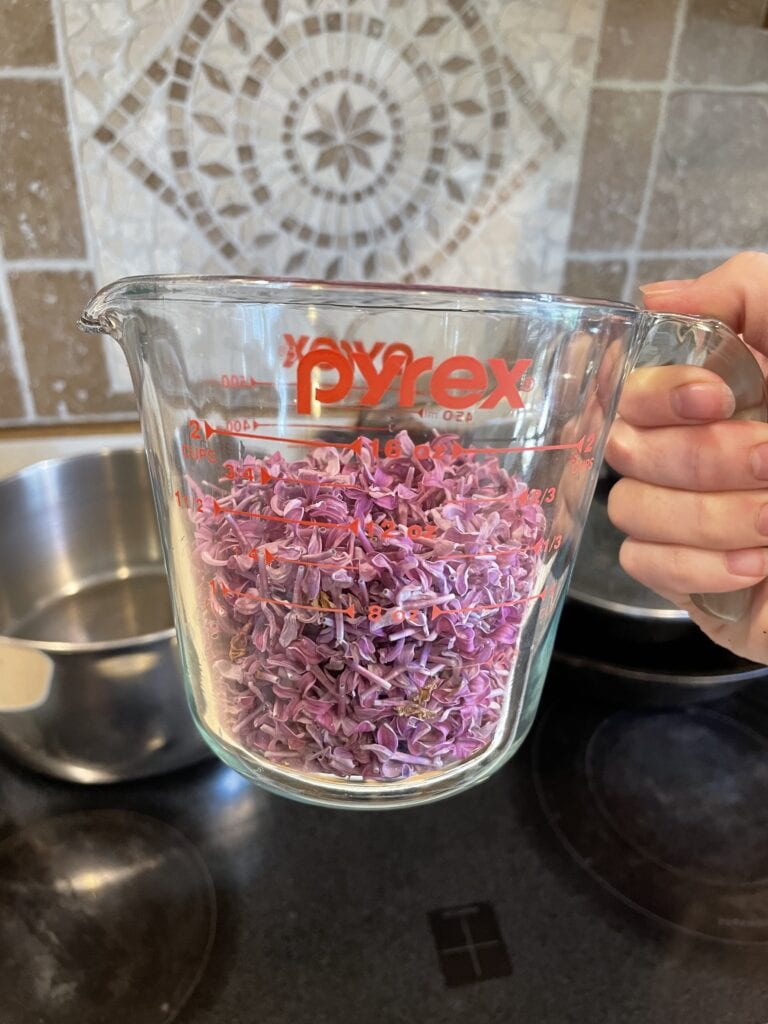
Collect your lilacs from a place you trust has no chemicals sprayed on them. The last thing you want to do is add pesticide-filled lilacs to your jelly. After you have collected the lilacs, separate the petals from the green part. This doesn’t take long, the flowers just pop right off the stems. My daughter helped me with this and noticed sometimes a tiny drop of nectar stayed on the…(one moment while I remember my parts of a flower lesson…) pistil. We licked it off of course for that little burst of sweetness.
Wash 8 4oz jars or 4 8oz jars and set them aside. I like to use the smaller jars because we make so many different jellies and jams and we want to try them all! Put the lids in a small pot with water and warm them up to soften the rubber. Set the rings aside.


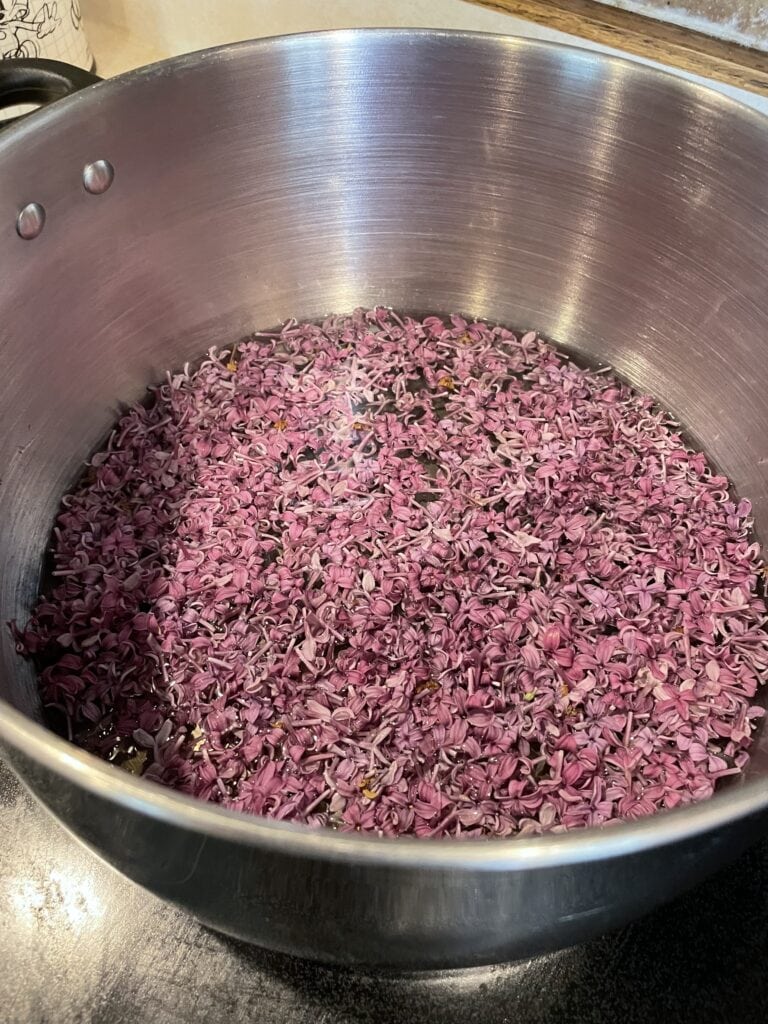
Once you have 1 1/2 cups of lilac blossoms, put them in hot water and let steep for about 10 minutes. Use an immersion blender or transfer to a blender to blend the flowers. When I blended the blossoms there was a lot of foam on the top. I just scooped that off. Strain the mixture and add water to reach 2 cups if you fall short. If you’d rather not blend the flowers into your jelly, skip this step and let the tea steep for a few hours or overnight instead, then strain and continue.
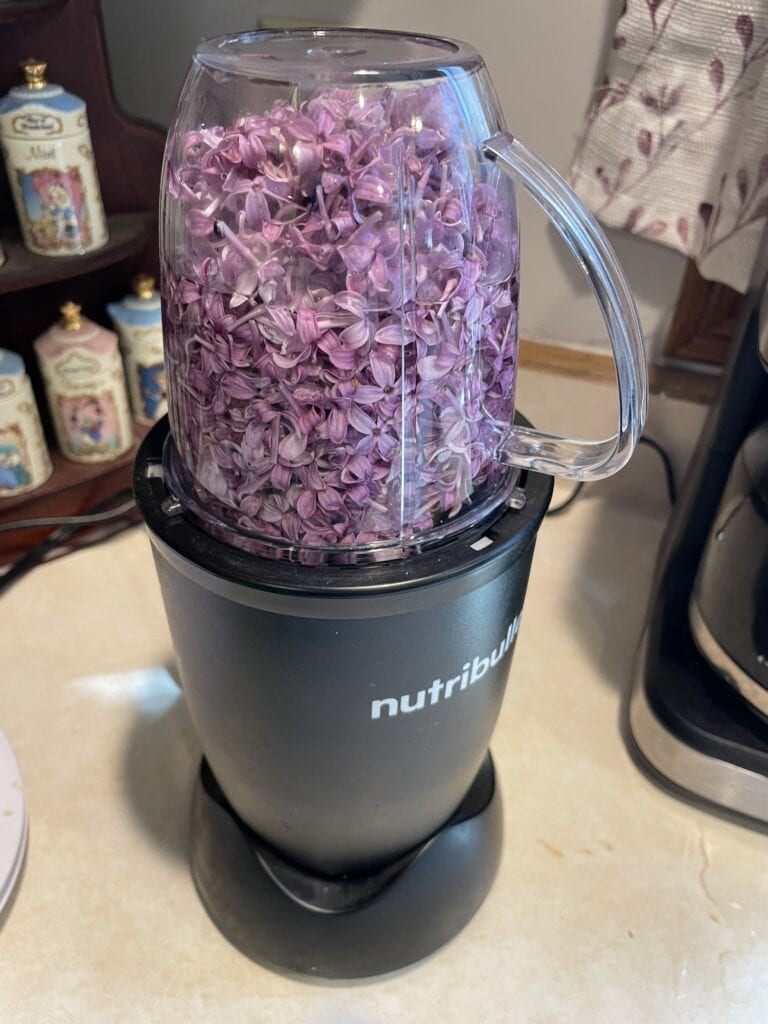
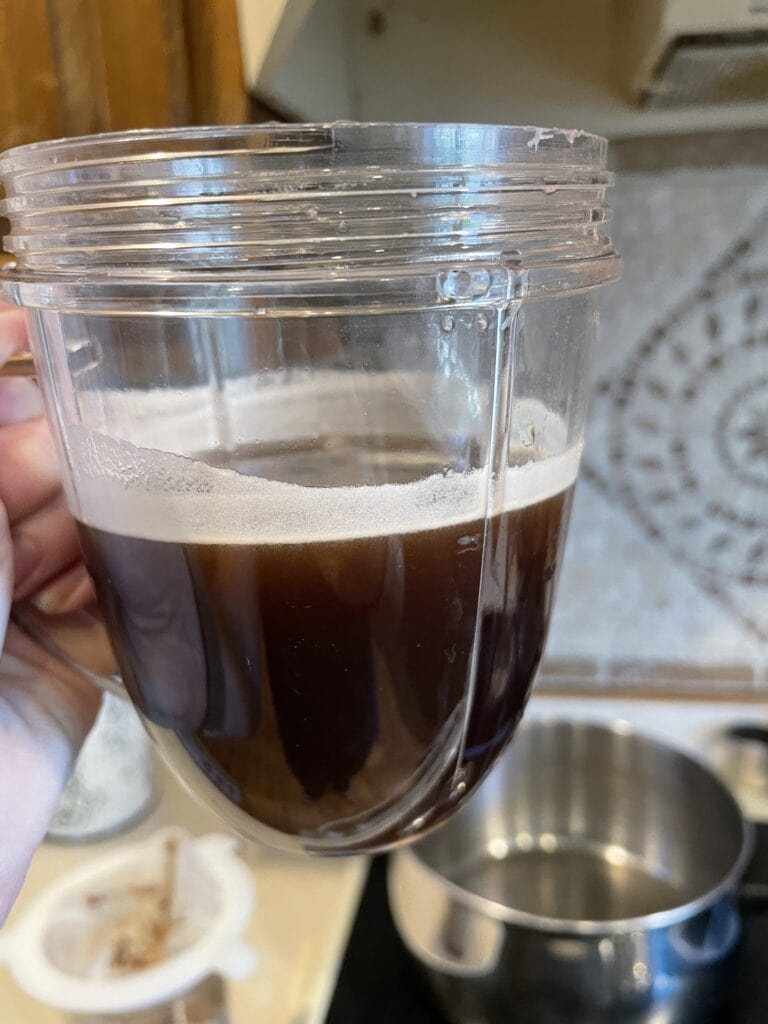
Make your Lilac Blossom Jelly
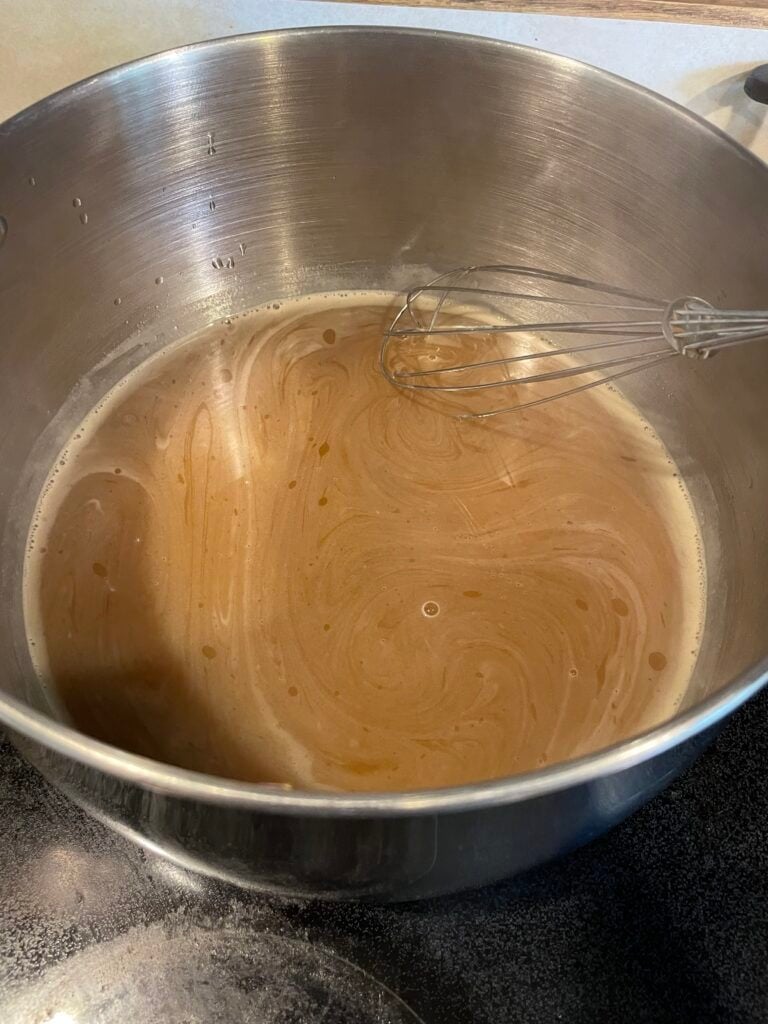
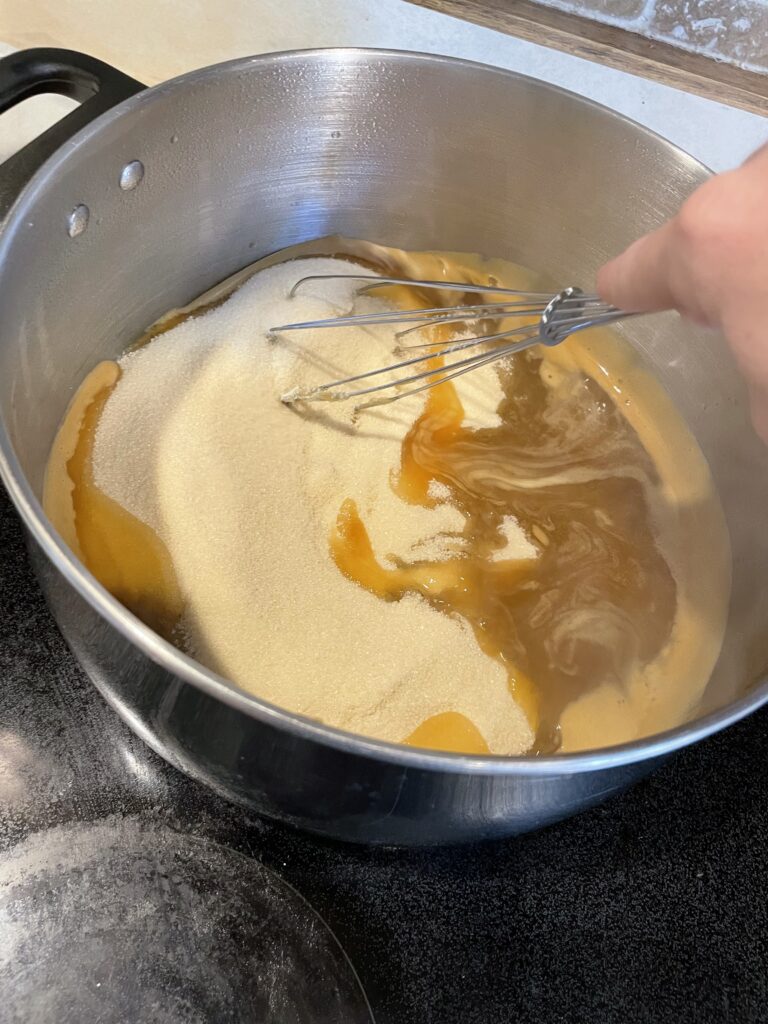
Add lilac blossom water and pectin to a medium pot and bring the mixture to a rolling boil over high heat while stirring constantly. I like to use a whisk when I add the pectin so it doesn’t clump up when I add it to the water. Add sugar and bring back to a rolling boil. Let boil for 1 minute. Take off the heat and add lemon juice.
Prepare the water bath canner by adding water and putting it over high heat to start the water boiling. Remember, you want to add hot jars to hot water so there’s no chance of cracking because of drastic temperature changes.
Pour the hot lilac jelly into the jars leaving 1/4 inch head space. Wipe the rims of the jars with a rag or damp paper tower and put the hot lids on. Tighten the rings to fingertip tight. Having some canning tools like these can be really helpful with these steps. A funnel is a nonnegotiable for filling the jars. I love the magnet lid lifter for getting the hot lids out of the pot and of course the jar lifter for moving the jars to and from the canner.
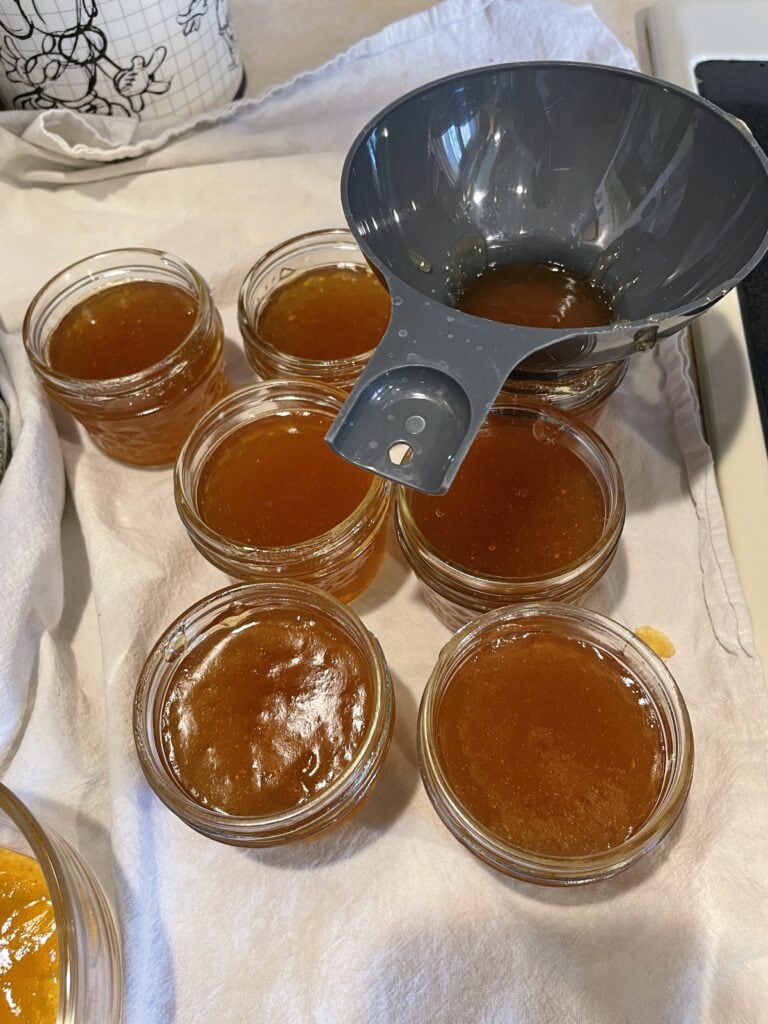
My favorite time to taste-test jellies and jams is right when it gets done boiling and cools just a little bit. It is so delicious while it’s still warm and I can never wait to get a taste in! There’s usually a little extra that won’t fit in a jar so we always get a good taste in. The extra doesn’t usually make it into the fridge and this Lilac Jelly was noooo different. It was so sweet and delicious with just a hint of the lilac flavor. I do wish it would taste a bit more like lilacs but I know this will bring back the fond memories of lilacs when they are long gone this winter.
Process your Jelly
Put the jars in your water bath canner and bring to a boil. I have a water bath canner like this. Bring the water to a boil and process the jars for 10 minutes. Remove the cover and let the jars sit in the water for 5 minutes. Take the jars out of the canner and let sit for 24 hours. Then check the lids to make sure they are sealed properly. Store in a cool, dry place with the rings off. If one didn’t seal store it in the fridge and enjoy it soon!
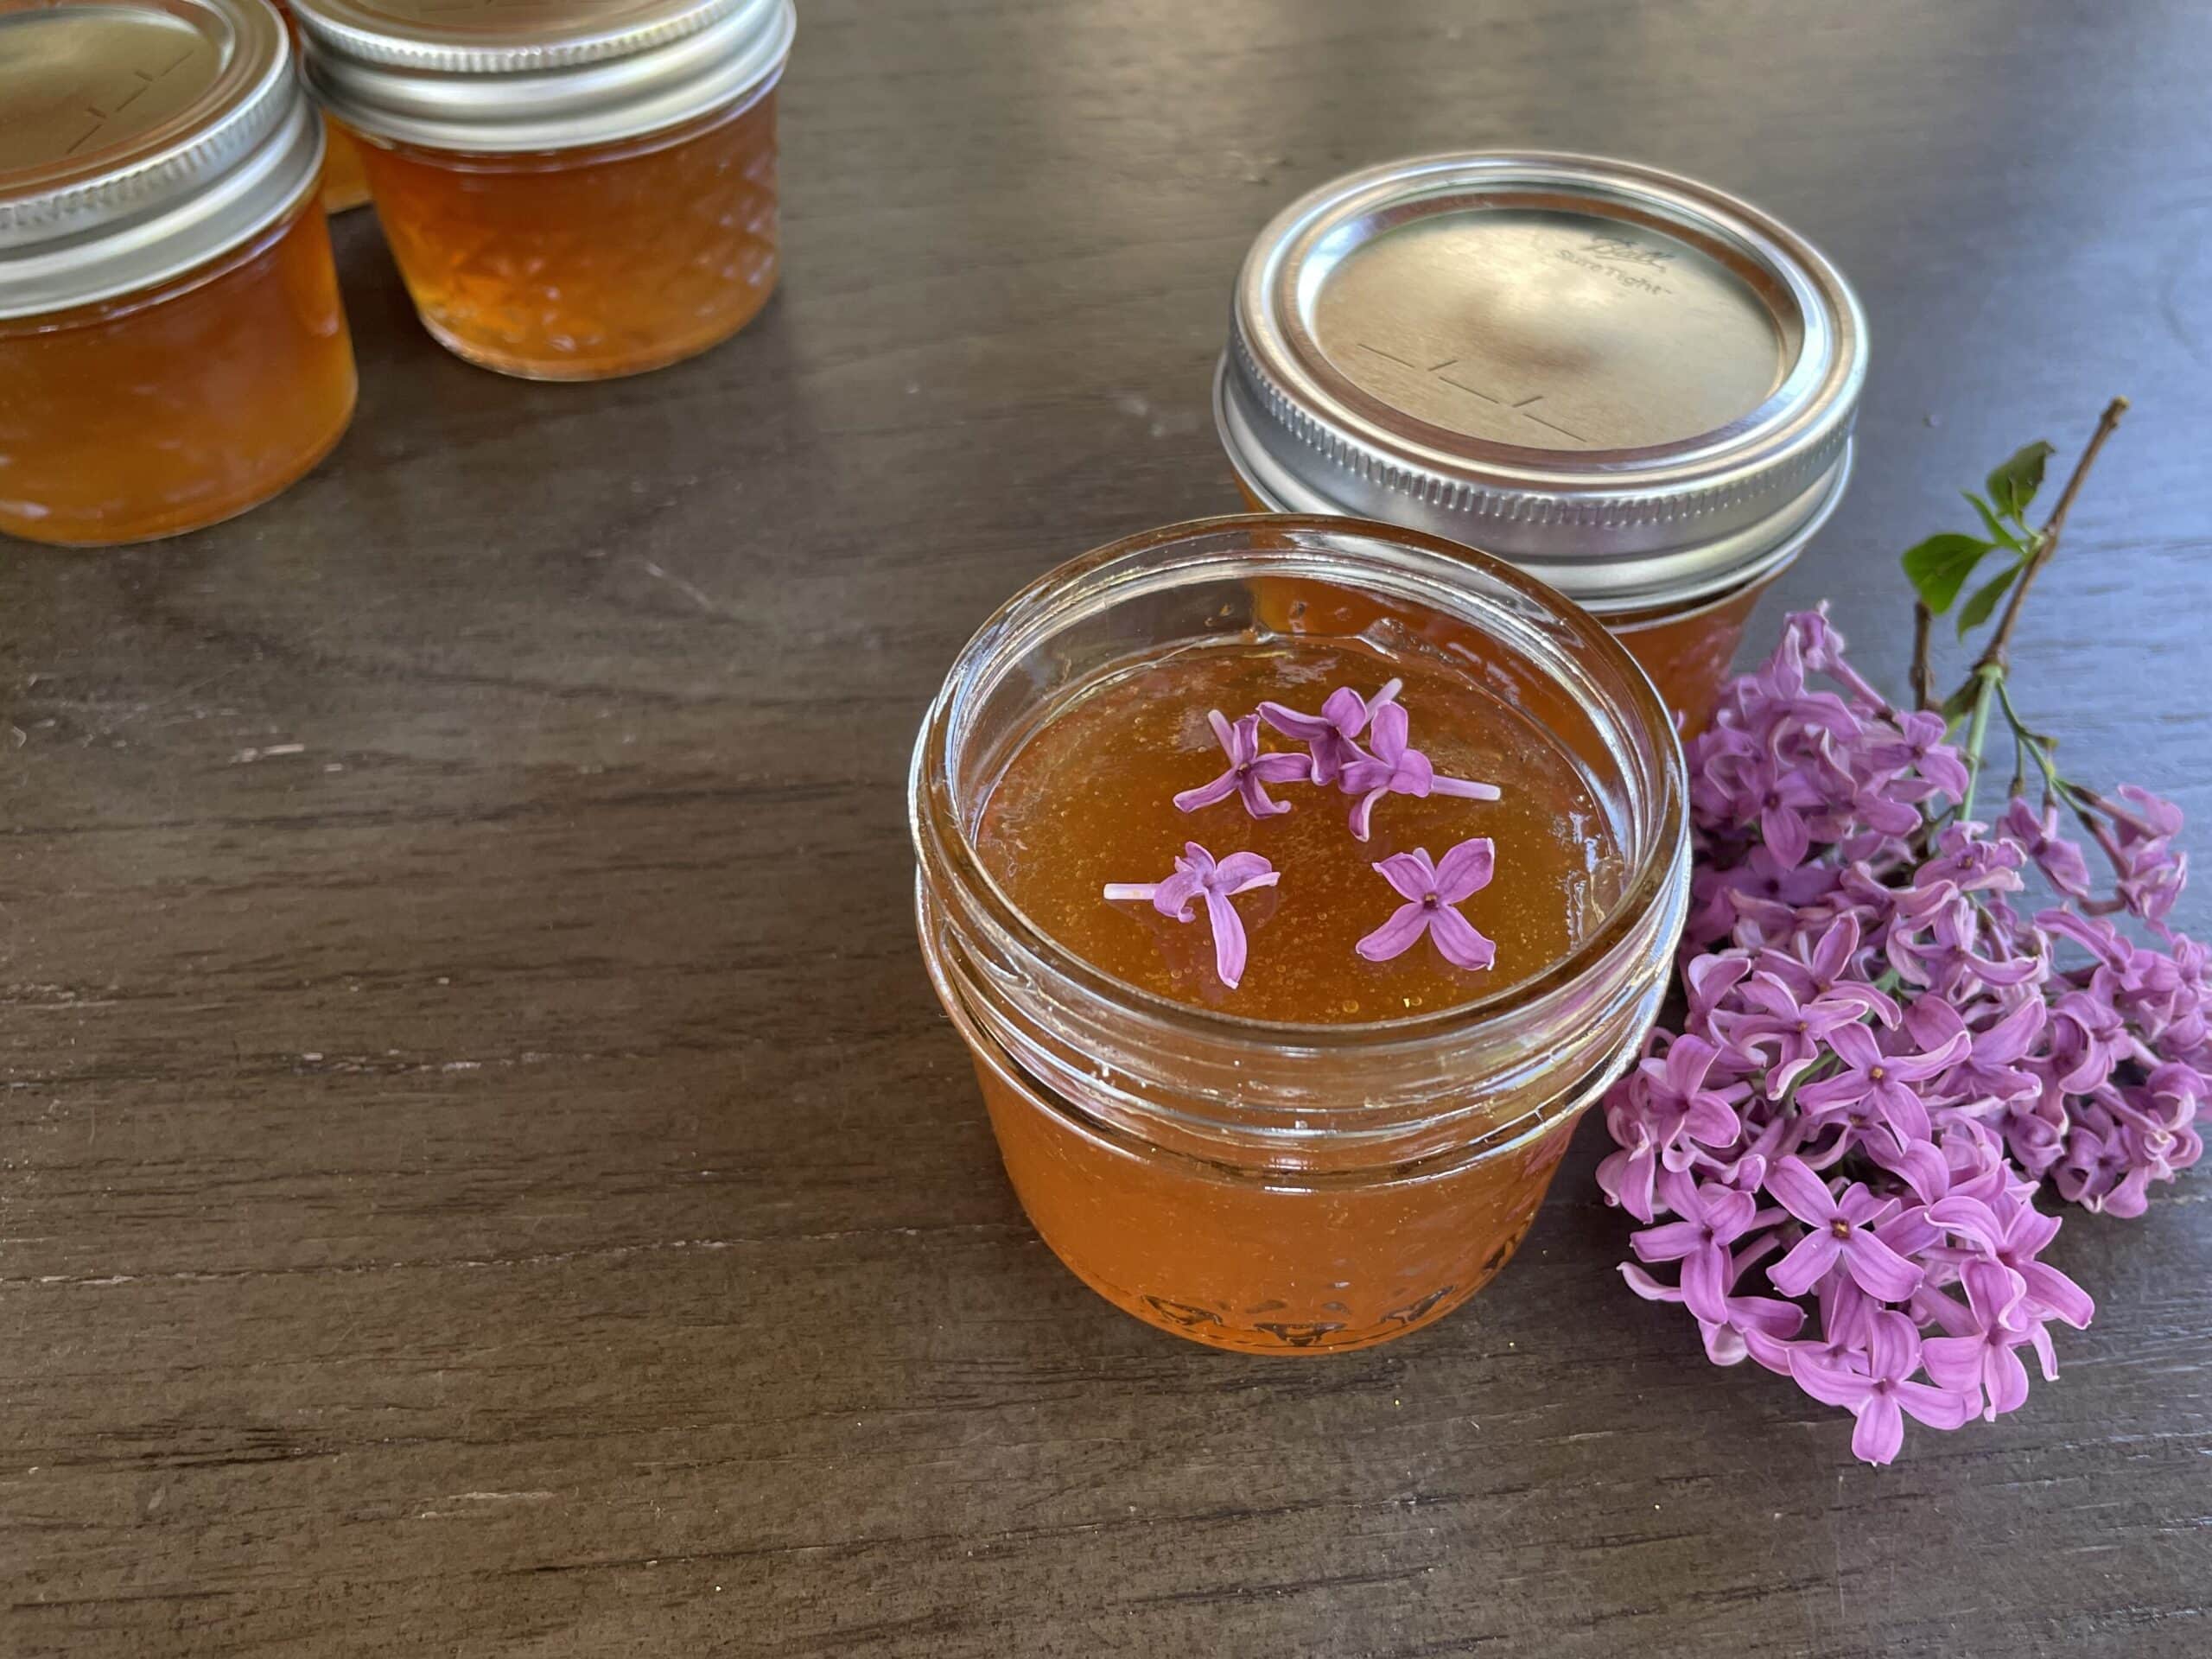
I was really hoping the lilac jelly would be more of a pink/purple color since I blended the blossoms into it. I don’t really want to add unnecessary food coloring so I settled with this honey color and delicious taste. Next time I might try to add in a couple of blueberries and see if those will change the color a bit.
If you’re looking for more flower jelly recipes, you’re going to love these:
- Rose Petal Jelly by Experimental Homesteader
- Queen Anne’s Lace by Experimental Homesteader
- Pansy Jelly by Creative Canning
Lilac Blossom Jelly
Equipment
- water bath canner
- 8 4 oz jars
Ingredients
- 1 1/2 cups lilac blossoms loosely packed
- 2 cups water hot
- 3 cups sugar
- 4 tbsp Ball RealFruit Pectin (or one 1.75oz box Sure Jell)
- 3 tbsp lemon juice
Instructions
- Wash 8 4oz jars or 4 8oz jars and set them aside. Put the lids in a small pot with water and warm them up to soften the rubber. Set the rings aside.
- After you have collected your lilacs, separate the petals from the green part. Put the lilacs in hot water and let steep for about 10 minutes. Use an immersion blender or transfer to a blender to blend the flowers. Strain the mixture. Add water to reach 2 cups. (If you'd rather not blend the flowers into your jelly, skip this step and let tea steep for a few hours or overnight instead, then strain.)
- Add lilac blossom water and pectin to a medium pot and bring the mixture to a rolling boil over medium-high heat while stirring constantly. Boil for 1 minute.
- Add sugar and bring back to a rolling boil. Let boil for 1 minute. Take off the heat and add lemon juice.
- Pour the hot lilac jelly into the jars leaving 1/4 inch head space. Wipe the rims of the jars and put the hot lids on. Tighten the rings to fingertip tight.
- Put the jars in your canner and bring to a boil. Process for 10 minutes. Let the jars cool and sit for 24 hours and then check the lids to make sure they sealed properly. Store in a cool dry place with the rings off. If one didn't seal store in the fridge and enjoy!



2 Comments
Pingback:
John
This sounds like a lovely and creative recipe! Lilac jelly is such a unique way to preserve spring flavors, and it’s great to see more people experimenting with edible flowers. Clear instructions and tips on safely preparing the blossoms really help beginners feel confident trying it at home. For more seasonal recipes and kitchen inspiration, you can also check out helpful guides at https://nyweeklyinfo.co.uk/.