How To Easily Make Pressure Canned Green Beans From Your Garden
Green beans are one of the easiest vegetables to pressure can because you don’t need many ingredients! Grab your green beans & canning salt and you will be ready to go. Green beans are one of the first pressure-canning recipes I tried a few years ago and we’ve been enjoying green beans from the garden ever since. Read on to see step-by-step directions on how to make Pressure Canned Green Beans.

This post contains affiliate links. This will not cost you anything but will help us offset the cost of running the blog. We only share products we use and would recommend to a friend. Thank you for your support! Click ‘HERE’ for more info.
Grab your Green Beans | What You’ll Need:
Here’s what you’re going to need for this pressure canning venture:
- Pressure Canner
- Canning Tools
- Pint Jars
- Lids (if you have jars and just need new lids)
- Canning/Pickling Salt
- Green Beans
Don’t even think about using a Water Bath Canner
When I was a beginner canner it took me a while to understand that there are different canners for different fruits, veggies, and meals. Sometimes a pressure canner is necessary and you cannot use the water bath canning method of canning. You must pressure-can green beans because they have a low acidity level. If you raise the acidity level by pickling them, for example, you can use a water bath canner. A pressure canner provides the only safe method for canning low-acid foods. Other foods that must be pressure canned include my Chicken Soup recipe, potatoes, carrots, meats, and any other low-acid foods. Alternatively, you can use a water bath canner for jams (like my favorite black raspberry jam or this yummy thimbleberry jam), pie fillings (like this rhubarb strawberry pie filling), pickles, salsas, and other more acidic foods.


Grab Your Fresh Green Beans
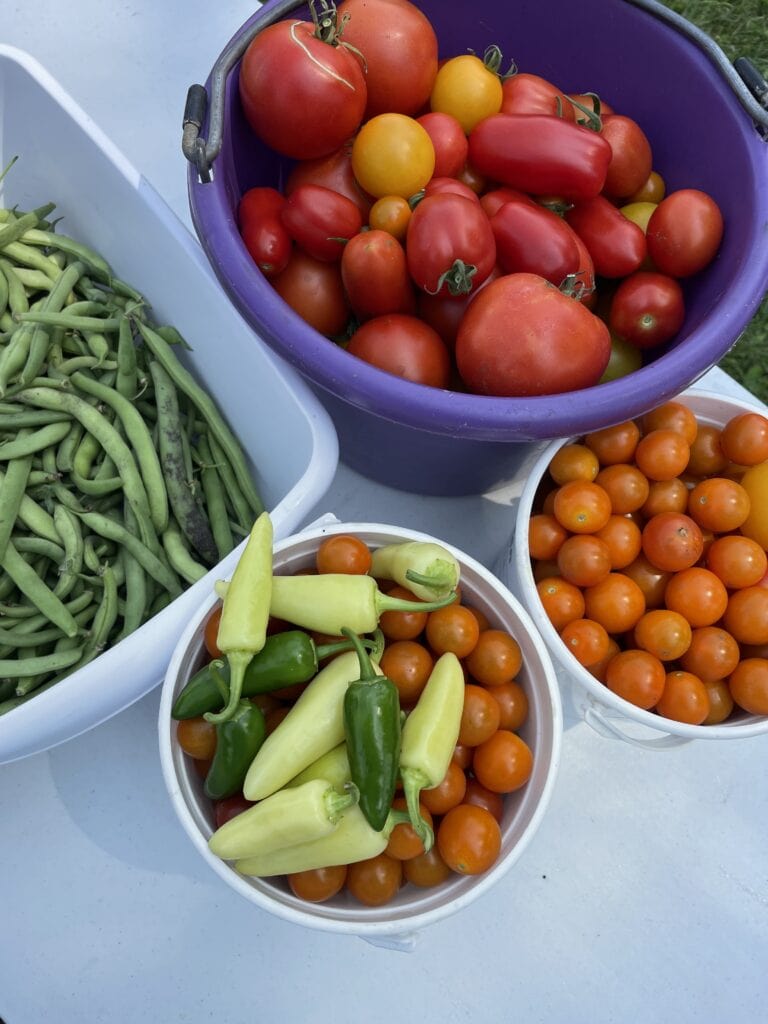
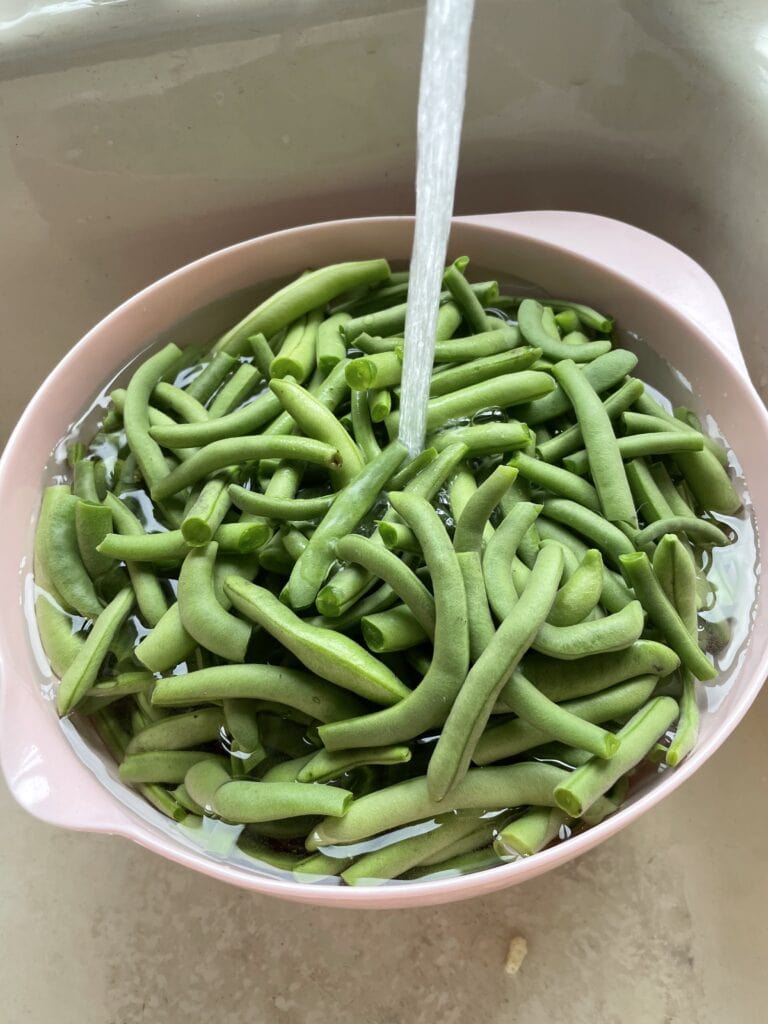
I LOVED being able to go out in my garden and pick green beans. I planted bush beans and they popped up super fast and were really easy to take care of. Nothing better than going out to your garden and getting buckets full of fresh vegetables that you put hard work into growing! If you don’t have your garden, head to the farmer’s market or your grocery store and get some green beans! I washed my green beans by soaking them in water for a few minutes and swishing them around to remove all the dirt and potential bugs.
Grab your washed green beans and snap off the ends. Cut/snap the green beans into bite-sized pieces. We just snap the green beans and whatever we aren’t going to use we save for my dad’s chickens. They LOVE green beans.
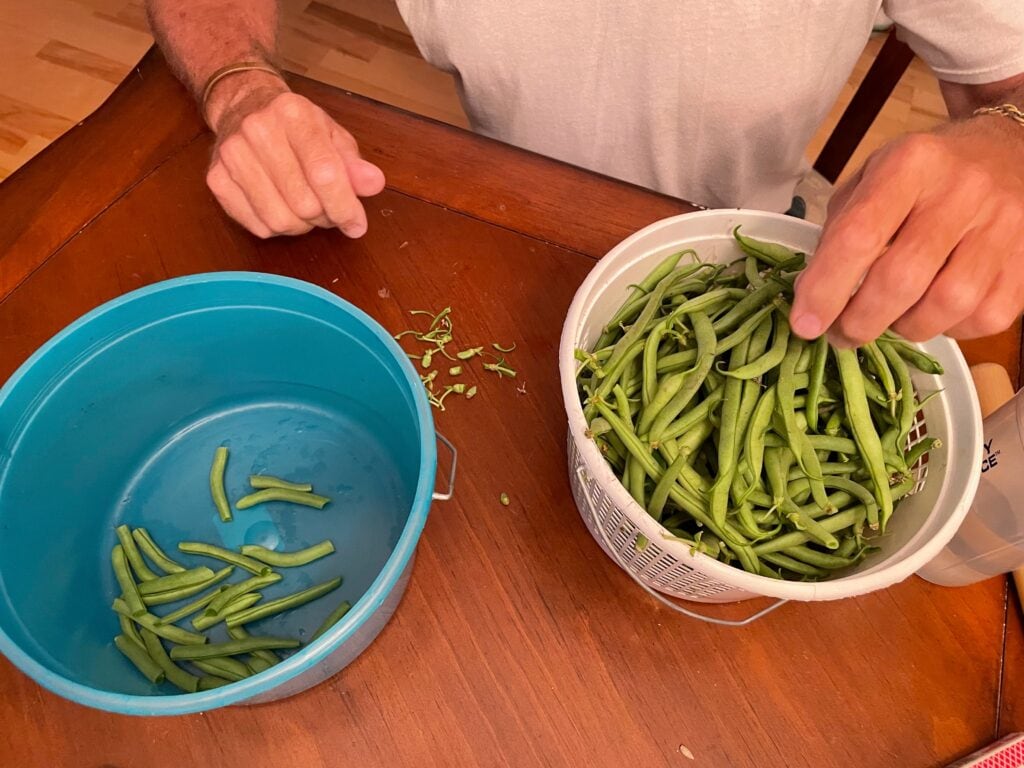
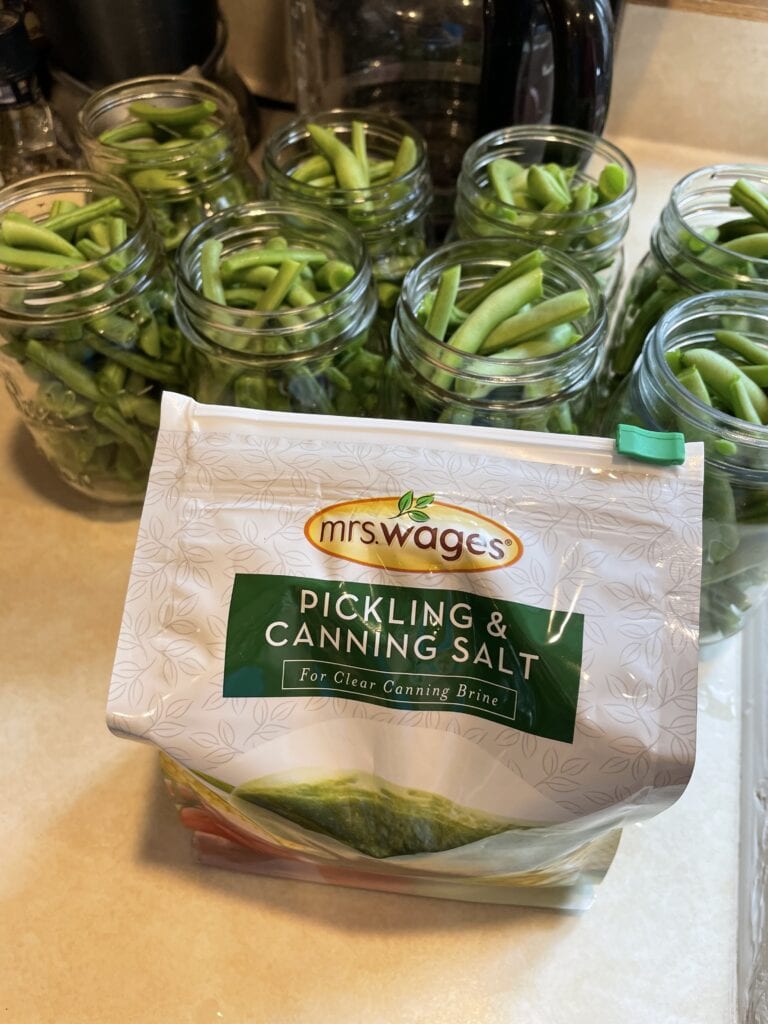
Fill clean jars to the rim with green beans using a funnel. About 1lb of green beans will fill 1 pint-sized jar. Tap the jar on the counter or table a few times to make a little more room. Fill a large pot with water and bring it to a boil. This is for your jars. Put about 2 quarts of water in your pressure canner and heat so the water starts to warm up.
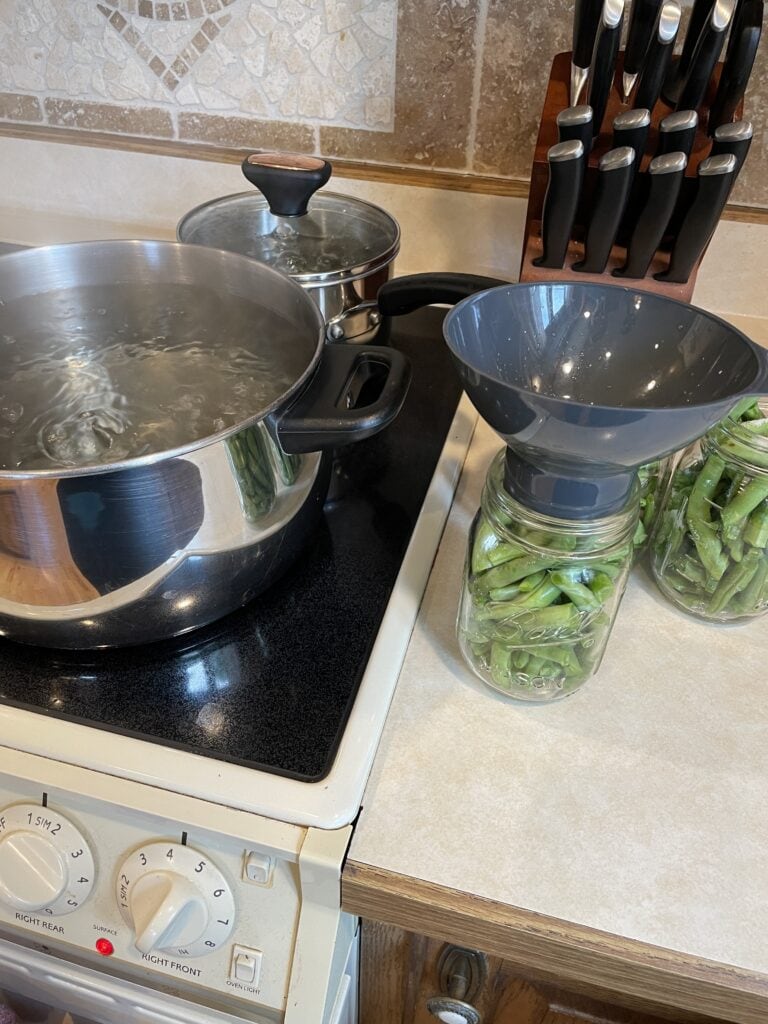
All You Need is…SALT!
Put 1/2 tsp canning salt (not table salt) in each pint jar, 1 tsp for quart-sized jars. I do this step FIRST so I can easily see where I left off with the salt if I get distracted. If you add the boiling water first and then the salt, you’ll likely forget which jars already have salt. Trust me, I know from experience 🤣 Using the funnel again, fill each jar with boiling water until there is about 1/2 inch of head space.
Slide a butter knife or a canning tool down the side of each jar and around the edge to ensure no air bubbles are in there. Wipe the rims so they are clean and dry. Put clean lids (preferably new) on the jars and screw on the rings until they are fingertip tight. It is preferable to use new lids to make sure they are not damaged in any way and will can properly. I have had luck reusing lids but it isn’t officially advised.
How to Pressure Canned Green Beans
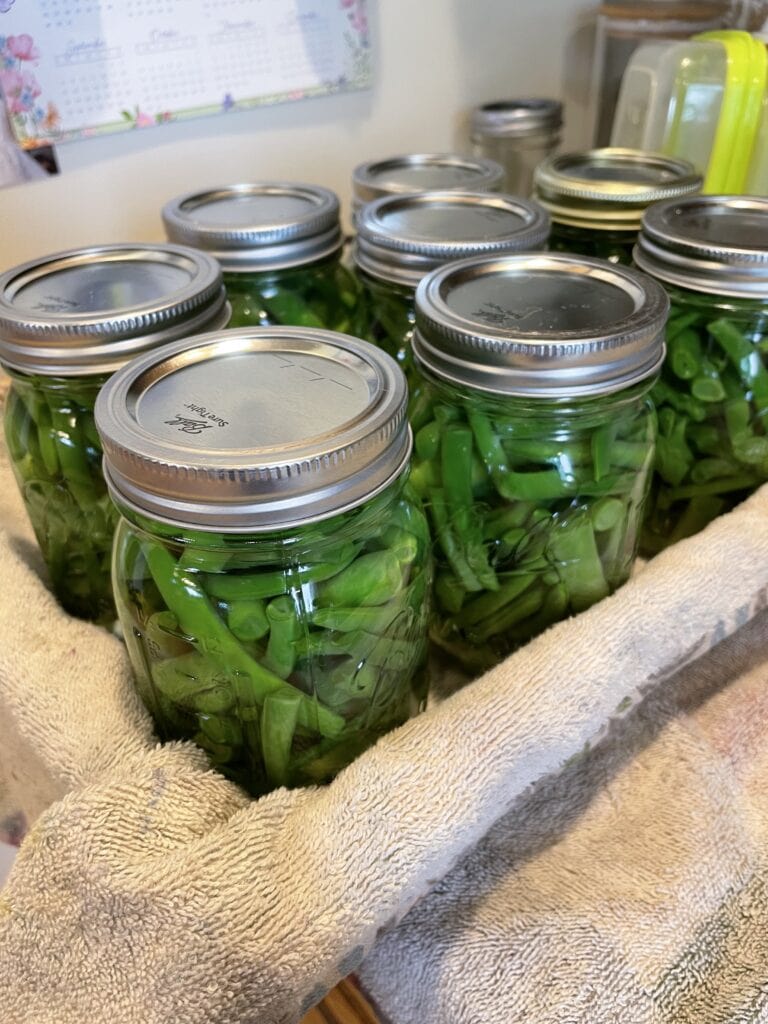
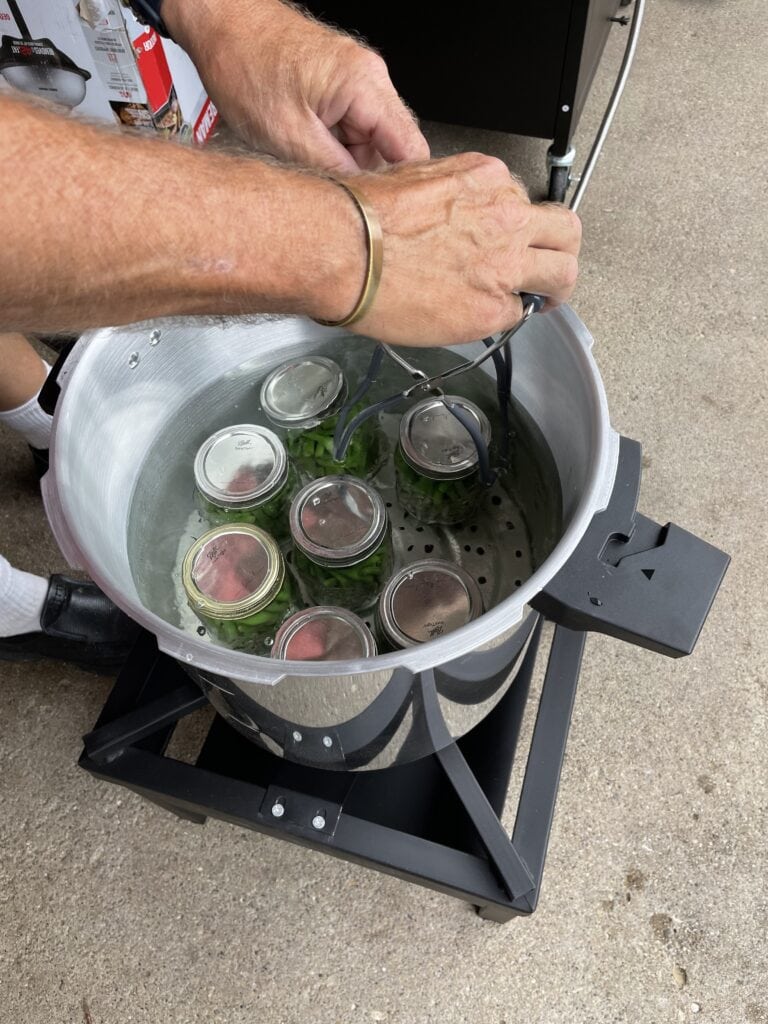
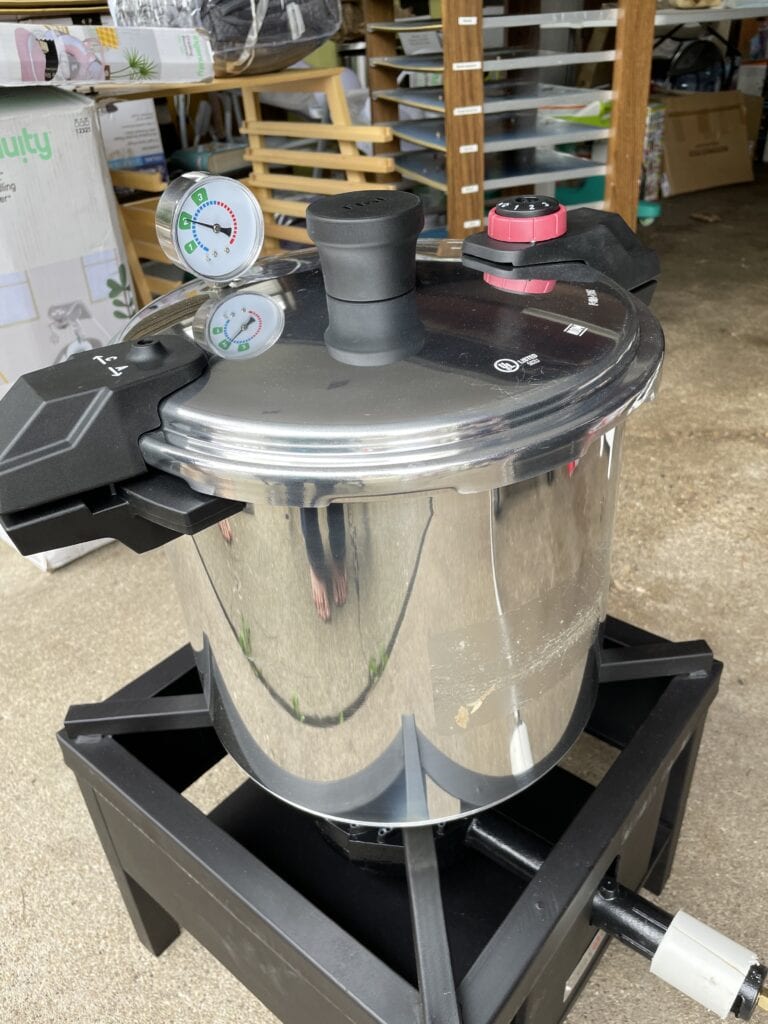
Place the jars in the canner and make sure there is the right amount of water. There should be indicating lines on your canner to tell you how much water is needed. Place the lid on the canner and put it in the locked position. Bring the water to a boil and let the steam vent for 10 minutes. Turn the pressure gauge to 10 psi (this is setting 2 on my canner). Once it reaches pressure, set a timer for 20 minutes for pints and 25 minutes for quarts. Adjust your temperature so the pressure stays at 10 psi.
Once you have your first batch of green beans in the pressure canner you can start working on your next batch. The process goes pretty quickly once you get started and are in the groove. You can do a ton of green beans in one afternoon.
Once the timer goes off, turn off the burner and let the pressure come down naturally to zero. Once it is at zero, turn your pressure gauge to zero. Carefully take the lid off angling it away from your face. Using a jar lifter, take the jars out of the canner and allow them to cool. You’ll start to hear the popping of your jars sealing. Check seals and if one of the jars does not seal, refrigerate and use soon. You can see the color change in your green beans once they are done in the canner. They go from this bright green color to a darker, more dull green.
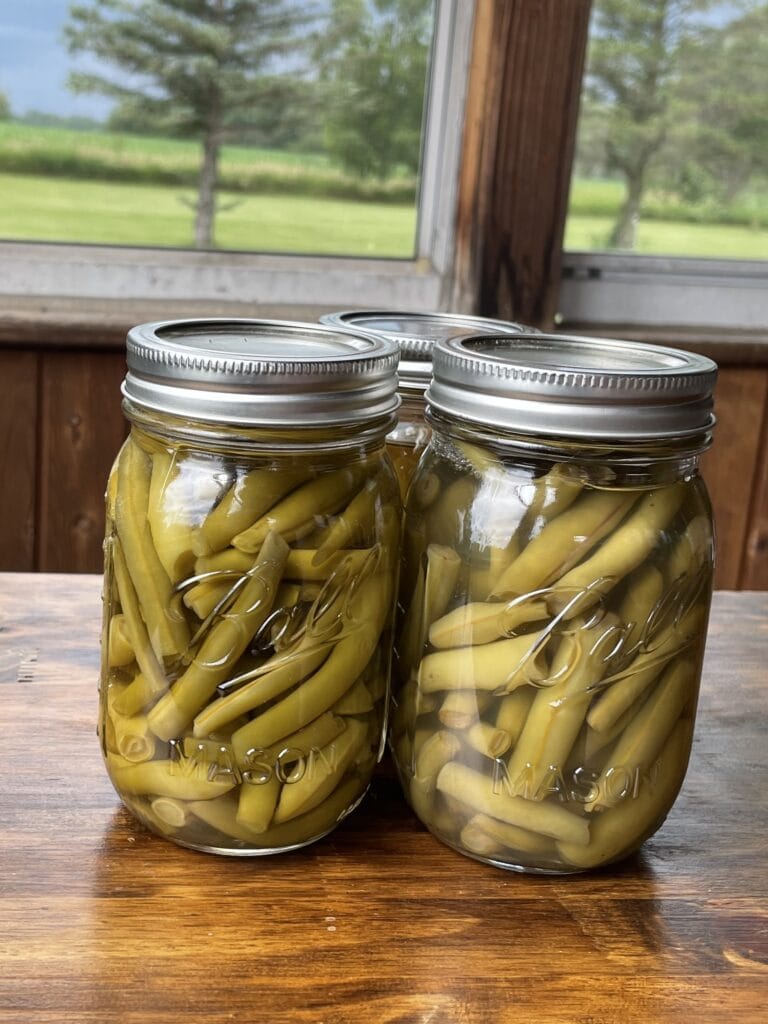
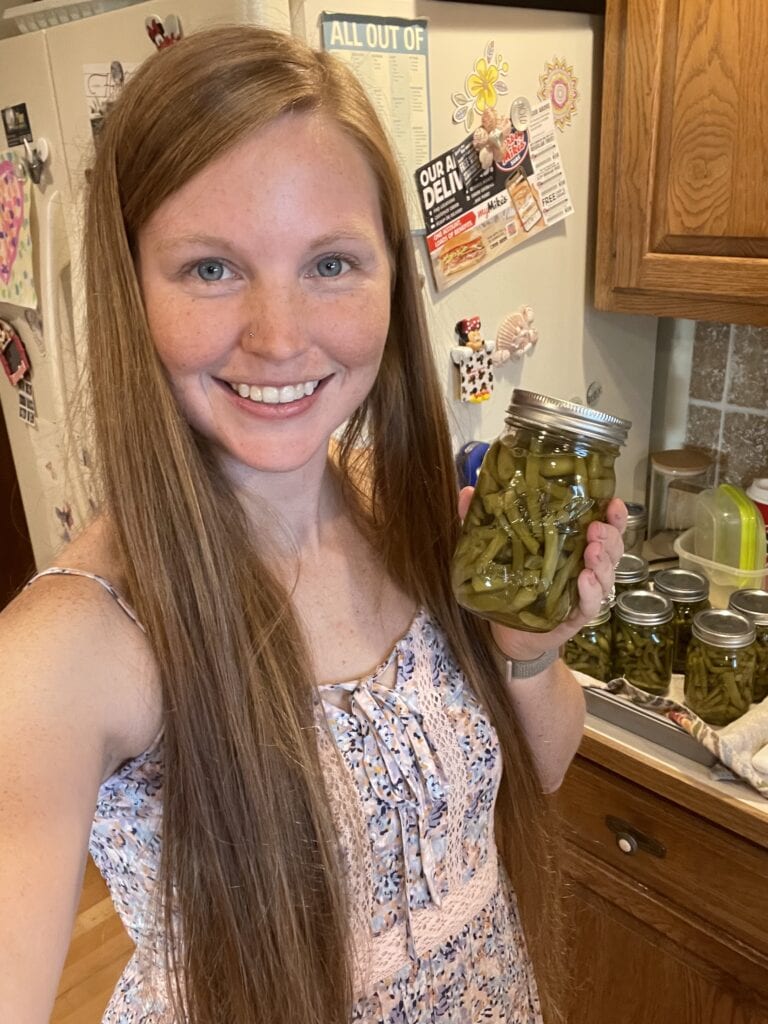
I hope you enjoy your green beans all year long! If you try this recipe please leave a comment and let me know what you think! Thank you for reading.
Pressure Canned Green Beans
Equipment
- 5 pint jars & lids
- Pressure Canner
- jar lifter, other canning tools
Ingredients
- 5 lbs fresh green beans ends snipped, snapped into bite sized pieces
- 2 1/2 tsp canning salt
- 5 pints boiling water
Instructions
- Grab your washed green beans and snap off the ends. Cut/snap the green beans into bite-sized pieces. About 1lb of green beans will fill 1 pint-sized jar.
- Fill clean jars to the rim with green beans. Tap the jar on the counter or table a few times to make a little more room.
- Fill a large pot with water and bring it to a boil. Put water in your canner and heat so the water starts to warm up.
- Put 1/2 tsp canning salt (not table salt) in each pint jar.
- Fill each jar with boiling water until there is 1/2 inch head space.
- Slide a butter knife or a canning tool down the side of each jar and around the edge to ensure no air bubbles are there.
- Wipe the rims so they are clean and dry. Put clean lids (preferably new) on the jars and screw on the rings until they are fingertip tight.
- Place the jars in the canner and make sure there is the right amount of water. There should be indicating lines on your canner to tell you how much water is needed. Place the lid on the canner and put it in the locked position.
- Bring the water to a boil and let the steam vent for 10 minutes. Turn the pressure gauge to 10 psi (this is setting 2 on my canner). Once it reaches pressure set a timer for 20 minutes for pints and 25 minutes for quarts. Adjust your temperature so the pressure stays at 10 psi.
- Turn off the burner and let the pressure come down naturally to zero. Once it is at zero, turn your pressure gauge to zero. Carefully take the lid off angling it away from your face. Using a jar lifter, take the jars out of the canner and allow to cool. You'll start to hear the popping of your jars sealing. Check seals and if one of the jars did not seal, refrigerate and use soon.





2 Comments
Pingback:
Pingback: