Simple Canned Sweet Corn Recipe: Right off the Cob Flavor
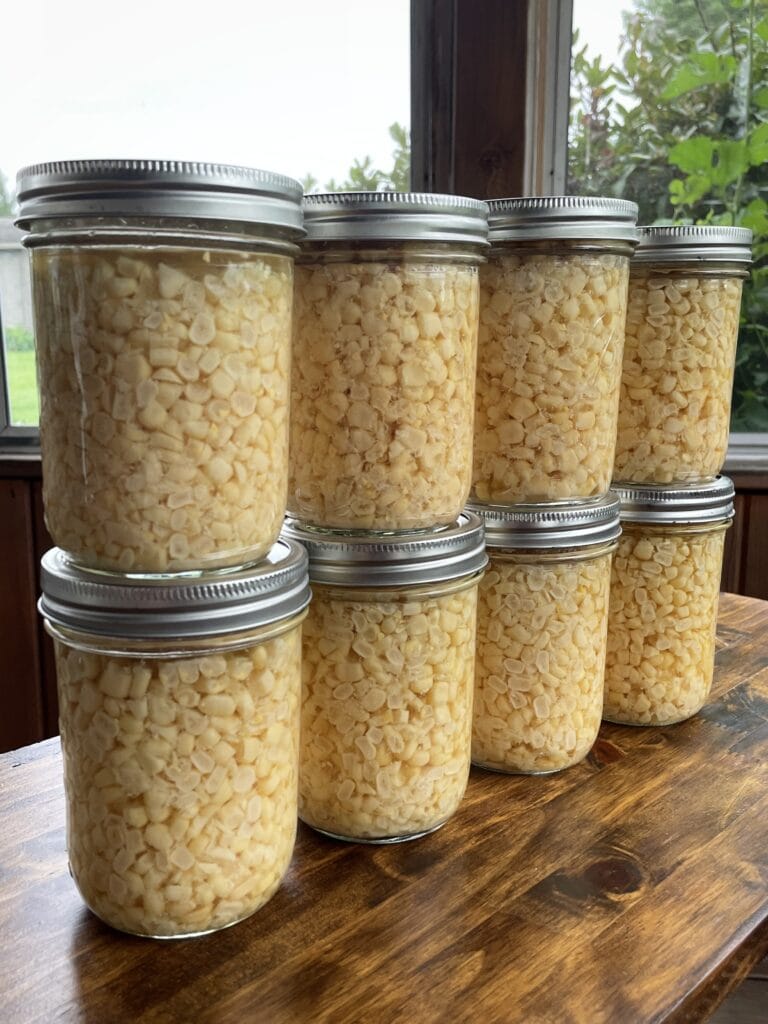
Sweet corn is one of those things during the summer that I look forward to! Nothing beats fresh corn on the cob, except when you can have Canned Sweet Corn in the dead of winter and still enjoy that delicious flavor. Grab this simple pressure canner recipe a try and enjoy!

This post contains affiliate links. This will not cost you anything but will help us offset the cost of running the blog.
We only share products we use and would recommend to a friend. Thank you for your support! Click ‘HERE’ for more info.
I love opening canned sweet corn knowing the quality and taste is going to be exactly as it was when I canned it. As I learned more and more about canning, specifically pressure canning, I realized it isn’t as complicated as I made it out to be. Pressure canning does take longer than water bath canning but it is worth it to keep your family eating locally grown, homegrown, organic, and/or “I bought them while they were on sale” vegetables!
If you’re looking for some other pressure canning recipes be sure to check out these super quick green beans & my favorite comfort food on a cool day: pressure canned chicken soup.
This post contains affiliate links. This will not cost you anything but will help us offset the cost of running the blog. We only share products we use and would recommend to a friend. Thank you for your support! Click ‘HERE’ for more info.
No Water Bath Canners Found in this Canned Sweet Corn Recipe
When I was a beginner canner it took me a while to understand that there are different canners for different fruits, veggies, and meals. Sometimes a pressure canner is necessary and you cannot use the water bath canning method of canning due to the acidity level of whatever you’re canning. Corn has to be pressure-canned because is has a low acidity level. A pressure canner is the only safe way to can low-acidic foods. Other foods that have to be pressure canned include my Chicken Soup recipe, potatoes, green beans, carrots, meats, and any other low-acidic foods. Things that can be canned using a water bath canner are jams (like my favorite black raspberry jam), pie fillings (like this rhubarb strawberry pie filling), pickles, salsas, and other more acidic foods.
Here’s what you’re going to need for this pressure canning venture:
- Pressure Canner
- Canning Tools & a 1/2 tsp measuring spoon
- Pint Jars
- Lids (if you have jars and just need new lids)
- Canning/Pickling Salt
- Corn & Water


Prepping the Sweet Corn
My favorite part of this recipe is that you don’t have to cook the corn ahead of time and then try to mess with hot cobs! We used to freeze our fresh sweet corn (and it was still so delicious) but that required cooking it all first and then cutting it off the cob. Canning the corn in this way allows you to cut the corn off the cob without cooking it first.
Shuck and wash the corn. Try to get as much silk off as you can so you’re not picking it out of your jars later. Grab a sharp knife and gently slice the corn off the cob. It isn’t as tough as you might think to do this.
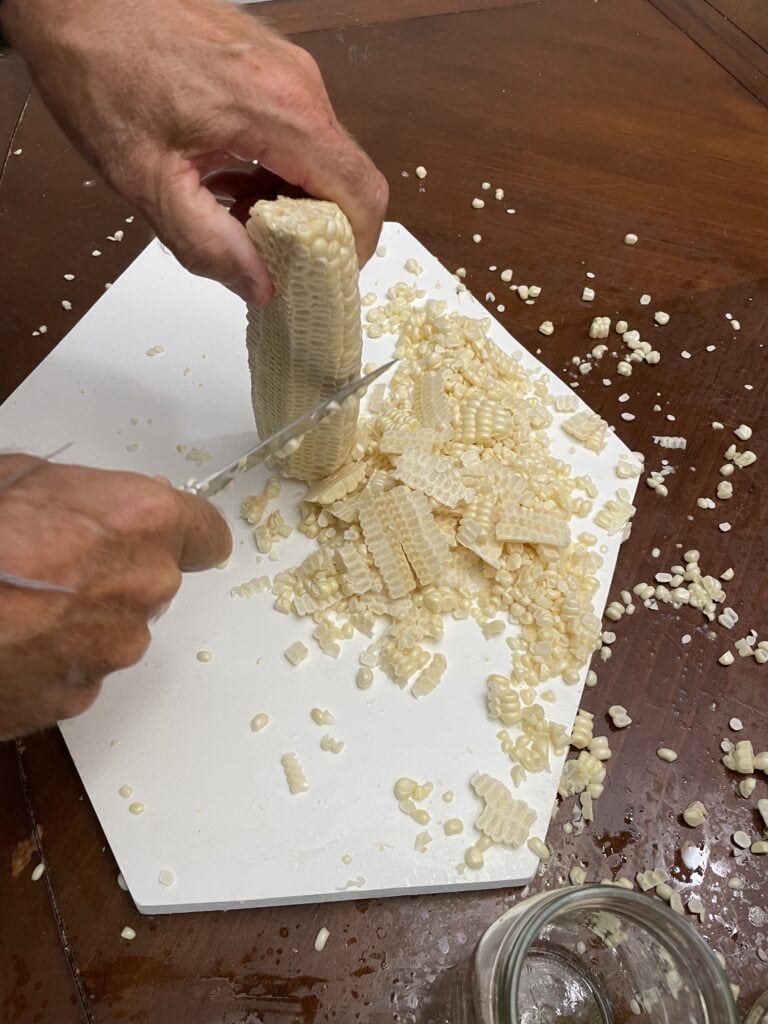
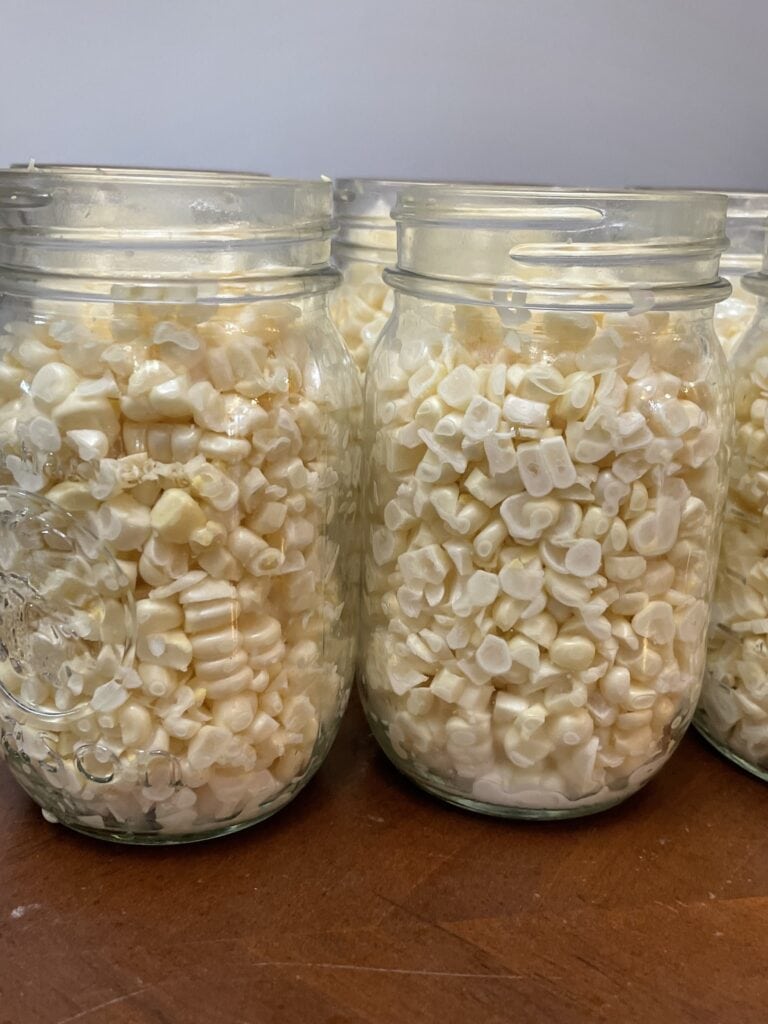
Fill clean pint-sized jars with corn until there is 1 inch of head space using a funnel. About 2 cobs of corn will fill 1 pint-sized jar. Fill a large pot with water and bring it to a boil. This is for your jars. Put about 2 quarts of water in your pressure canner and heat so the water starts to warm up.
All You Need is…SALT (and even the salt is optional)!
Put 1/2 tsp canning salt (not table salt) in each pint jar, 1 tsp for quart-sized jars. I do this step before I add the boiling water so that if I get distracted I can see where I left off with the salt. If you put the boiling water in first and then do the salt, you’ll get distracted and forget which jars you put salt in already. Trust me, I know from experience 🤣 Using the funnel again, fill each jar with boiling water until there is 1 inch of head space. The salt is optional in this recipe but I never skip it!
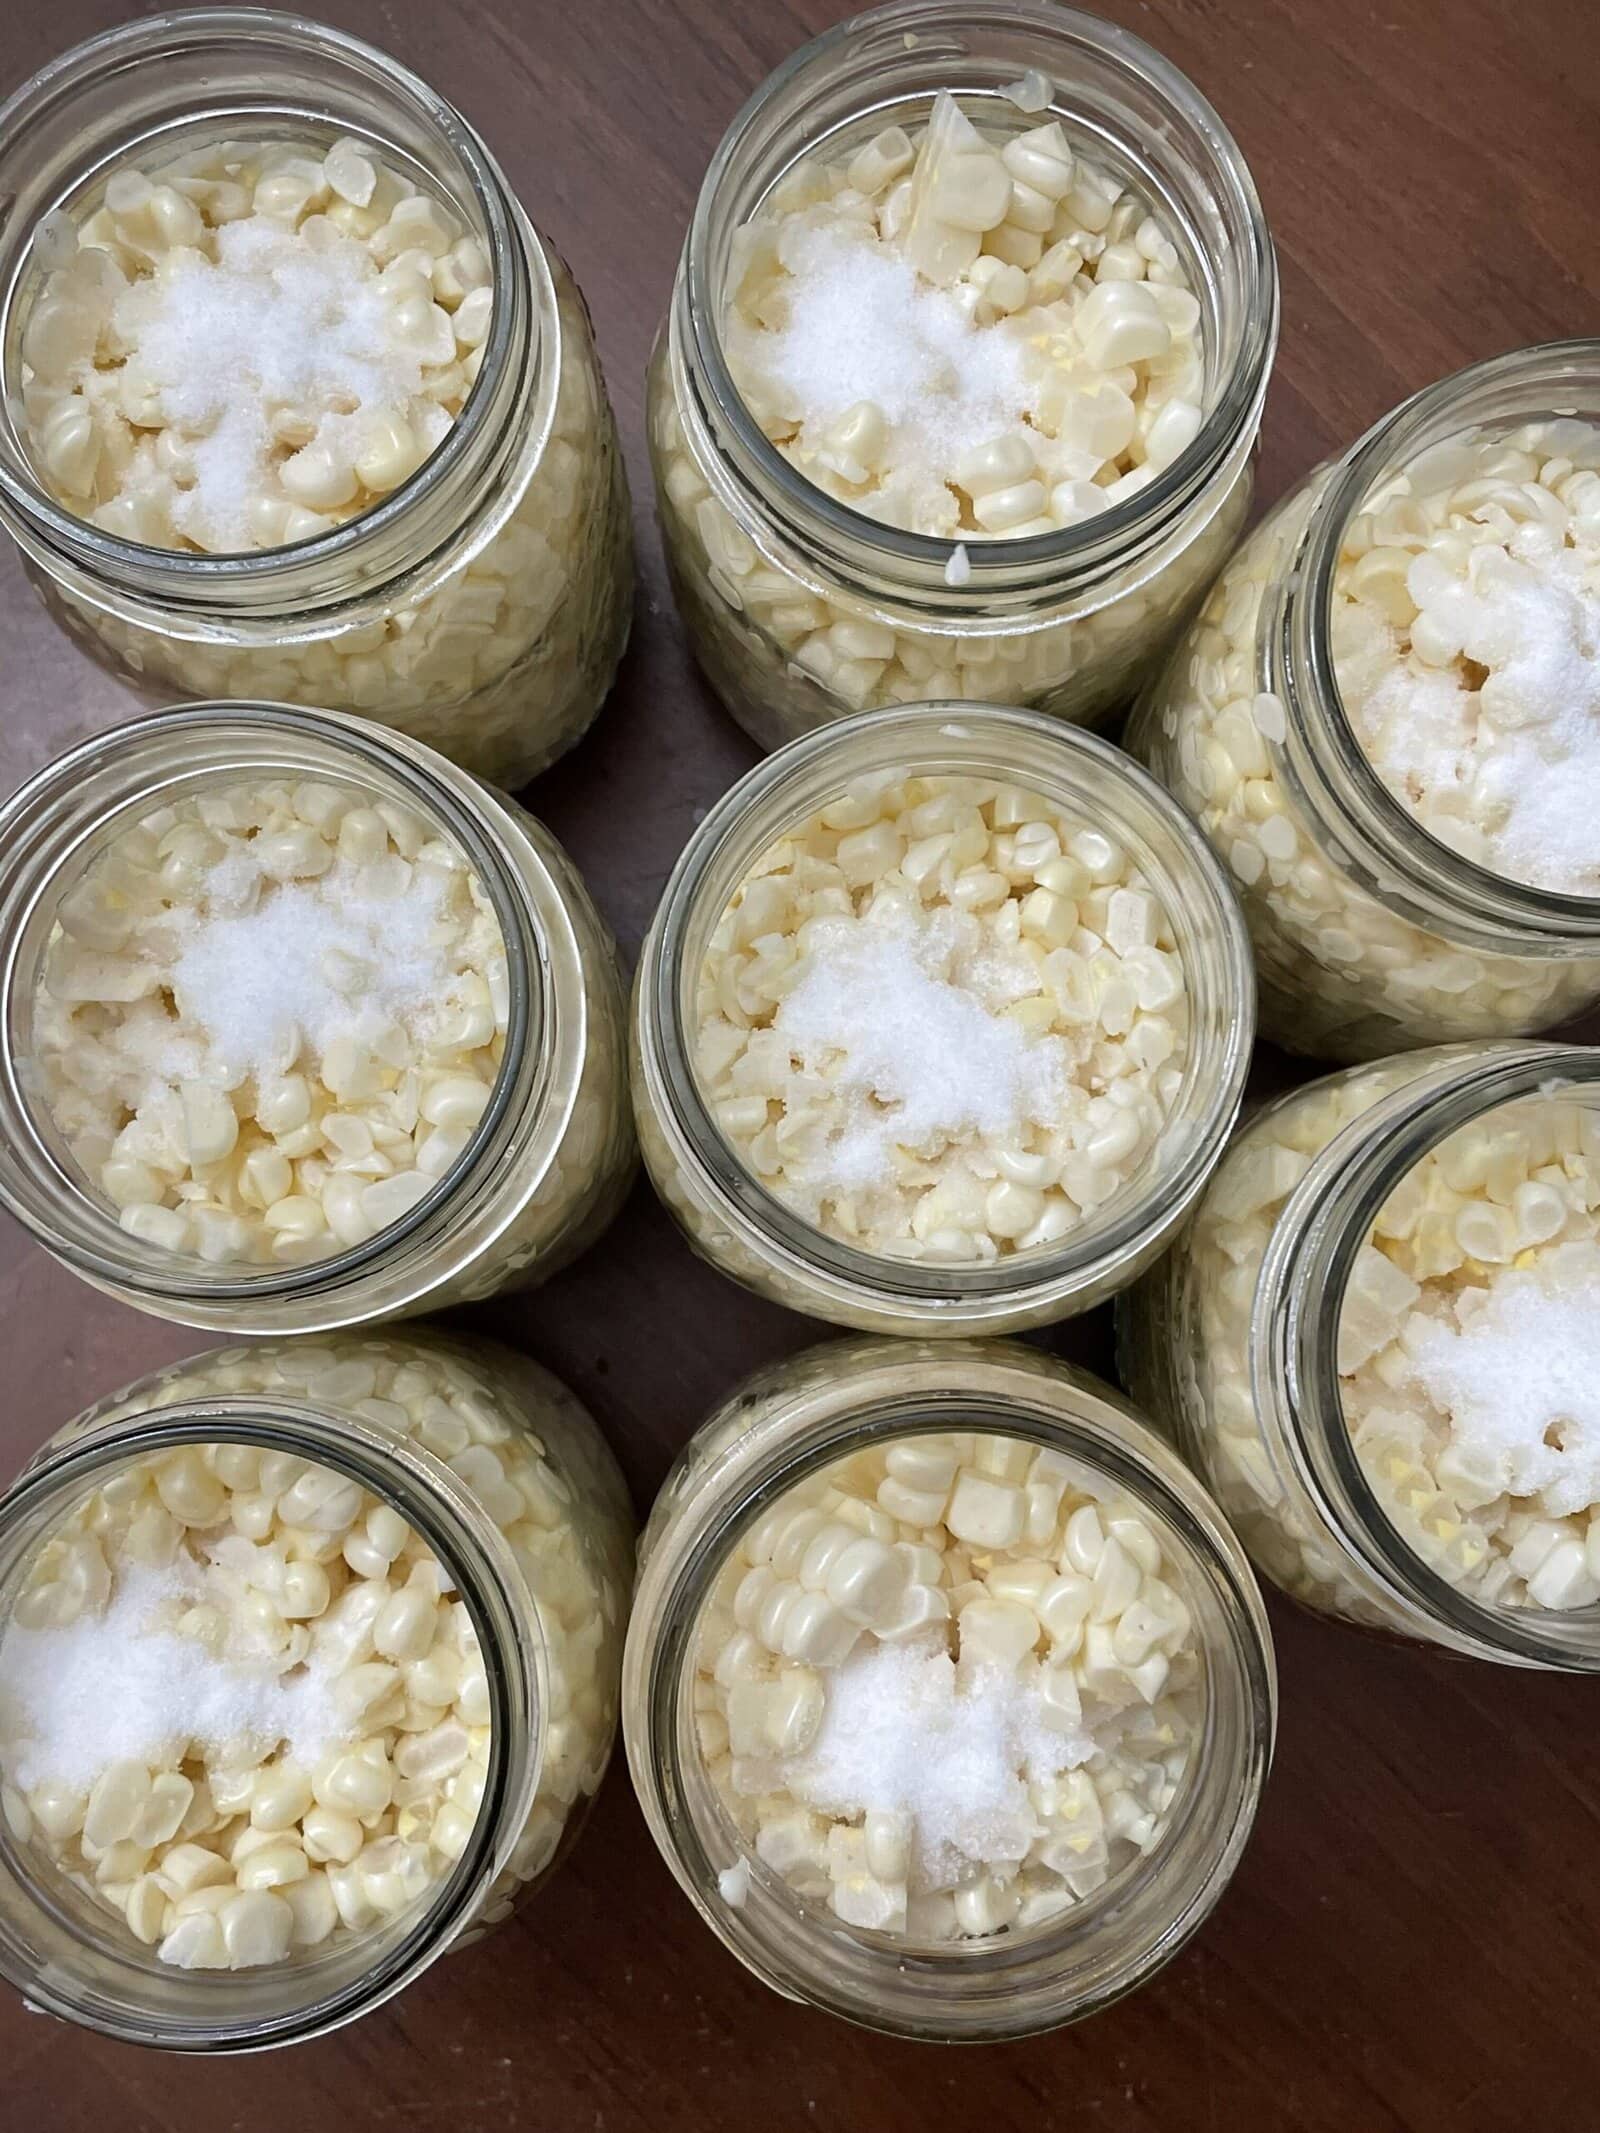
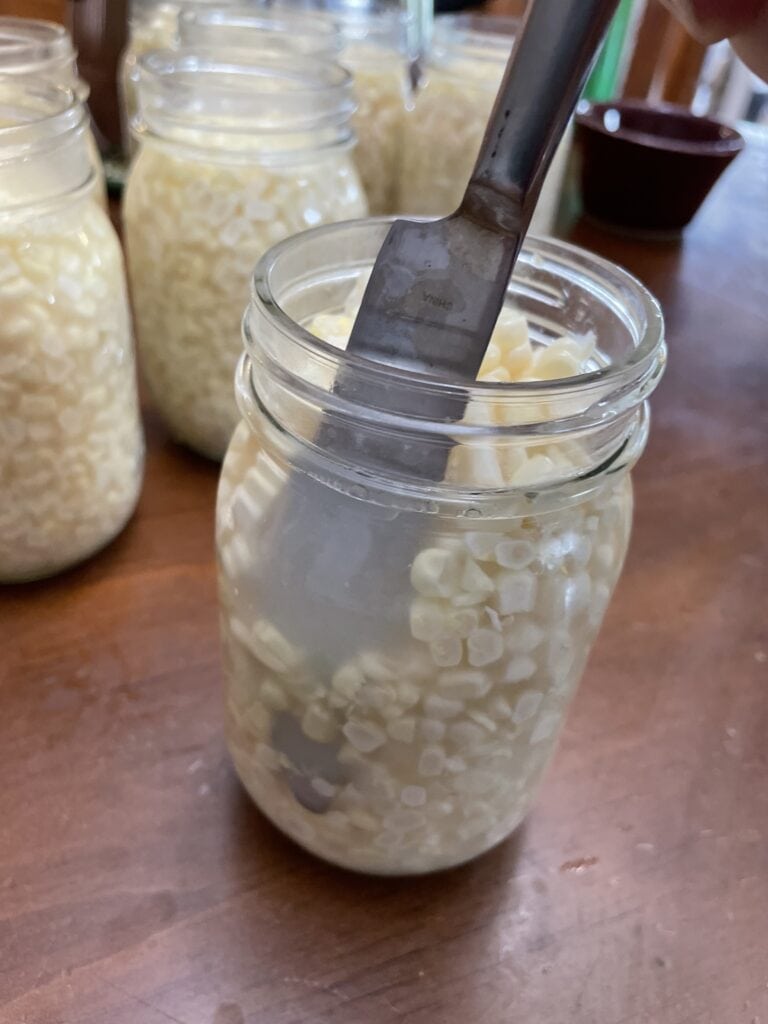
Slide a butter knife or a canning tool down the side of each jar and around the edge to ensure no air bubbles are in there. Wipe the rims so they are clean and dry. Put clean lids (new is best) on the jars and screw on the rings until they are fingertip tight. It is preferable to use new lids to make sure they are not damaged in any way and will can properly. I have had luck reusing lids but it isn’t officially advised.
It’s Time for Pressure Canned Sweet Corn
Place the jars in the canner and make sure there is the right amount of water. There should be indicating lines on your canner to tell you how much water is needed. Your jars should also be separated slightly so there is space between each jar. Place the lid on the canner and put it in the locked position. Bring the water to a boil and let the steam vent for 10 minutes. Turn the pressure gauge to 10 psi (this is setting 2 on my canner). Once it reaches pressure, set a timer for 55 minutes for pints and 1 hour 25 minutes for quarts. Adjust your temperature so the pressure stays at 10 psi.
Once the timer goes off, turn off the burner and let the pressure come down naturally to zero. Once it is at zero, turn your pressure gauge to zero. Carefully take the lid off angling it away from your face. Using a jar lifter, take the jars out of the canner and allow them to cool. You’ll start to hear the popping of your jars sealing. Check seals by removing the rings and if one of the jars does not seal, refrigerate and use soon. Check out this post to learn why you should always store your jars with the rings OFF. Now enjoy your canned sweet corn in your favorite recipes.
How to Use Canned Sweet Corn
Here are some of my favorite ways to use canned sweet corn in recipes!
- Chicken Pot Pie
- Pressured Canned Chicken Soup
- Taco Chili
- Rib Roast – Make some mashed potatoes and serve them with the corn as sides to this.
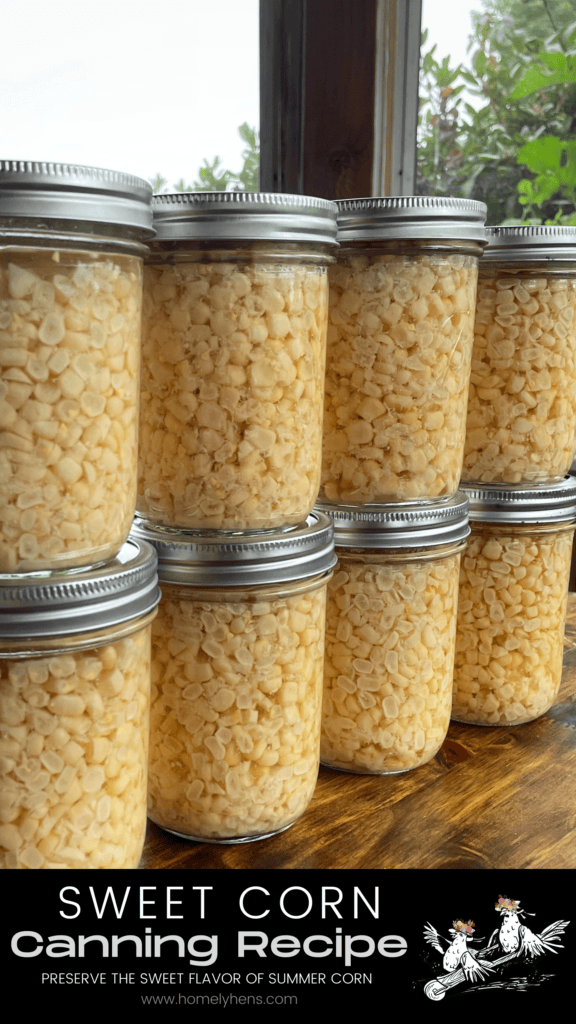

Canned Sweet Corn
Equipment
- Pressure Canner
- Canning Tools
- 6 Pint jars, lids, and rings
Ingredients
- 12 ears sweet corn
- 6 tsp canning salt
- water
Instructions
- Shuck and wash sweet corn. Try to get as much silk off as possible. With a sharp knife, cut the kernals off the cob.
- Fill clean jars with corn until there is 1 inch of head space.
- Fill a large pot with water and bring it to a boil (for the jars). Put water in your canner and heat so the water starts to warm up.
- Put 1/2 tsp canning salt (not table salt) in each pint jar or 1 tsp for quart sized jars.
- Fill each jar with boiling water until there is 1 inch head space.
- Slide a butter knife or a canning tool down the side of each jar and around the edge to ensure no air bubbles are there.
- Wipe the rims so they are clean and dry. Put new canning lids on the jars and screw on the rings until they are fingertip tight.
- Place the jars in the canner and make sure there is the right amount of water. There should be indicating lines on your canner to tell you how much water is needed. Place the lid on the canner and put it in the locked position.
- Bring the water to a boil and let the steam vent for 10 minutes. Turn the pressure gauge to 10 psi (this is setting 2 on my canner). Once it reaches pressure set a timer for 55 minutes for pints and 1 hour 25 minutes for quarts. Adjust your temperature so the pressure stays at 10 psi.
- Turn off the burner and let the pressure come down naturally to zero. Once it is at zero, turn your pressure gauge to zero. Carefully take the lid off angling it away from your face. Using a jar lifter, take the jars out of the canner and allow to cool. You’ll start to hear the popping of your jars sealing. Check seals and if one of the jars did not seal, refrigerate and use soon.




4 Comments
Pingback:
SJ
Your recipe needs to be updated – it says pints only need 5 minites in the pressure canner.
Samantha
Thanks so much for the catch! I fixed the error. 😊
Pingback: