Zesty Dill Pickles: A New Classic Recipe
Don’t be going and getting too impressed after I tell you this, but…I did win 1st place at the county fair with these Zesty Dill Pickles. I just want you to know that when you’re deciding if you want to try it or not. 😆
After trying many different pickle recipes over the last several years, this zesty dill pickle recipe is the one that has been requested over and over by friends who have tried it!
Want more step-by-step tips and recipes? Visit my complete Water Bath Canning Guide for safe, delicious canning ideas all year long.

This post contains affiliate links. This will not cost you anything but will help us offset the cost of running the blog.
We only share products we use and would recommend to a friend. Thank you for your support! Click ‘HERE’ for more info.
I started with a simple garlicky dill pickle recipe that my neighbor gave me and added some spices to it to make this recipe. I know you’ll enjoy it. If you’re looking for other canning recipes that might put you out of your comfort zone, check out my simple green beans canning recipe or this canned diced onions recipe. Using a pressure canner doesn’t have to be intimidating, especially with something like green beans! It’s a great veggie to try out in your pressure canner. If you’re looking for a shelf-stable meal to make in your pressure canner, give this canned chicken soup recipe a try. YUM!
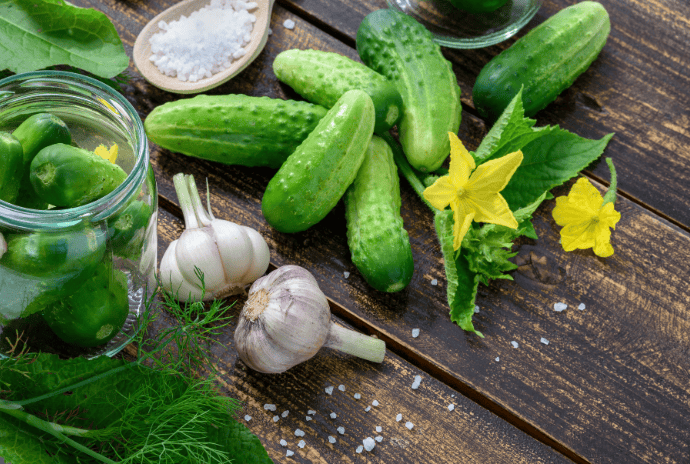
Here’s what you’ll need:
- pickling cucumbers & garlic
- spices-crusted red pepper, mustard seed, coriander seed, black peppercorns, & dill (I like to use fresh from the garden, but store-bought seeds will work too!)
- vinegar
- pickling and canning salt
- water bath canner
- large pot & ladle
- 6 quart-sized jars, lids, and rings
- funnel-I like this stainless steel one, so my food isn’t touching plastic. We have enough microplastics in our lives already! Any chance I get, I try to use stainless steel or glass.
- jar lifter & other canning tools
In my opinion, pickles are easy to make! They are pretty low-key and use the water bath canning method, so you don’t need a pressure canner. I also love canning vegetables that don’t need to be cooked before you can them, it just makes canning so much faster.
The first thing you need to do is get a good pickling cucumber. Not all cucumbers are created equal. Once you’ve got your cucumbers, you need to decide if you’re going to can them whole, in slices, or in spears. I think they do best, as far as the crispness, whole, especially if you like to just munch on them. My next favorite is in spears. That’s what I do most of the time because my family likes to snack on them and add them to hot dogs and other foods. When you cut the cucumbers into spears, you can fit more in each jar than if you leave them whole. The downside is that they might be a little less crunchy than the whole pickles.
Harvesting Dill from the Garden
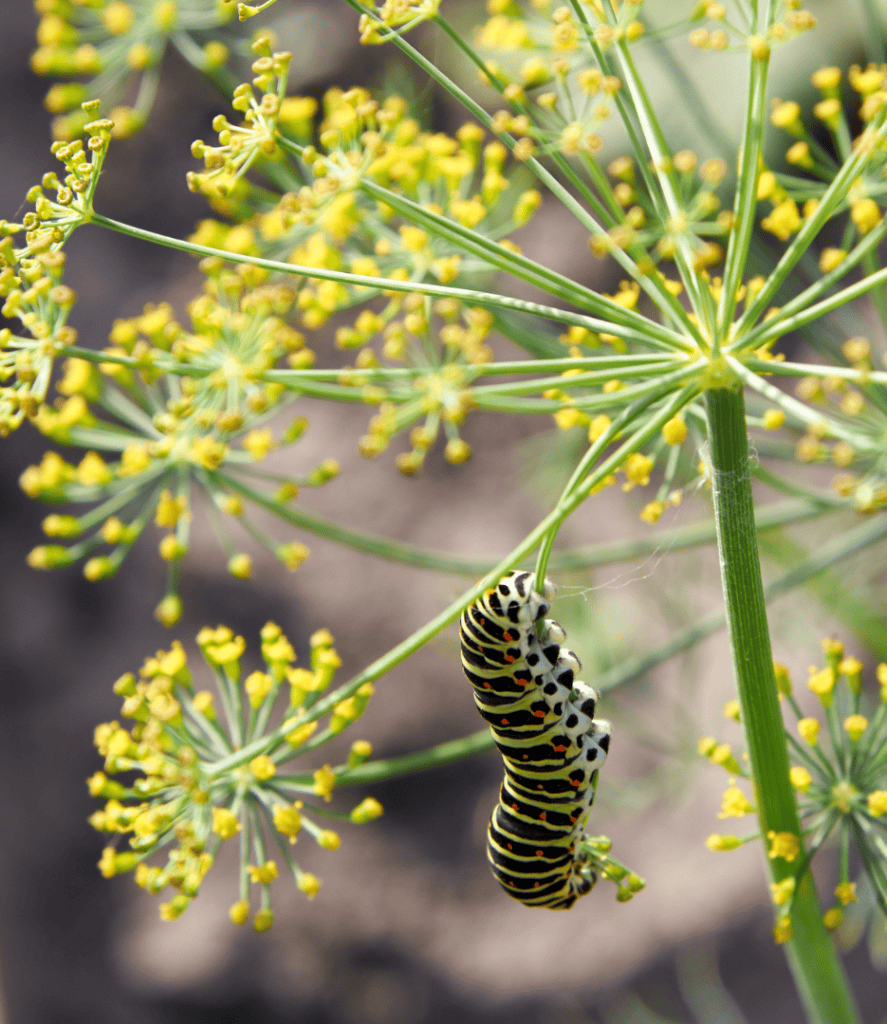
If you have dill in your garden or buy some fresh from a market, you are going to use the seed heads for this recipe, not the little wispy leaves. Those leaves are called dill weed and are really good in corn, avocado, & chicken salad with a little lemon juice on top. For pickles, though, we use the seeds, and you can put the whole seed head in the jars. There’s no hard and fast rule on when to pick the seed heads for pickling. Some things that I have read say to cut off the seed head after it has flowered when the seeds are still green, and others say to wait until the seeds have turned brown. My personal preference is whatever stage they’re at when I’m ready to start pickling! 😝 Try it both ways and see what you like best.
One of my favorite things about having dill in my garden is that it attracts black swallowtail butterflies, so we will sometimes find a cute little caterpillar munching on the leaves.
Making the Zesty Dill Pickles Brine
When you’ve sliced your cucumbers however you like them, then you need to make the brine. I use my quart-sized jars to measure because why not? Add 3 quarts of water and 1 quart of white vinegar to a pot. Make sure your vinegar is at least 5% acidity; some are less, and they aren’t safe for canning. Stir in 2/3 cups of pickling & canning salt. Bring the mixture to a boil and make sure all the salt has dissolved.
I used to use alum in my brine, but upon further investigation, I no longer choose to use it. My neighbor gave me one of the recipes that I use, and he said he always uses alum. He told me it really helped to make the pickles crisp and crunchy, and he was right! The problem is that alum can potentially be harmful if consumed in large quantities, and the FDA no longer recommends its use for canning.


Pack the Jars
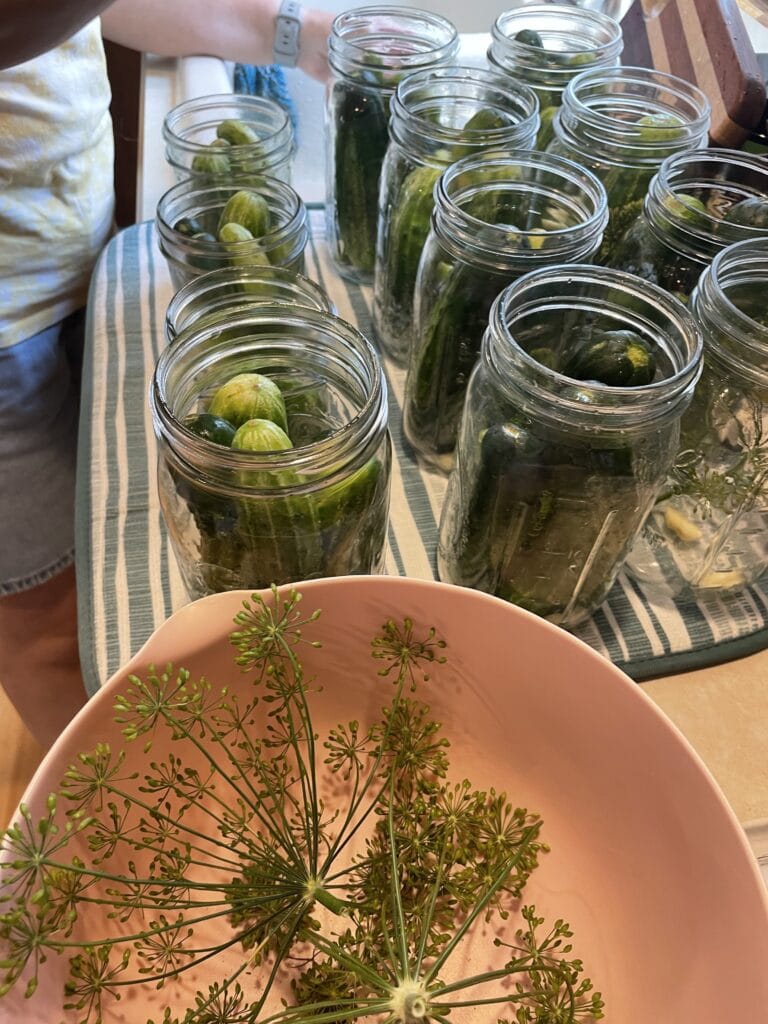
While the brine is coming to a boil, pack your clean quart-sized jars with 1 clove of garlic, a dill head (and/or dill seeds, I usually put some seeds in there too along with the dill head from my garden), 1 tsp crushed red pepper, 1/2 tsp coriander seeds, 1/4 tsp mustard seeds & 1/2 tbsp black peppercorns. Pack your jars with prepared cucumbers (whole, spears, or slices). Don’t be afraid to pack them in pretty tight, but don’t go over the shoulder of the jar because you’ll need to cover them completely with the brine.
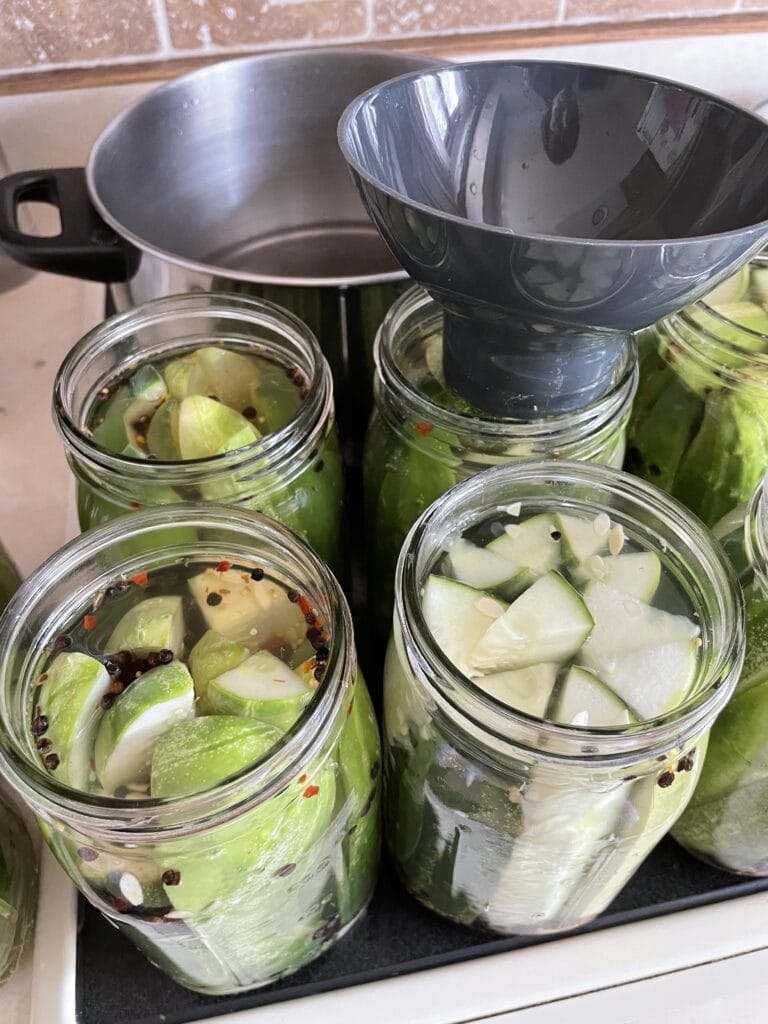
Ladle the hot brine into the jars, leaving 1/2 inch of head space. Remove bubbles that might be trapped using a butter knife or a tool. Wipe the rims of the jars with a dry cloth or paper towel and place the lid in the center. Put the rings on and tighten them to fingertip tight.
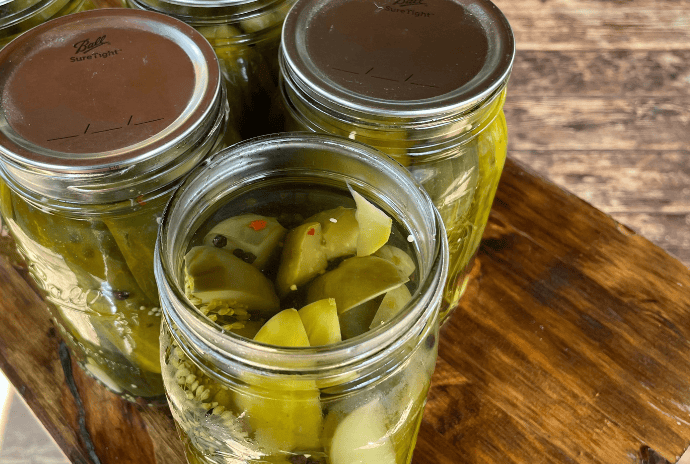
Fill the water bath canner with water and bring it to a boil. Put the jars on the rack and lower them into the simmering water. Make sure the water comes about 2 inches over the tops of the jars. Add water if necessary. Cover and bring the water back to a boil. Let the water boil for 15 minutes. Turn off the heat and remove the cover. Let the jars cool for about 5 minutes and then remove them from the canner using a jar lifter. Let cool for 12 hours and then check to make sure the jars are sealed. If they did not, put pickles in the refrigerator and enjoy those ones first.
Store Jars with the Rings OFF
Store your jars with the rings off once they have sat for 12-24 hours. Remove the rings and gently pick up on the lid to make sure they are secure. Then wash your rings and label your jars for storage. I personally LOVE these dissolvable labels. I hate worrying about sticky residue on my jars once they ready to be washed, and these dissolvable labels come off so easily with water. Storing jars with the rings off ensures they stay properly sealed. If they do happen to come unsealed, you will know and can toss them. If you store with the rings on and your jar happens to unseal, it could reseal, and you’d never know how long the jar was sitting unsealed.
I hope you enjoy these zesty dill pickles as much as my family does! Comment and let us know if you try them and what you think.
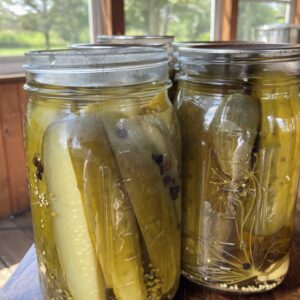
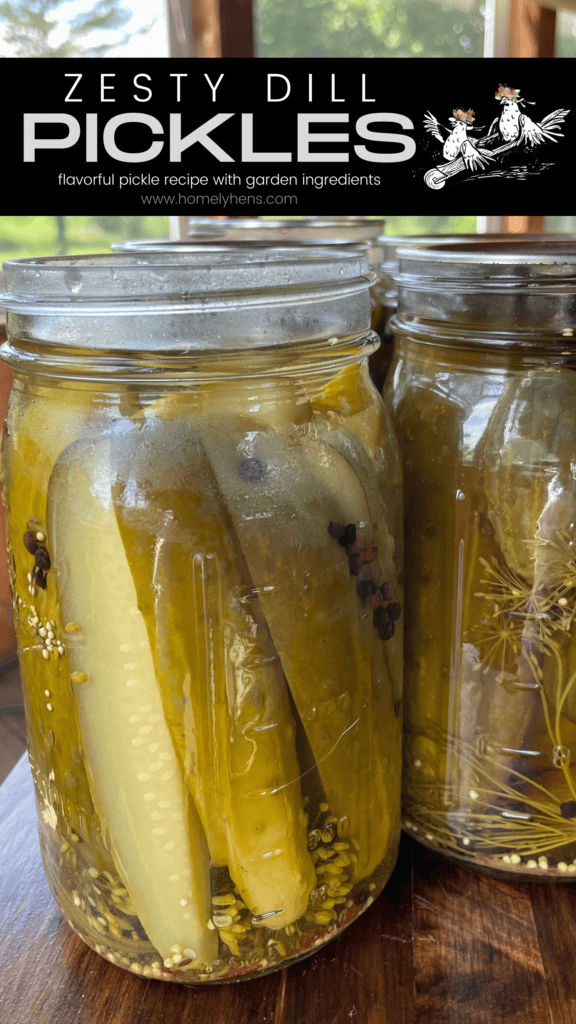
Zesty Spiced Dill Pickles
Equipment
- 1 water bath canner
- 6 quart sized jars
- funnel
- jar lifter
Ingredients
- 1 quart white vinegar
- 3 quarts water
- 2/3 cup canning salt
- 6 cloves garlic
- 6 heads dill or 6 tbsp dill seeds
- 6 tsp crushed red pepper
- 3 tsp coriander seed
- 1 1/2 tsp mustard seed
- 3 tbsp black peppercorns
- 16 lbs 4-6 inch cucumbers whole or spears (more if sliced)
Instructions
Making the Brine
- Add 3 quarts of water & 1 quart of white vinegar (make sure it is 5% acidity) to a pot.
- Stir in 2/3 cup canning/pickling salt and the optional 1 tbsp alum. Bring the mixture to a boil.
Pack the Jars
- While the brine is coming to a boil, pack your clean quart-sized jars.
- In each jar add 1 clove of garlic, a dill head (and/or dill seeds), 1 tsp crushed red pepper, 1/2 tsp coriander seeds, 1/4 tsp mustard seeds, & 1/2 tbsp black peppercorns.
- Pack each jar with prepared cucumbers (whole, speared, or sliced are all great!) Make sure the cucumbers don't go over the shoulder of the jar.
- Ladle the hot brine into the jars, leaving 1/2 inch of head space. Remove bubbles that might be trapped using a butter knife or a tool. Wipe the rims of the jars and place the lid in the center. Put the rings on and tighten them to fingertip tight.
- Bring water to a boil in the water bath canner. Put the jars on the rack and then lower it into the simmering water. Water should come about 2 inches above the tops of the jars. Cover and bring the water back to a boil and process quart-sized jars for 15 minutes. Turn off the heat and remove the cover. Let the jars cool for about 5 minutes and then remove from the canner. Let cool for 12 hours and then check to make sure the jars are sealed. If they did not, put pickles in the refrigerator and enjoy those ones first.



2 Comments
Pingback:
Pingback: