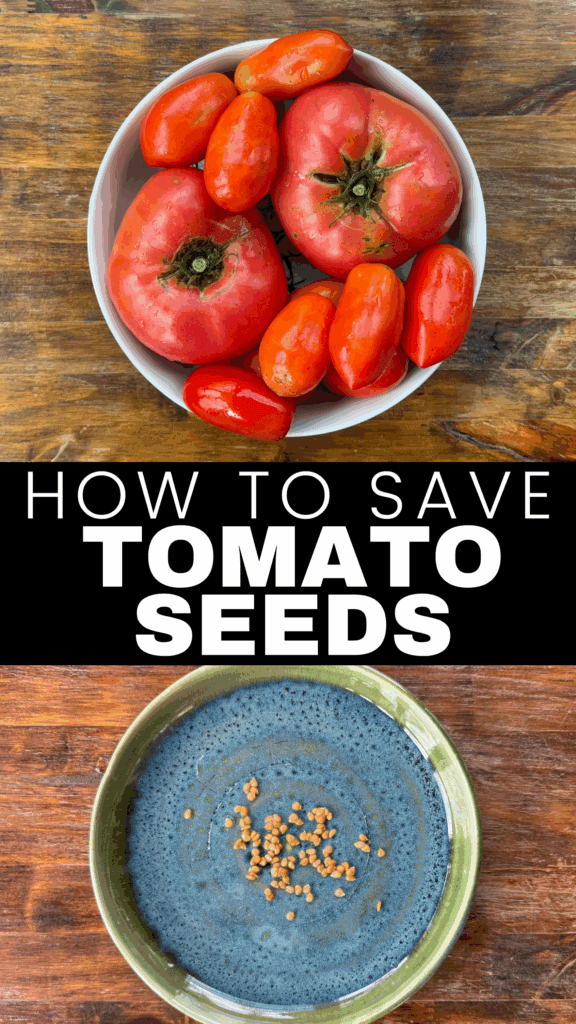
How to Save Tomato Seeds for Next Year’s Garden (Step-by-Step)
Learning how to save tomato seeds is one of the simplest and most rewarding skills you can add to your gardening routine. Whether you’re growing heirlooms or open-pollinated varieties, saving seeds lets you carry your favorite tomatoes into next year, and beyond.
It’s also a great way to become more self-reliant and preserve varieties that do especially well in your unique climate.
In this post, I’ll walk you through exactly how to collect, ferment, dry, and store your own tomato seeds step by step. No fancy tools needed, just a few tomatoes, a jar, and a little patience. Once you try it, you’ll never want to toss tomato seeds again!
Visit our Gardening Page for more information on growing vegetables and care techniques.
This post contains affiliate links. This will not cost you anything, but will help us offset the cost of running the blog. We only share products we use and would recommend to a friend. Thank you for your support! Click ‘HERE’ for more info.
Quick Step Summary of How to Save Tomato Seeds
- Step 1: Scoop out seeds
- Step 2: Ferment the pulp
- Step 3: Rinse and separate
- Step 4: Dry
- Step 5: Store
Why Save Tomato Seeds?
Over time, seeds you save will adapt to your soil, weather patterns, and garden setup, something store-bought seeds can’t replicate. You’ll have truly personalized and resilient heirloom seeds, not to mention it doesn’t cost a thing to save your own seeds! So, if you’re tired of spending a lot of money on brand-new seed packets every year, start saving your own seeds.
It is so nice to be self-reliant, knowing that you can grow your own food without having to buy anything new or rely on someone else to have the seed varieties that you’re looking for.
Best Tomato Varieties for Seed Saving
Before we get ahead of ourselves, you can’t just save any seed that you want. Well, you can, but all seeds are not created equal, and some saved seeds will not germinate, won’t bear fruit, or will bear fruit that is different from the parent plant’s fruit.
When saving seeds, you want to look for heirloom varieties.
What is an Heirloom Seed?
An heirloom seed is a seed variety that has been passed down through generations, often 50 years or more, because of its reliable flavor, appearance, and growth habits. These seeds are open-pollinated, meaning that if you save and replant them, they will produce plants true to the parent, just like the tomato you enjoyed this year.
Gardeners love heirlooms not only for their consistency but also for their rich history and diversity in colors, shapes, and tastes.
What is a Hybrid Seed?
A hybrid seed is created by intentionally crossing two different parent plants to combine certain traits, such as disease resistance, uniformity, or higher yields. While hybrids can be excellent for performance, they don’t reproduce true-to-type. If you save seeds from a hybrid tomato, the next generation may revert to one of the parent traits or turn out unpredictable, making them unreliable for seed saving.
Heirloom vs. Hybrid—Which to Choose for Seed Saving?
When it comes to saving tomato seeds, heirlooms and other open-pollinated varieties are the best choice. They ensure that your saved seeds will grow into plants that match the fruit you loved.
Hybrids, on the other hand, are wonderful for eating fresh during the season but not ideal for seed saving since their genetics don’t remain stable. For consistent results year after year, stick with open-pollinated heirlooms.
When to Harvest Tomato Seeds
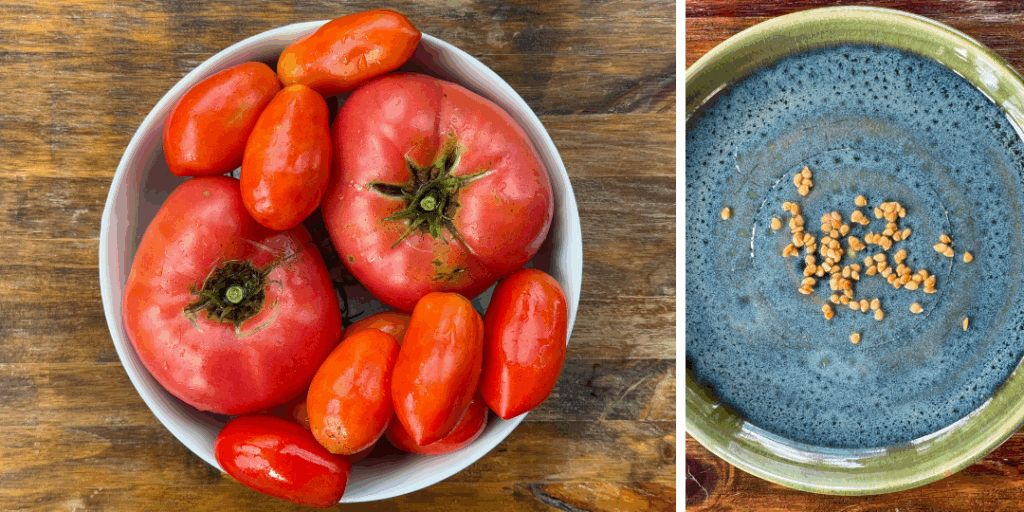
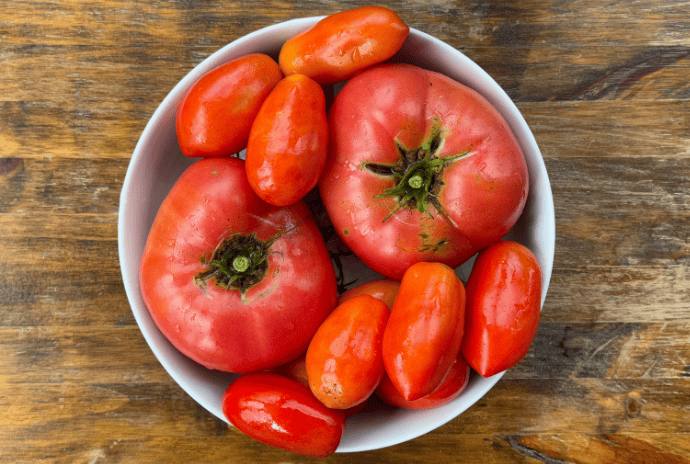
The best time to collect tomato seeds is when the fruit is a little more ripe than you would normally pick it for eating. A tomato that’s slightly overripe contains fully mature seeds, giving you the highest germination rates. Choose healthy fruits from strong plants, and avoid saving seeds from diseased or damaged tomatoes.
How to Save Tomato Seeds: Step-by-Step
Saving tomato seeds properly ensures you preserve the best traits of your plants and get healthy, viable seeds for next season.
Step 1: Choose the Right Tomatoes
Pick fully ripe, healthy tomatoes from the best-looking plants. Seeds from ripe fruit are more mature and viable. Choosing disease-free, strong plants helps preserve desirable traits.
Step 2: Cut Open and Scoop Out Seeds
Cut the tomato in half, horizontally across the equator, which is best so you don’t cut the seeds, and they are easier to get out. Scoop the seeds and surrounding gel into a clean jar or cup. The gel makes it difficult for the seeds to germinate, so we will remove it for good seed storage and sprouting.
Step 3: Ferment the Seeds (Important Step!)
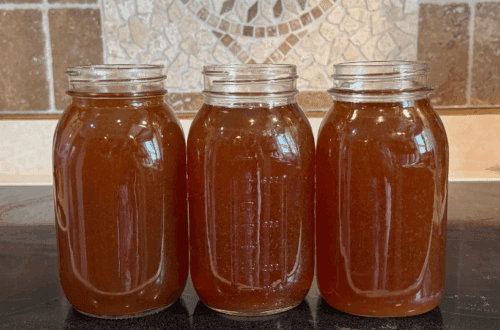
Add a little water to the jar, just enough to cover the seeds. Loosely cover the jar with a paper towel or coffee filter. Leave it at room temperature for 2–4 days, stirring or swirling once a day. You’ll notice: bubbles, foam, potentially mold, and a slight odor. This is normal!
Fermentation breaks down the gel sac, kills off bad bacteria and viruses, including seed-borne diseases like seed-borne bacterial canker, and improves germination rates. This is the process that gets rid of the gel coating on the seeds.
Step 4: Rinse and Separate Good Seeds
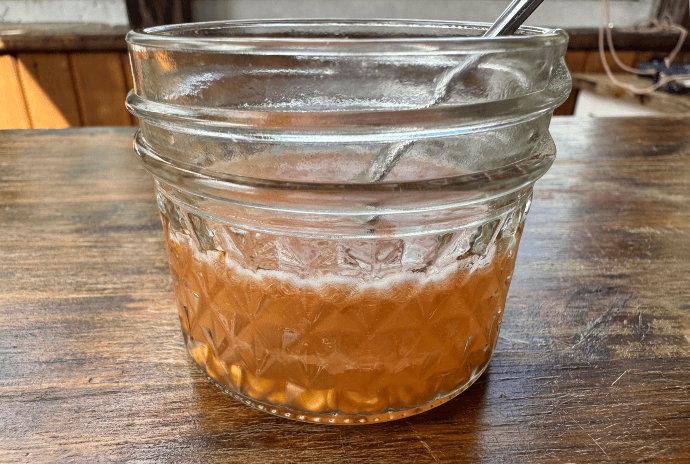
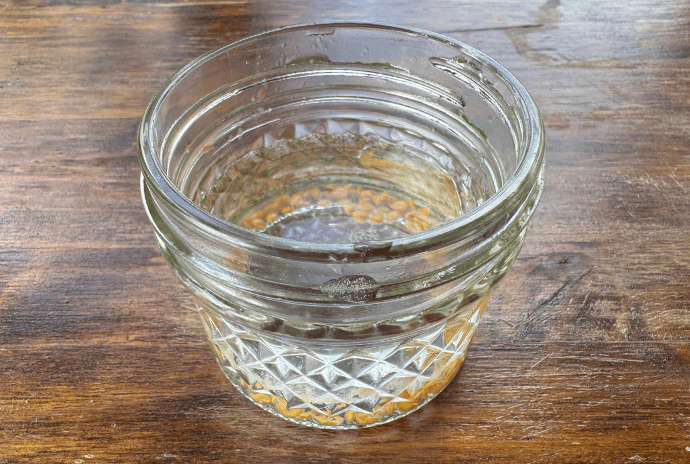
After 2–4 days, fill the jar with water. Stir well, then let it sit for a few seconds. Good seeds sink, while pulp and bad seeds float. Pour off the top layer that might include pulp, mold, and bad seeds. Repeat rinsing 2–3 times until the water is clear. Separating floating debris ensures you only keep viable, healthy seeds.
Step 5: Dry the Seeds Thoroughly
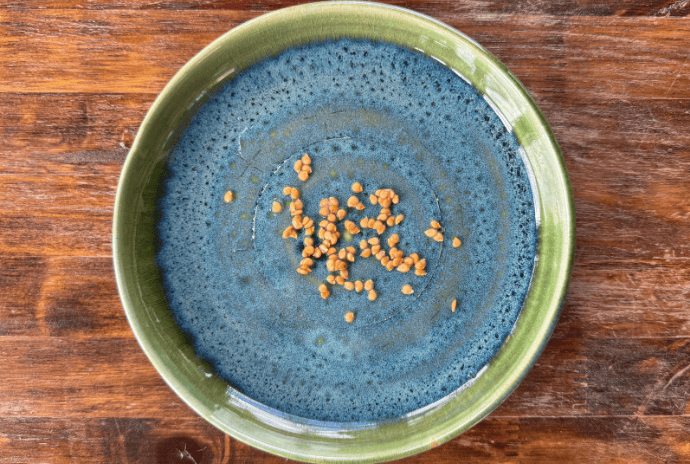
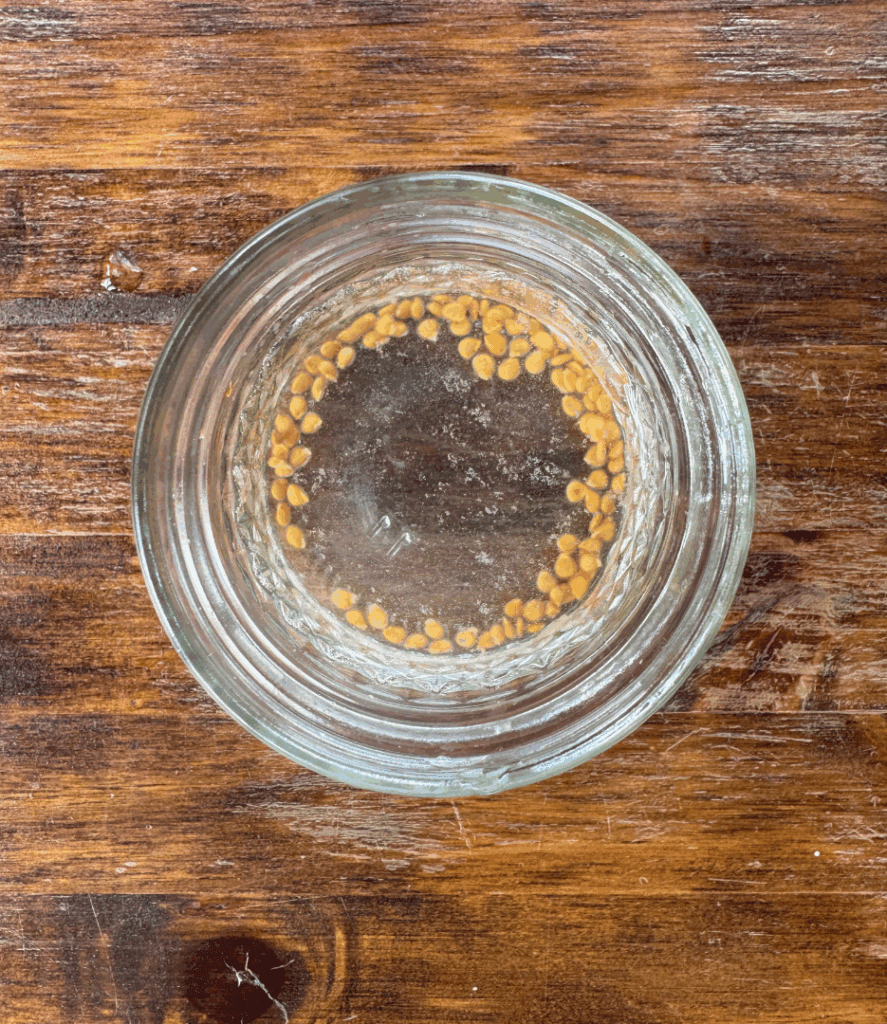
Pour off the last bit of water and spread the cleaned seeds on a non-stick surface, like a paper plate, coffee filter, parchment paper, or glass jar. Let them dry for 5–10 days in a well-ventilated, cool, dark place. Stir daily to prevent clumping and mold. Fully dry seeds last longer and won’t rot or develop mold in storage.
Step 6: Label and Store Seeds
Store in a paper envelope or glass jar with a tight lid. Label with variety name and date. Keep in a cool, dark, dry place (or refrigerator if storing long term). Proper labeling and cool/dry conditions preserve seed viability for 4–7 years (or more!).
Tips for Fermenting Tomato Seeds (And Why It Matters)
Tomato seeds are surrounded by a natural gel coating that prevents them from sprouting inside the fruit. Fermentation removes this coating and also kills off some seed-borne diseases, giving you healthier, longer-lasting seeds.
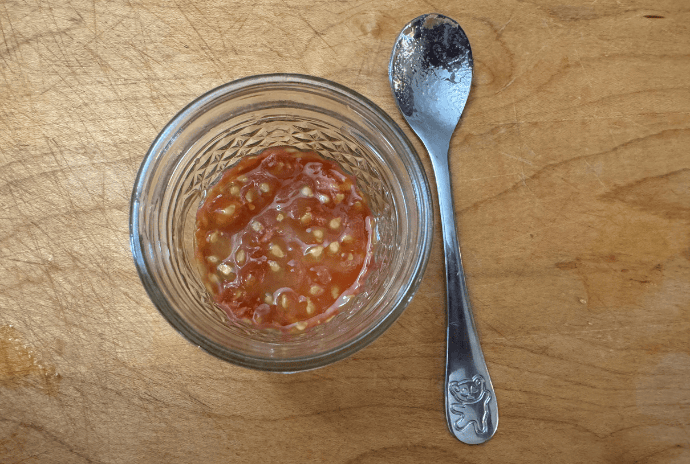
- Ideal temperature: Keep the jar at 70–75°F (21–24°C). Cooler rooms slow the process; warmer rooms speed it up but increase mold risk. Avoid spots over ~85°F.
- How long: Most ferments finish in 24–72 hours. You’re done when seeds sink and a thin white film forms on top. Stop by Day 3–4 to avoid damaging embryos.
- Jar setup: Use a small glass jar and add just enough water to make a slurry. Cover loosely (coffee filter or cloth + rubber band) so gases escape, no tight lids. Label variety + date.
- Stir daily: Give it a quick stir once or twice a day to break surface mold and submerge seeds evenly.
- Mold management: A light white/gray film is normal; skim if it gets thick. If you see hairy, colorful mold or a strong rotten odor, rinse and restart in a cleaner jar.
- Water choice: Dechlorinated water helps (let tap water sit out overnight). Chlorine can slow the fermentation.
- Clean tools: Start with clean jars and utensils to keep unwanted microbes down.
- Location: Keep the jar out of direct sun and away from hot appliances; steady room temps make cleaner, quicker ferments.
How to Store Saved Tomato Seeds
After drying, store seeds in a breathable envelope, paper packet, or small glass jar. Always label with the tomato variety and the year you saved them. For long-term storage, keep them in a cool, dark, and dry place such as a pantry or even the freezer.
Properly dried and stored tomato seeds can remain viable for 4–6 years, though germination rates are highest within the first 3 years.
Common Mistakes to Avoid When Saving Tomato Seeds
- Saving hybrid seeds: These don’t grow true-to-type, leading to unpredictable plants.
- Skipping fermentation: Without fermentation, seeds may sprout poorly or carry disease.
- Not drying thoroughly: Damp seeds mold quickly in storage.
- Improper storage: Warm or humid conditions shorten seed life.
Explore More Gardening Techniques
Saving seeds is a rewarding way to carry your garden forward season after season. If you’re new to the process, start small with one or two favorite heirloom tomato varieties, and build your collection from there. Check out a few more of our seed and gardening posts:
- How to Save Carrot Seeds – Learn how to collect, dry, and store carrot seeds for next year’s garden.
- Garlic Growing Guide – From planting to harvest, this guide covers everything you need to grow garlic successfully.
- How to Plant Turmeric – Simple steps to grow fresh turmeric at home for cooking and herbal remedies.
Frequently Asked Questions About Saving Tomato Seeds
Yes, but only if they’re heirloom or labeled as open-pollinated. Most store-bought tomatoes are hybrids, which won’t produce true-to-type plants.
Yes. Fermentation removes the natural gel coating and helps prevent disease, which means better germination and healthier plants.
Perform a simple germination test: place 10 seeds on a damp paper towel, seal it in a plastic bag, and check for sprouting in 7–10 days.
Absolutely! Many cherry tomatoes are open-pollinated and make excellent candidates for seed saving.
With proper drying and storage, tomato seeds can remain viable for up to 6 years, though germination is strongest in the first few.
Call to Action
Seed saving is one of the most cost-effective and rewarding skills for gardeners to learn. If you’re ready to grow thriving plants year after year, start by saving seeds from your favorite tomatoes this season. Look at more of our gardening tips, tricks, and guides in our Gardening Hub.
How to Save Tomato Seeds
Materials
- fully ripe, heirloom tomatoes
- small jar
- paper towel or coffee filter
Instructions
- Pick fully ripe, healthy tomatoes from the best-looking plants.
- Cut the tomato in half (horizontally across the equator).
- Scoop the seeds and surrounding gel into a clean jar or cup.
- Ferment the seeds by adding a little water to the jar, just enough to cover the seeds.
- Loosely cover the jar (with a paper towel or coffee filter).
- Leave it at room temperature for 2–4 days, stirring or swirling once a day.
- You’ll notice bubbles, foam, maybe a little mold and a slight odor, this is normal!
- After 2–4 days, fill the jar with water. Stir well, then let it sit for a few seconds. The good seeds sink, while pulp and bad seeds float. Pour off the top layer (pulp, mold, bad seeds). Repeat rinsing 2–3 times until water is clear.
- Pour off the clean water and spread the seeds on a nonstick surface so they can dry.
- Let them dry for 5–10 days in a well-ventilated, cool, dark place. Stir daily to prevent clumping and mold.
- Store in a paper envelope or glass jar with a tight lid. Label with variety name and date.
- Keep in a cool, dark, dry place (or refrigerator if storing long term).


