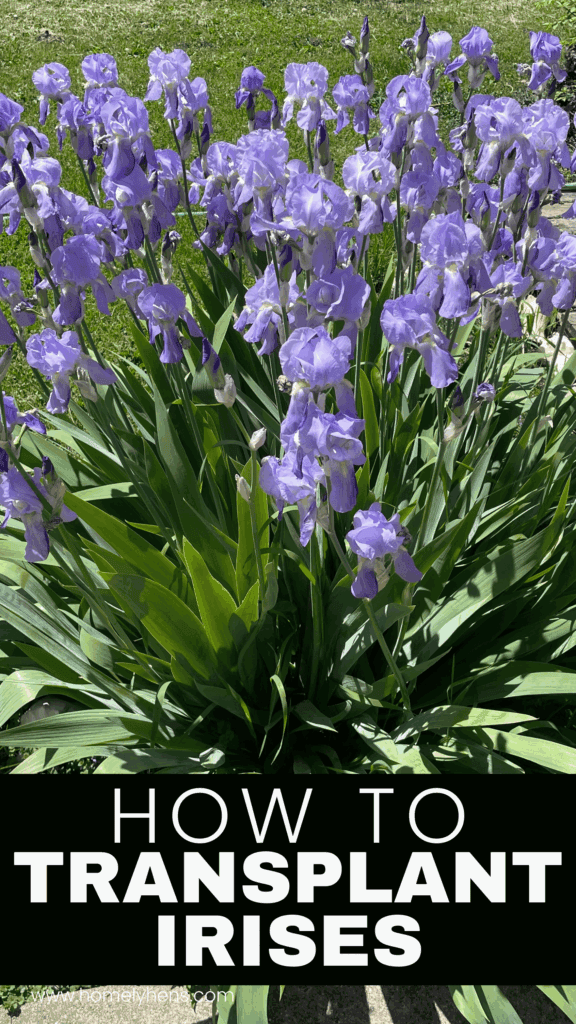
How to Split and Transplant Irises (Garden Beds or Pots)
If you’re wondering how to split and transplant irises, you’re in the right place. Irises are hardy, low-maintenance perennials, but every few years, they need a little attention to keep blooming their best. Dividing the rhizomes not only helps manage overcrowding—it also encourages stronger, more vibrant flowers.
Late summer to early fall is the perfect time to dig up your iris clumps, separate the healthy pieces, and replant them either in your garden beds or containers. Whether you’re refreshing an existing bed or sharing extras with a friend, splitting irises is a satisfying task that pays off beautifully in spring.
In this post, I’ll walk you through when and how to divide irises, how to replant them properly, and what to expect afterward. For more flower-growing tips and herbal garden care, visit our Gardening Page.
This post contains affiliate links. This will not cost you anything but will help us offset the cost of running the blog. We only share products we use and would recommend to a friend. Thank you for your support! Click ‘HERE’ for more info.
Quick Recipe Overview (Step-by-Step):
- Wait until after the irises have finished blooming, usually late summer.
- Gently dig up the iris clump using a fork or spade.
- Rinse and separate healthy rhizomes from old or damaged ones.
- Trim foliage to about 4–6 inches.
- Replant with rhizomes just below the surface with good drainage.
- Water well and mulch lightly if needed.
When Is the Best Time to Split and Transplant Irises?
The best time to split irises is when they are done blooming for the year, but before the ground is too cold. Digging up and splitting irises in late summer or early fall will help them focus their energy on root growth for the rest of the warmer season before winter hits.
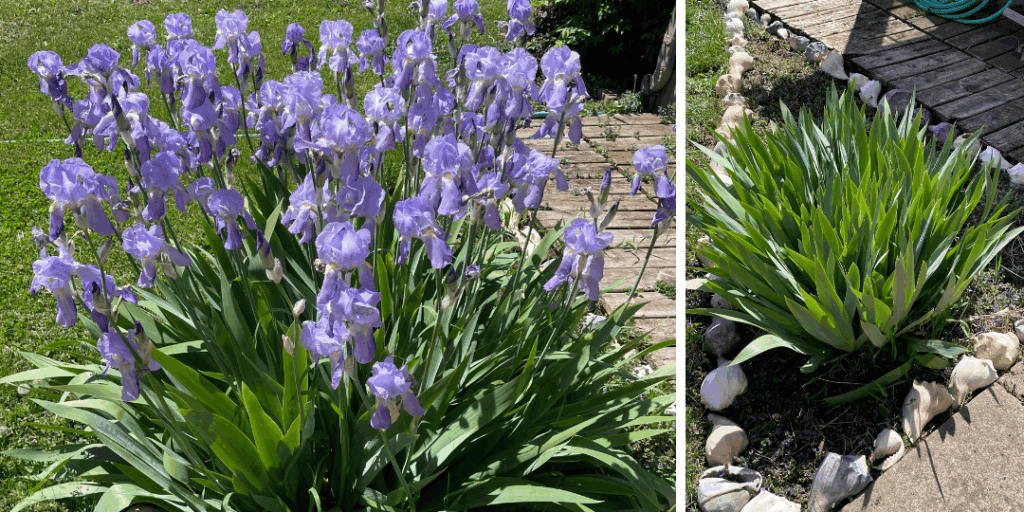
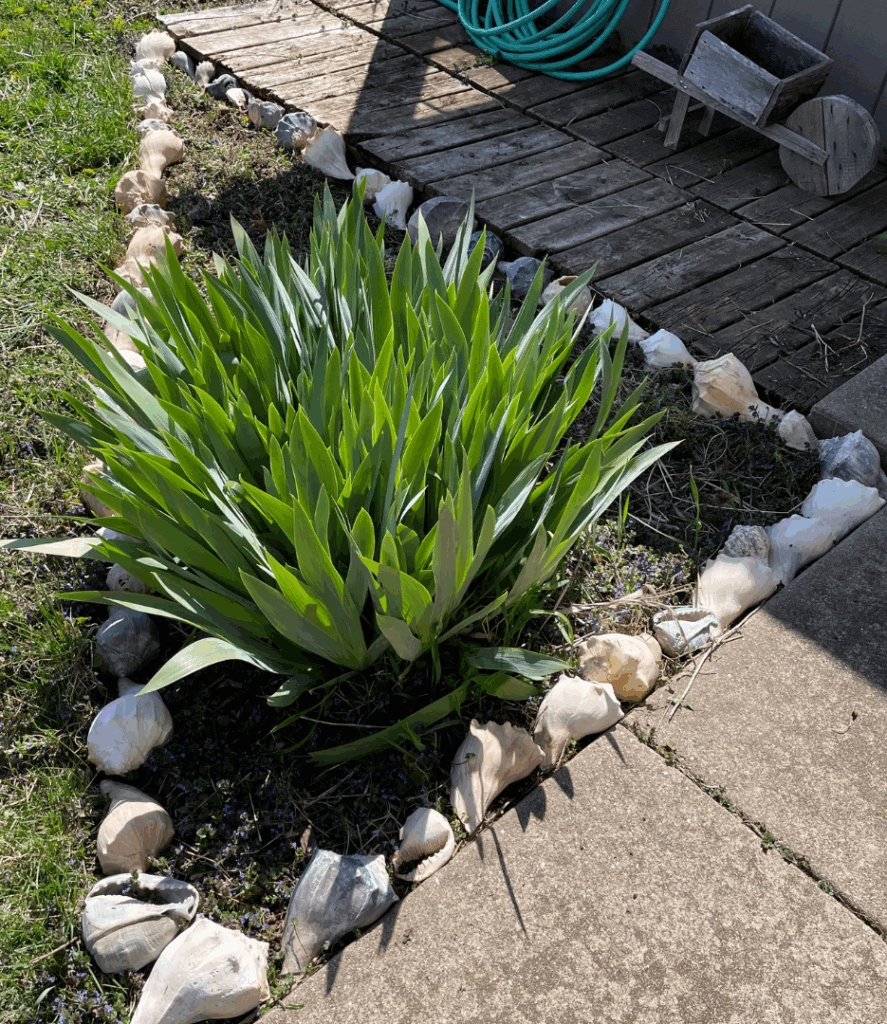
Signs that your irises are ready to be split are that they are clumping and growing on top of each other, your plant is blooming less than in previous years (overcrowded), or the center of the plant is dead or hollow. Irises multiply every single year, so you’ll have to split them every few years, depending on how close together you planted them.
Tools and Supplies You’ll Need
- Heavy Duty Gardening Gloves– A simple tool that will protect your hands. Are you even a gardener if you don’t have any gloves?
- Garden fork or spade- You need something to loosen up the soil and pop the iris rhizomes out of the ground.
- Hose or bucket for rinsing- Once the rhizomes are out of the ground, you can rinse them so you can better distinguish the old rhizomes from the new rhizomes.
- Pruners or scissors– You’ll need these to separate the old rhizomes from the new rhizomes, so you can transplant the new ones.
- Friends with irises to trade with! Okay, this one is optional, but my daughter and I had so much fun at an iris swap that we went to this summer, where everyone dug up and split their irises, and we swapped for ones we didn’t have. Our iris patches are going to be full of different colors next year!
How to Split Iris Rhizomes
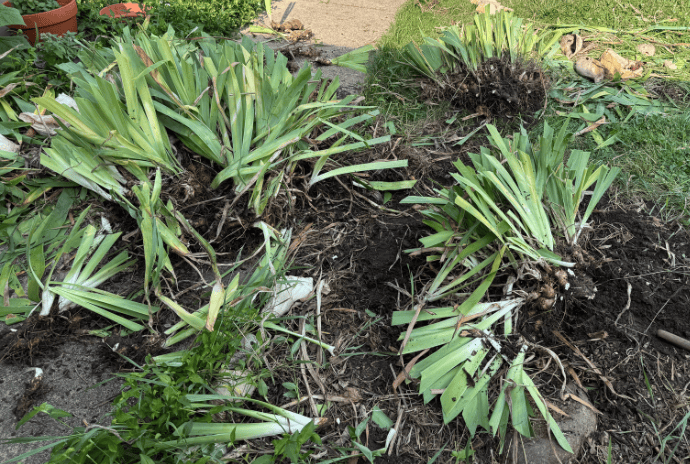
Wait until after the irises have finished blooming, usually late summer or early fall. This allows enough time for the new roots to re-establish in their new space before winter comes. Gently dig up the iris clumps using a fork or spade.
Depending on how long the irises have been in the ground in their current spot, the rhizomes could be pretty thick. Rinse and separate healthy rhizomes from old or damaged ones. Cut the old rhizomes off; they likely won’t produce anymore, and just bulk up your plants.
How to Tell the Difference Between Old and New Rhizomes
Healthy Iris Rhizomes
- Firm and plump (not soft or squishy)
- Light tan or beige with a slightly papery outer layer
- Have at least one healthy fan of green leaves (or signs of new growth at the top)
- White, wiry roots underneath or starting to sprout
- No strong odor—just a mild earthy smell
- No signs of rot, mold, or insect holes
Old or Damaged Iris Rhizomes
- Soft, squishy, or hollow—a clear sign of rot
- Black, dark brown, or slimy areas (especially near the center of the clump)
- Shriveled or rubbery—means they’re dried out or spent
- No roots or fans of leaves left
- Visible wormholes or insect damage (iris borers are common)
- Strong sour or rotting odor
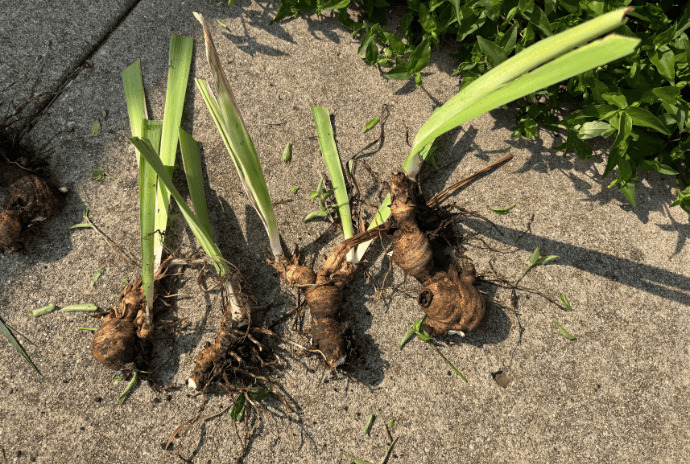
A good rhizome section should be about 3–4 inches long with healthy roots and a fan of leaves trimmed to 6–8 inches. You can trim the leaves before you dig up the irises or after; it doesn’t matter. Trimming the leaves tells the plant to focus its energy on root regrowth so it can establish itself in its new spot.
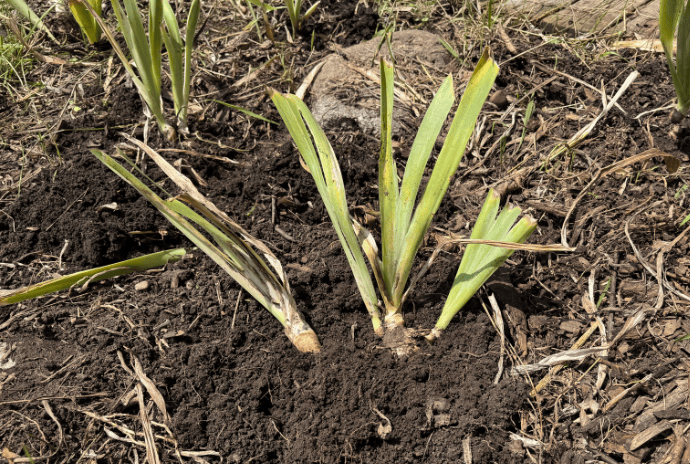
Let the rhizomes sit out for a day or two to dry out a little bit. This allows the cut spots to heal and prevents rot. Replant with rhizomes just below the surface with good drainage. They like to be able to peek out and see the sun, so don’t bury them too deep.
After transplanting, water the irises well and lightly mulch if needed.
How to Replant Irises in Garden Beds
Irises like full sun, a lot of space, and shallow planting! When you’re transplanting your irises, make sure you plant in full sun (6-8 hours a day) and have well-draining soil so the rhizomes don’t rot.
Plant each rhizome (or group of 2-3 rhizomes) 12-24 inches apart. If you’re planting in a small cluster, give a few inches in between each rhizome so they have good airflow.
Remember, irises double in size about every 2-3 years, so if you replant too many close together, you’ll be digging them up again very soon. I like to plant mine in small clusters so it doesn’t look too bare the first year they come back up.
When you’re transplanting irises, always leave some of the rhizome exposed to the sun; do not bury them! Iris rhizomes thrive when they are exposed to sunlight, and the sun helps prevent rot. They also get better air circulation, which keeps them dry and reduces the risk of diseases.
When you follow these guidelines and plant irises properly, they will be stronger, store energy efficiently, and produce more flowers. If they are planted too deeply, irises might develop foliage but weak blooms. Properly planted rhizomes also have an easier time multiplying. It is easier for them to send out new shoots and develop new rhizomes.
Should You Mulch Around Irises?
Mulching can be beneficial in iris beds—but only when done carefully. Irises have shallow rhizomes that prefer air and light exposure, so improper mulching can lead to rot.
You Should Mulch If:
- You live in a cold winter zone (Zone 5 or colder) and want to protect rhizomes from freeze-thaw cycles.
- Your irises are newly planted in late summer or fall and need insulation before their first winter.
- Your soil drains very quickly or dries out too fast, especially during hot summers.
- You’re trying to suppress weeds around irises without disturbing their shallow roots.
Avoid Mulch If:
- You’re in a humid or wet climate where mulch can trap moisture and cause rhizome rot.
- You tend to overwater, or your soil stays damp—mulch may make this worse.
- The irises are well established, and you’re mulching tightly around the rhizomes.
Mulching Tips (if you decide to do it):
- Use a light mulch: shredded leaves, pine needles, or straw.
- Never cover the rhizomes—they should remain exposed to sunlight and air circulation.
- In winter, apply after the ground freezes and remove early in spring to prevent rot.
Aftercare for Transplanted Irises
After transplanting, you want to make sure the irises get water, but they don’t need too much. For 2-3 weeks, water every 2-3 days if it doesn’t rain. Once you start to see new growth, water once a week.
How to Replant Irises in Pots or Containers
If you’re transplanting irises into containers instead of raised beds or in the ground, make sure they have plenty of space! Choose wide, shallow pots with good drainage. The soil should be sandy and loose to avoid moisture buildup.
Winter care is important if you put your irises in pots. If you live in zones 3-5, you need to move the pots in the winter to avoid letting them freeze. Since they don’t have the ground for insulation, they need to be moved into a garage, shed, or space protected from the frigid temperatures. It doesn’t have to be a heated area. You can also bury the pot in the ground to let the soil insulate it.
Water the iris sparingly; you don’t want soggy soil. In the winter, once the iris has gone dormant, water once a month.
What to Expect in the First Season After Dividing
The first spring after transplanting, expect mostly foliage growth, because they are focusing on re-establishing their root systems. You may see some short blooms, but you won’t get a full flower showing in the first year. The irises are still adjusting.
In their second spring, irises will return to their full bloom, as long as they are healthy and were planted correctly. Be patient with your irises, they will come back to their full bloom, and you’ll continue to enjoy them!
Explore More Gardening and Planting Tips
Divide a few irises this season to boost future blooms and let us know how it goes! Here are a few of our favorite posts so you can set your garden up for success.
- How to Propagate Grapes– Grow even more grapes from cuttings
- How to Make a Compost Bin with Hardware Cloth– Quick, low-cost composting bin
- Shop Your Gardening Zone– Pick plants that thrive in your area
For more gardening tips and all of our favorite tools, take a look at our Gardening Page.
FAQs About Splitting and Moving Irises
While it’s possible to move irises in spring, it’s not ideal. Transplanting during active growth or bloom can stress the plant and delay flowering. Late summer to early fall is the best time for dividing and replanting.
Irises should be divided every 3 to 4 years. Over time, clumps can become overcrowded, which leads to fewer blooms and a greater risk of disease. Dividing rejuvenates the plants and encourages better flowering.
Sometimes. If you transplant irises at the right time—late summer—and they establish well, they may bloom the following spring. However, it’s also normal for them to skip a bloom cycle while settling in.
Plant iris rhizomes about 12 to 18 inches apart. Proper spacing prevents overcrowding, improves air circulation, and helps reduce disease risk.
Most irises will have a small bloom the spring following transplant if moved at the right time and given proper care. However, some varieties may take longer to re-establish.


