How to Craft Your Own Plantain-Infused Oil!
Infusing oils is such a great skill to learn. Infused oils can be used in so many ways. You can use infused oils in beauty products, cooking, aromatherapy, and for medicinal purposes. Plantain-infused oil is one of the newest ones in my arsenal.
What is a plantain, you ask? I know most people immediately think of the banana-looking type of plantain when I start talking about this. But what I am referring to is commonly known to most people as a weed that grows throughout the world.
Herbal oils are the foundation of so many natural remedies, learn more about them on our Herbal Infused Oils Page.

This post contains affiliate links. This will not cost you anything, but it helps us to offset the cost of running the blog. We only share products we are using and items we would recommend to a friend. Thank you for your support! Click ‘HERE’ for more info.
Quick Steps to Make Plantain-Infused Oil
- Prep your Plantians. If needed, rinse off and dry thoroughly.
- Dehydrate completely
- Cut leaves into pieces and fill your jar
- Pour Oil over the leaves, ensuring everything is submerged.
- Place the jar in a cool, dark place for weeks.
- Shake the jar daily for one week.
- Strain the oil to remove the plantain materials.
- Using a jar with a lid, fill the oil.
- Store in a cool, dry place.
What Is Plantago Major? (Broadleaf Plantain Explained)
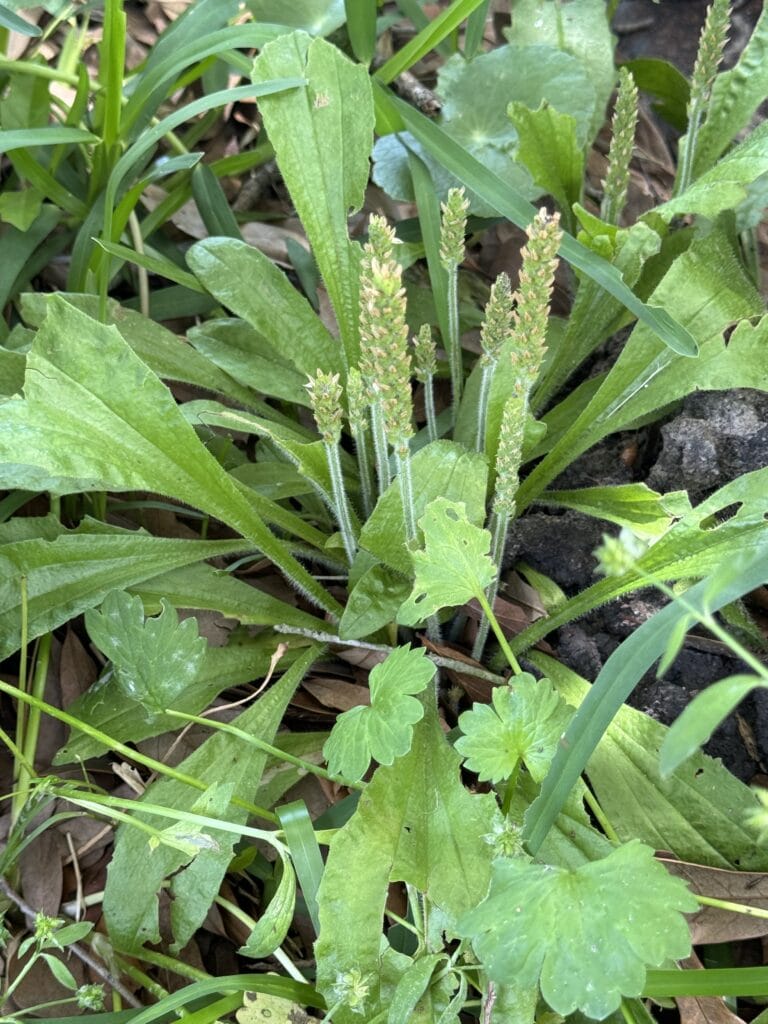
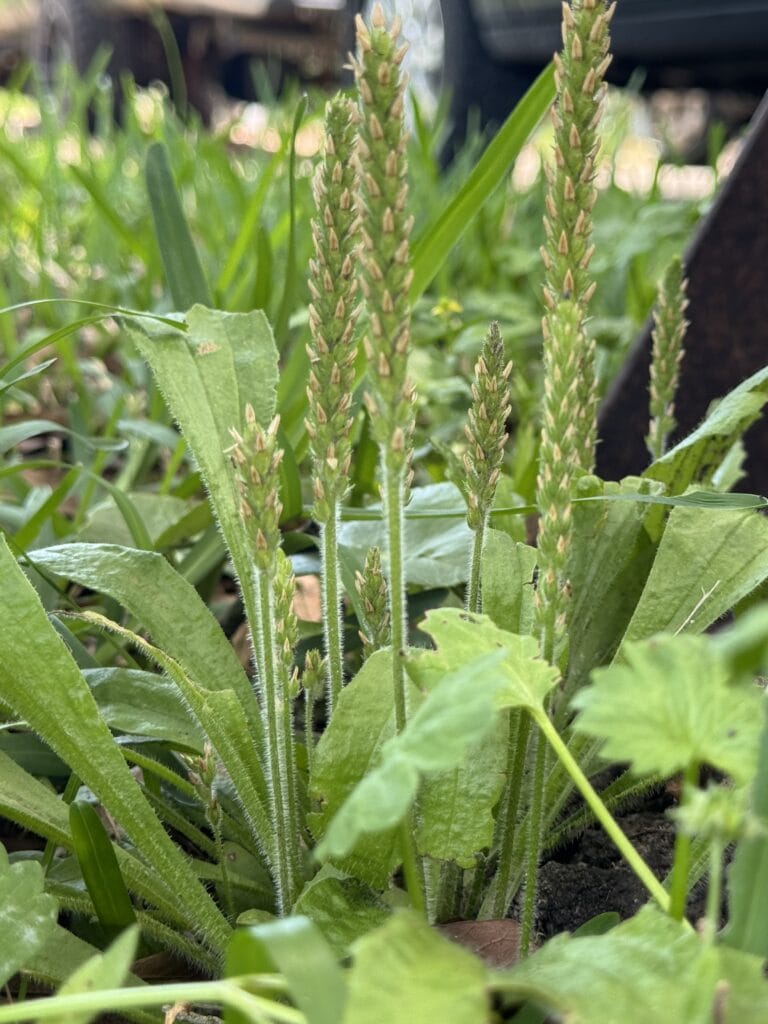
There are about 250 species that grow. Commonly, they are known as broadleaf (Plantago Major) and narrow-leaf (Plantago Lanceolata) plantains. The variety that grows in my yard is a pale-seeded plantain called Plantago Virginica, also known as Virginia Plantain or Hoary Plantain. It is known to have the same traits as the broadleaf plantain (Plantago Major). The Plantago Virginica grows in the spring to early summer so harvesting and storing this plant is essential if you want it for year-round use.
What Use Plantain for Infused Oil?
The only thing I knew about the plantain was that it was/is used to stop bleeding. I had read about it while looking up plants in my yard online to see the benefits of it, but was unaware of all the other amazing benefits it had to offer. One day, while scrolling Instagram, I came across a video with a woman talking about making soap with it. I had never heard of this, but was intrigued. The thought that I could make something that would help my husband with his psoriasis and my daughter with her eczema and know that it was not packed full of man-made chemicals, made me super excited. (Side note – this was the catapult that started our little soap-making journey)


I took a deep dive, reading all I could, and found it had so many more benefits than I originally thought. That made me fall in love with this weed that grows under my fig tree and around my yard. They are packed full of benefits!
- Helps wounds heal faster
- Lowers inflammation
- Has antibiotic properties
- Treats poison ivy/oak
- Treats psoriasis and eczema
- Helps with insect bites and stings
- Helps with coughs
- They are packed full of vitamins (especially A, B6, K, and C)
- Promotes clotting when applied to a wound
- They are used as a drawing agent

Tools You’ll Need for Infusing Herbal Oils
- 1 Glass Mason Jar – Ideal for infusing herbs with oil; reusable and heat-safe.
- 1 Fine-Mesh Sieve -Helps strain out herbs for a smooth, clean oil.
- 1 Funnel – Makes pouring your finished oil into jars mess-free and easy.
- 1 Glass Jar for Storage – Keeps your infused oil fresh and protected from light.
- Liner (Coffee Filter, Cheesecloth, or Paper Towel) – Use to catch fine bits when straining your oil.
- 1 Pair of Food Grade Gloves – Keeps your hands clean and your herbs sanitary while prepping.
- Bowl – To catch the oil easily.
Ingredients for Making Plantain Oil
- 1 Cup Oil – The base for your infusion—choose a quality carrier oil like olive or coconut.
- 2 Cups of Dried Plantain Leaf – The healing herb star of the recipe, used fresh or dried.
How to Make Plantain-Infused Oil at Home
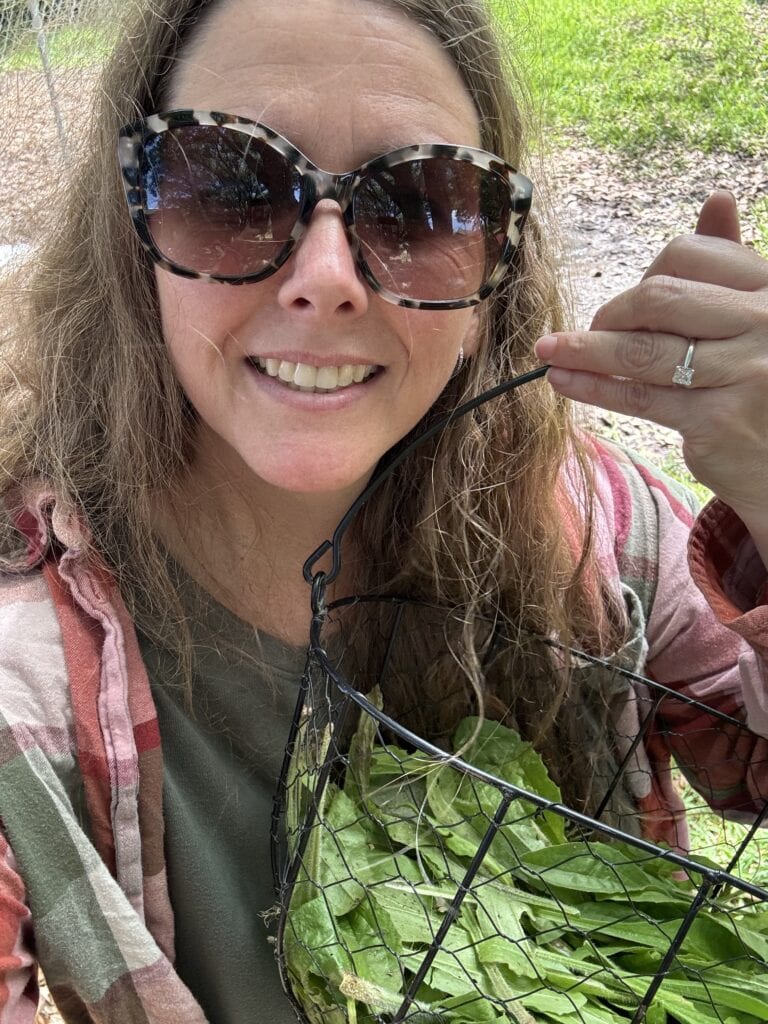
The first thing to do is to collect the plantains. And as you can see, I got to this patch of plantains right alongside the caterpillars. Now, don’t worry if you can’t find any in your yard and want to still get your hands on some; they sell organic Plantain Leaf online.
Now, to let you know, I use an app called “PictureThis”, which I found on Apple’s app store, to verify my plants. (This is not some ad – I don’t make money with them. Although if they wanted to start paying me, I would say yes, please! haha) There are also ways to search images on Google and other apps you can use to identify a plant. But this app is superb at knowing all plants and trees. So I pay a small fee each year because I use the heck out of it. It is important to pick the right plant when foraging, and there is no shame in double-checking.
When foraging the plantain, only cut off a few leaves from each plant. Leaves are super important for the plant to continue to grow and produce more leaves. (wink) It also lets the plant go to seed, so there are more plants next year.
Should You Dry Plantain Leaves Before Infusing?
After collecting your bounty, it is time to get the plantains ready for the oil. There are many debates on whether you should wash them, dehydrate them, and all that goes along with prepping them for the oils.
Rinsing a plant off is not going to take away from the plant as long as you are not crushing it in the process. Rainwater pours on them regularly, and the structure of the plant continues to maintain all the goodies inside. If you have a relatively clean plant and you don’t want to rinse it, simply dust it off by giving it a good little shake and wiping it down. Otherwise, rinse it off and dry it with some paper towels or in a salad spinner. Just be careful not to squeeze it and break it apart while doing it, where some of the goodies are lost in the process.
When it comes to drying the plant, I took a class with Dr. Patrick Jones from HomeGrown Herbalist. He advises you to dry/dehydrate them. There are many reasons why, but mostly the water in the plant can change the media used to extract the properties from the plant.
Drying the plant can be done by simply laying it out in an area with good airflow. You can put them on a screen or a pan with holes to help. If you have a dehydrator, awesome! If you want to dehydrate them in the oven – it works just as well. Just be sure to set your temperature between 95º – 100º in order not to ruin any of the nutrients in the plant.
Step-by-Step Instructions to Make Plantain Infused Oil
There are 2 parts to this. One is picking your oil. The next step is putting it together. The oil picking is the harder part of the scenario for sure. The end result is what matters for this choice. If you are going to use it for simple ointment for cuts, bites, or even taking it internally, it is simple enough to just use olive oil. Olive oil has great benefits on its own, and by infusing the oil in olive oil, you will find it to be perfect.
For the oil I did with this batch, though I used sunflower oil. My choice came from wanting to make a salve with it for my husband to use daily on his face. Sunflower oil has a lower comedogenic rating and doesn’t clog pores.
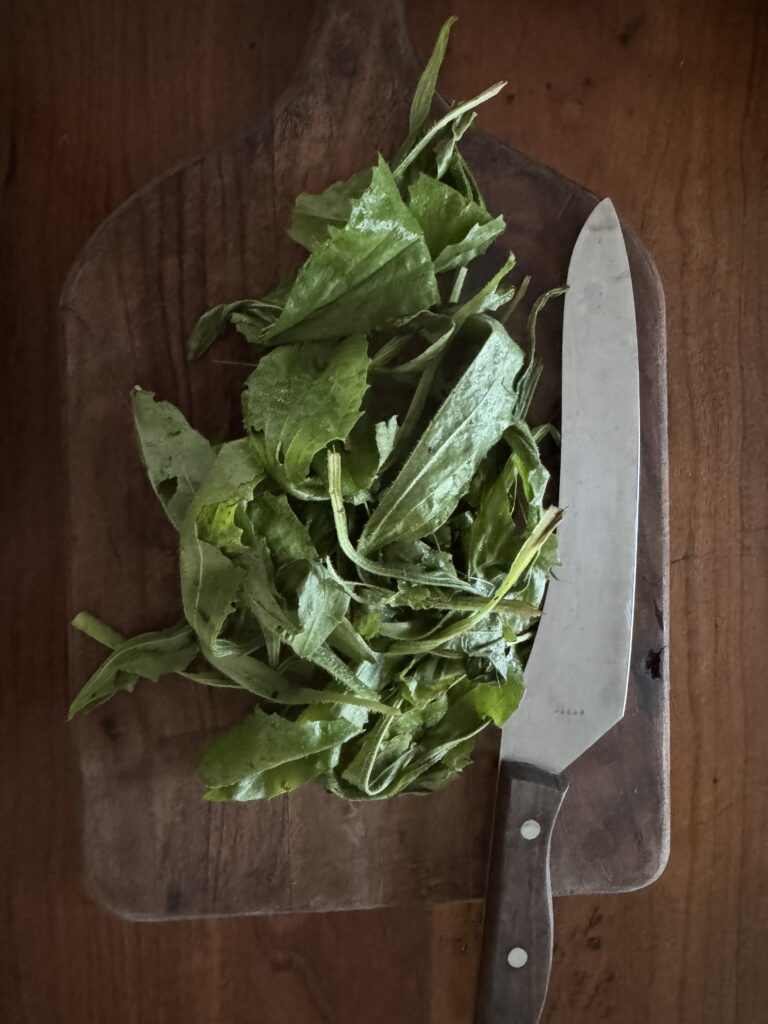
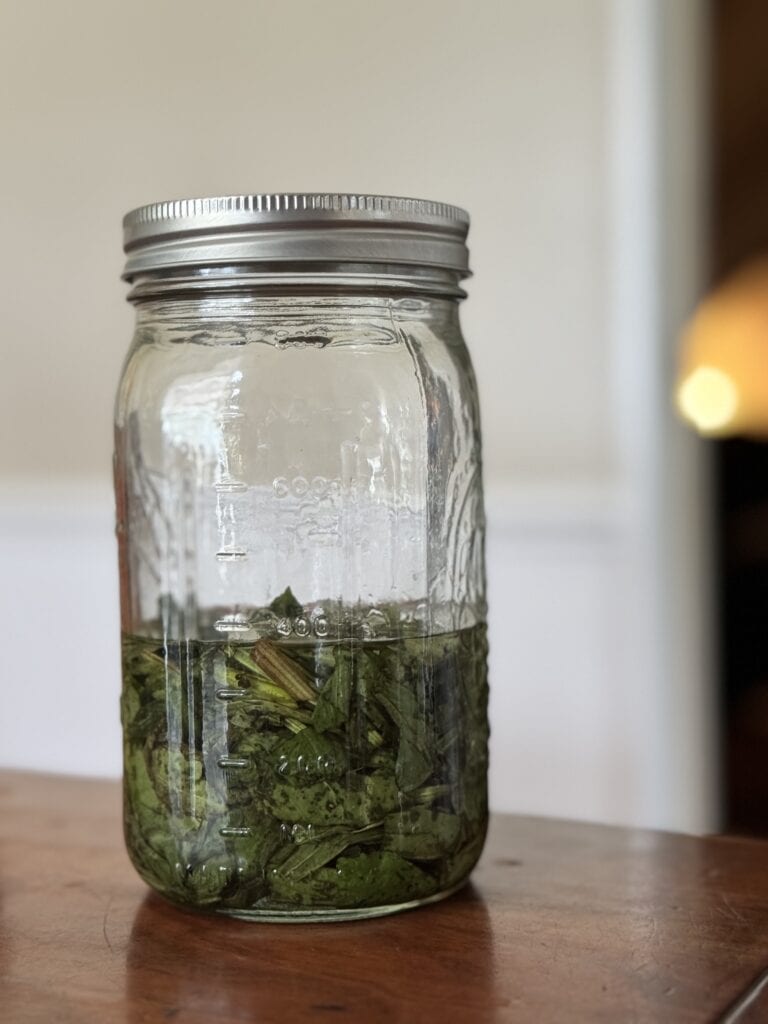
Now for the easy part. Chop up your plantains. Add them to a jar. Pour your oil over them until covered. Viola! Yes – it is that easy!
Infusing Time: How Long to Let the Oil Sit
Now that you have your oils mixed, you need to hide them in a dark place. Light breaks down the plant and ruins the nutrients at this point. I find putting it in a cabinet works best. For the first week, you will want to shake it each day.
Then you let it sit. It takes four weeks total for the plant to secrete all the nutrients into the oil.
How to Strain and Store Your Infused Oil
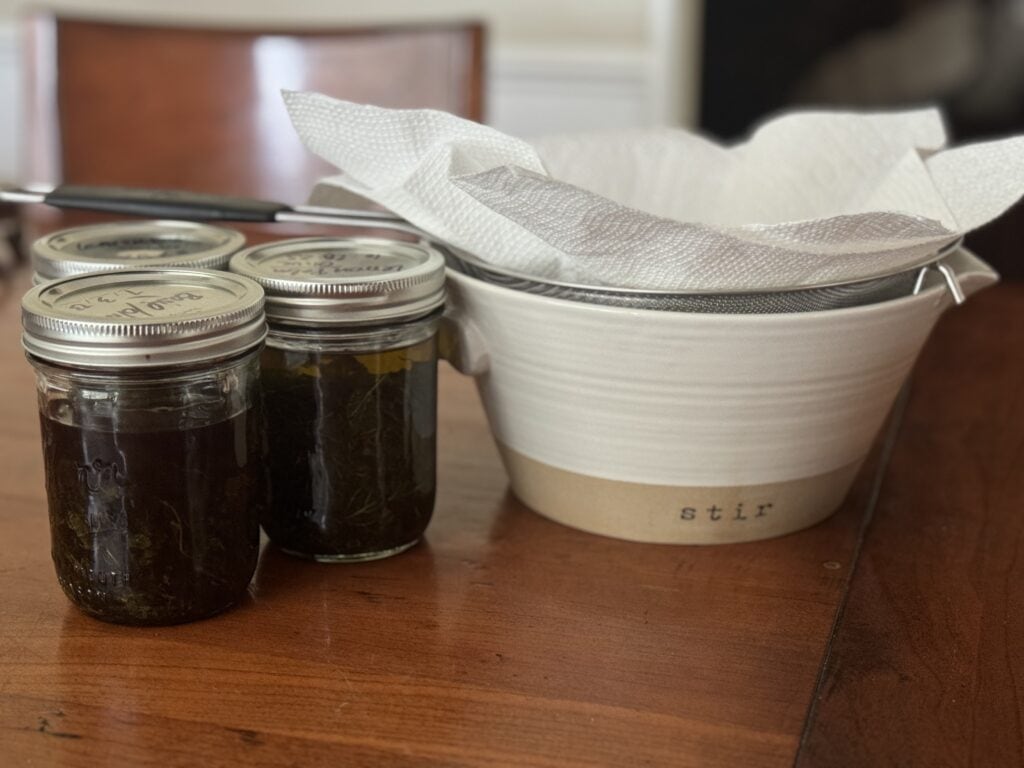
After four weeks, your oil has been infused by the plants and is ready to strain. You will need a big bowl and a fine mesh strainer. It is ideal to use a coffee filter, napkins, or cheesecloth to squeeze things out fully.
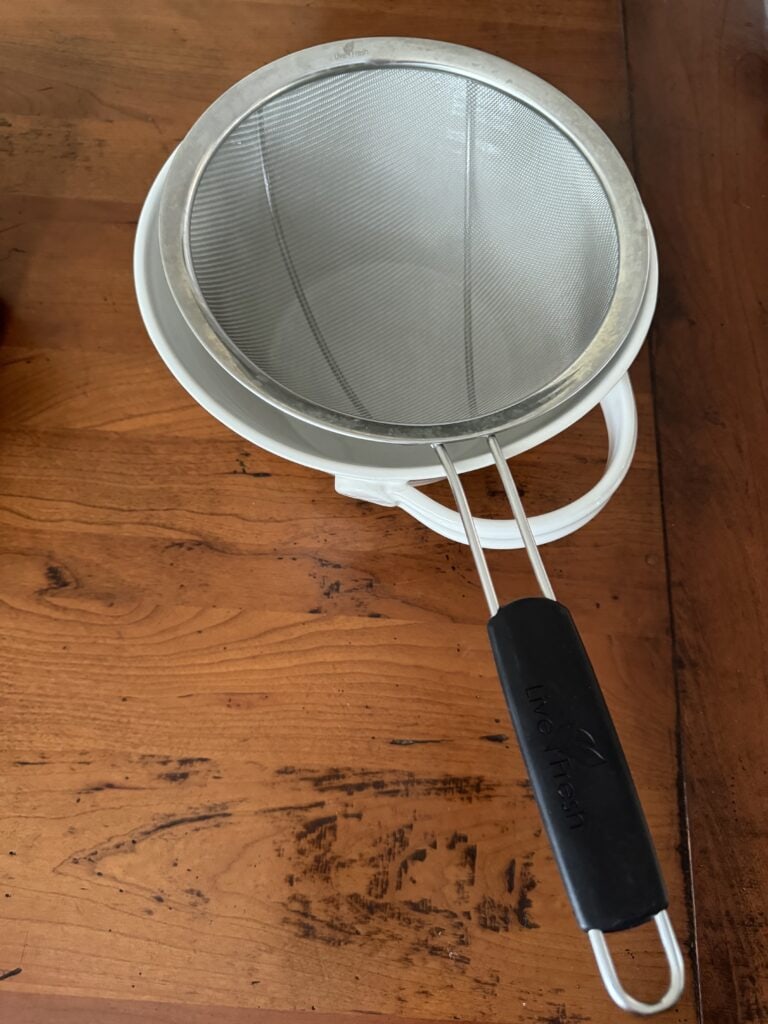
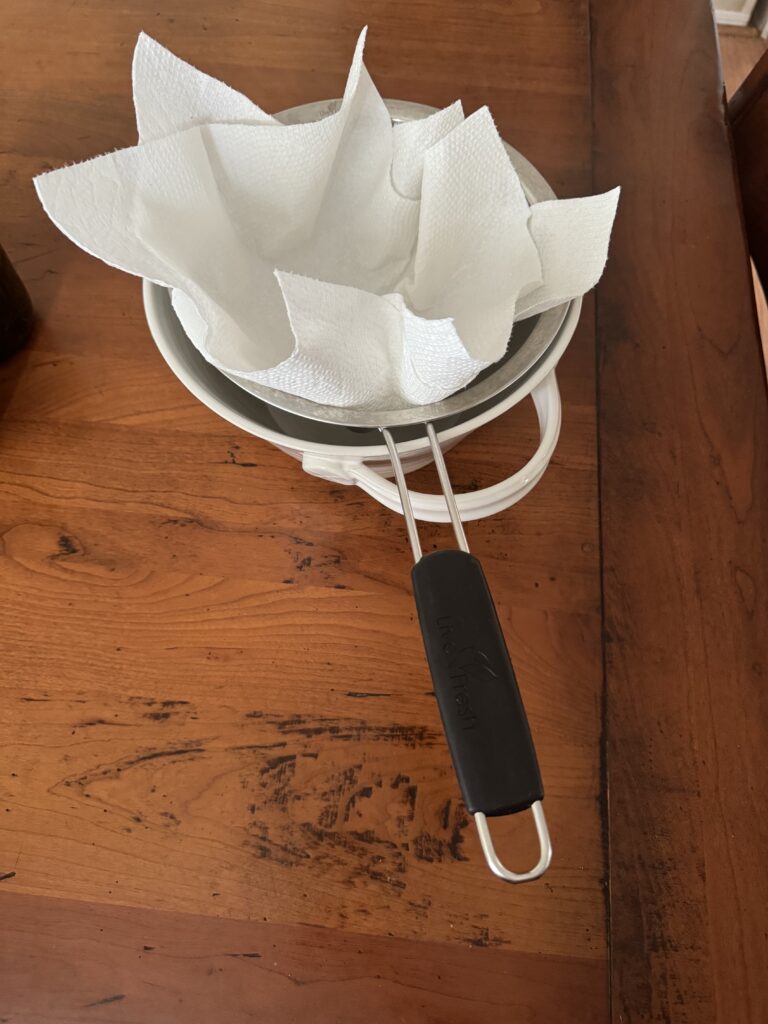
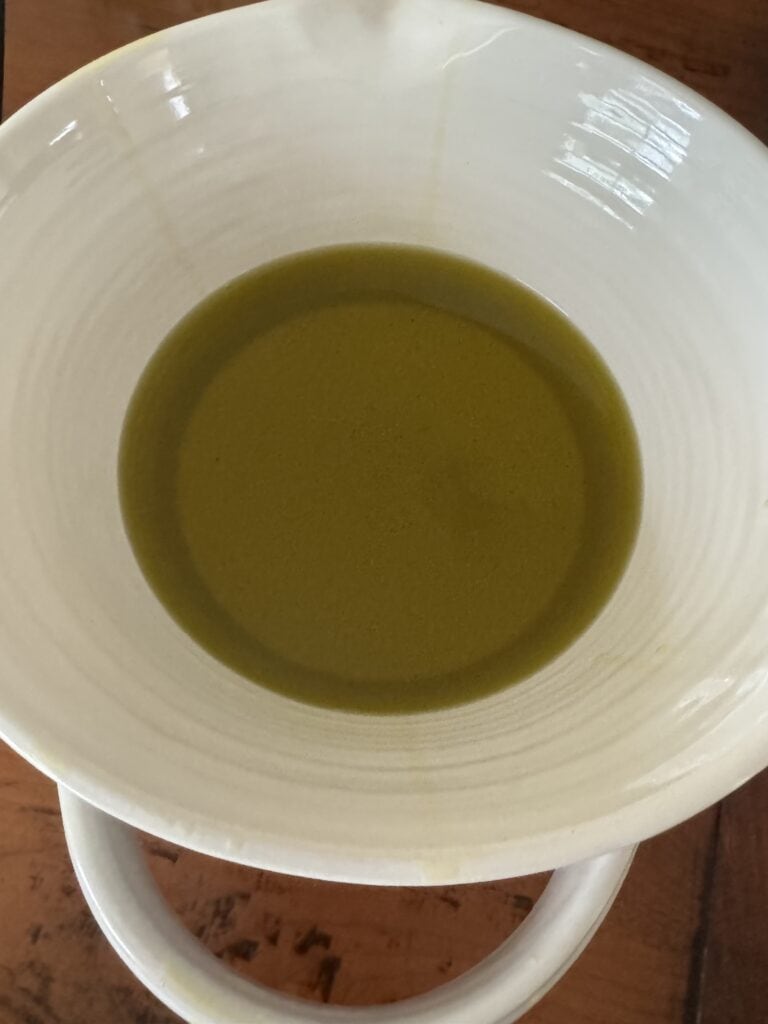
Line the mesh and pour the contents of the jar in. I like to use the bottom of a clean jar to cup to press down on the mixture to squeeze out the oils as much as I can. It will help to fold the liner of your choice over the leaves and press on top of it. If needed, you can also squeeze and/or wring it out like you do a rag using your hands. Be sure, though, if touching it, to use gloves and make sure, if using paper towels, that you don’t twist them to the point of breaking.
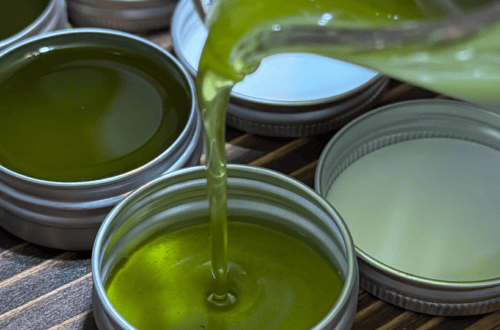
Do not worry if some sediment ends up in the final product. This will not hurt anything. Using a clean jar, grab your funnel, and pour the infused oil into the jar. Don’t forget to label the jar and date it.
Again, it is best to store the jar in a dark place to help keep the oil and nutrition in the oil from breaking down.
Remember, this is a natural product, and it’s always a good idea to do a patch test before applying it liberally to your skin.
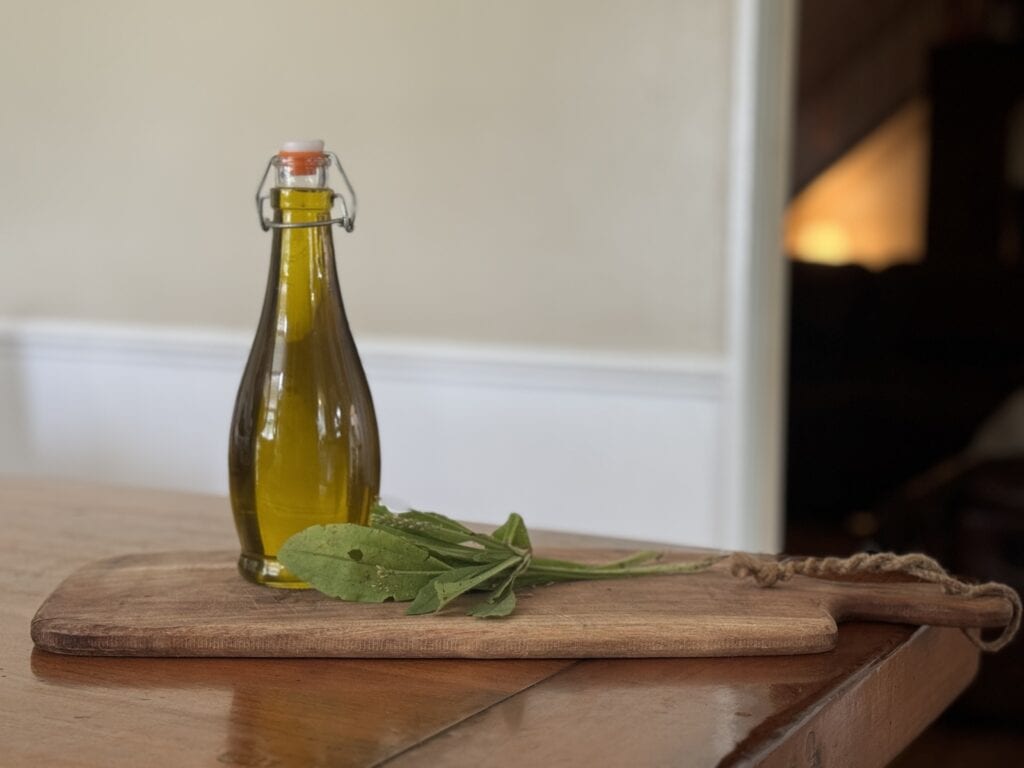
So, there you have it! With a little patience and these simple steps, you can create your own batch of plantain-infused oil and enjoy its potential benefits. Also, check out this amazing Plantain Salve Recipe with healing benefits using your plantain-infused oil.
Explore More Herbal Oil Recipes and Remedies
Want to keep building your apothecary with easy-to-make, effective oils? Explore our growing collection of infused oil tutorials and herbal DIYs made for real-life use on the homestead. From skin-soothing salves to deeply nourishing tallow blends, we’re always adding more ways to put your homegrown herbs to use.
- Calendula Infused Coconut Oil – Easy herbal oil with skin-soothing benefits.
- Dandelion Infused Oil – Easy herbal oil with skin-soothing benefits.
- Lemon Balm Infused Oil – Calming oil for herbal balms and more.
Frequently Asked Questions About Plantain-Infused Oil
If you’re new to working with plantain or making your own infused oils, these common questions will help clear things up. From shelf life to substitutions, here’s what you need to know before getting started.
Olive oil, jojoba, or sunflower oil are all great options. Choose one based on your skin type and how you’ll use the finished product.
When stored in a cool, dark place in an airtight container, your infused oil can last up to 6–12 months.
Yes! Plantain-infused oil is a perfect base for DIY salves, lip balms, and soothing skin treatments.
Plantain-Infused Oil
Equipment
- 1 Glass Mason Jar
- 1 Fine-Mesh Sieve
- 1 funnel
- 1 Glass Jar for Storage
- 1 Lining – Coffee Filter, Cheesecloth, or Paper Towels
- 1 Pair of Food Grade Gloves
Materials
- 1 Cup Sunflower Oil
- 2 Cups Fresh Plantain Leaves
Instructions
- Prep Your Plantains. If needed rinse off leaves and dry thoroughly with a paper towel or cloth. Dry them until leaves are dried completely as they would be in a dehydrator.
- Cut the leaves into pieces.
- Fill your jar with the leaves.
- Pour the oil over the leaves, ensuring everything is submerged. Top off with more oil if needed.
- Find a cool, dark place, for your jar to rest for the next four weeks. This allows the oil to absorb the beneficial properties of the plantains.
- During the first week, give the jars a good shake daily. THis helps release the good stuff into the oil.
- After four weeks, line a fine mesh sieve with either cheesecloth, a coffee filter, or paper towels. Strain the oil to remove the plantain material. It helps to fold the lining material over the leaves and press with the bottom of a cup or jar.
- Using gloves, give the plantains still wrapped in the lining a good squeeze to release every last drop.
- Find the perfect container for storing your oil and with a funnel pour your finished oil into its new home.
- Label your jar with the contents and date of creation.
- Store your plantain-infused oil in a cool, dry place for up to a year.
Notes
- Consider using organic ingredients whenever possible.
- Research the potential benefits of plantain-infused oil for your specific needs.
- Remember, this is a natural product, and it’s always a good idea to patch-test before applying it liberally to your skin.




5 Comments
Pingback:
Pingback:
Pingback:
Tina
I already have dried plantain. What amount of the already dried plantain would I need to add to the oil?
Samantha
Hi Tina, 2 cups of fresh plantain leaves would dry and crumble down to about 1/4 cup depending on how packed your cups are. The amounts for infused oils are very forgiving so if you have a little more or a little less that’s fine! I hope you find that helpful! Good luck with your infused oil.