
Attaching a filter to a Stock Tank is super easy.
With all the amazing decorating ideas online about styling the perfect backyard stock tank pool, there are very few that talk about how to set it up. I spent hours on top of hours trying to figure out exactly what and how to do it. Not only did I get excited and jump in the stock tank pool world without knowing what I was doing, but I also bought one that had bumps and lumps in all the wrong places and I was so lost on how I was going to hook up a filter system.
But all my research paid off and I have had my tank up and running all summer without a single drop of water …. ok ok yes there have been lots of splashes – but none coming from where my filter connects to my tank and I could not be happier!
Tools Needed
The first thing you are going to want to do is to be sure to purchase all your tools and supplies. Now I purchased most of these from Amazon but always check your local hardware stores for a better price.
This post contains affiliates links. This will not cost you anything but helps us to offset the cost of running the blog. We only share products we are using and are items we would recommend to a friend. Thank you for your support!
Click ‘HERE’ for more info.
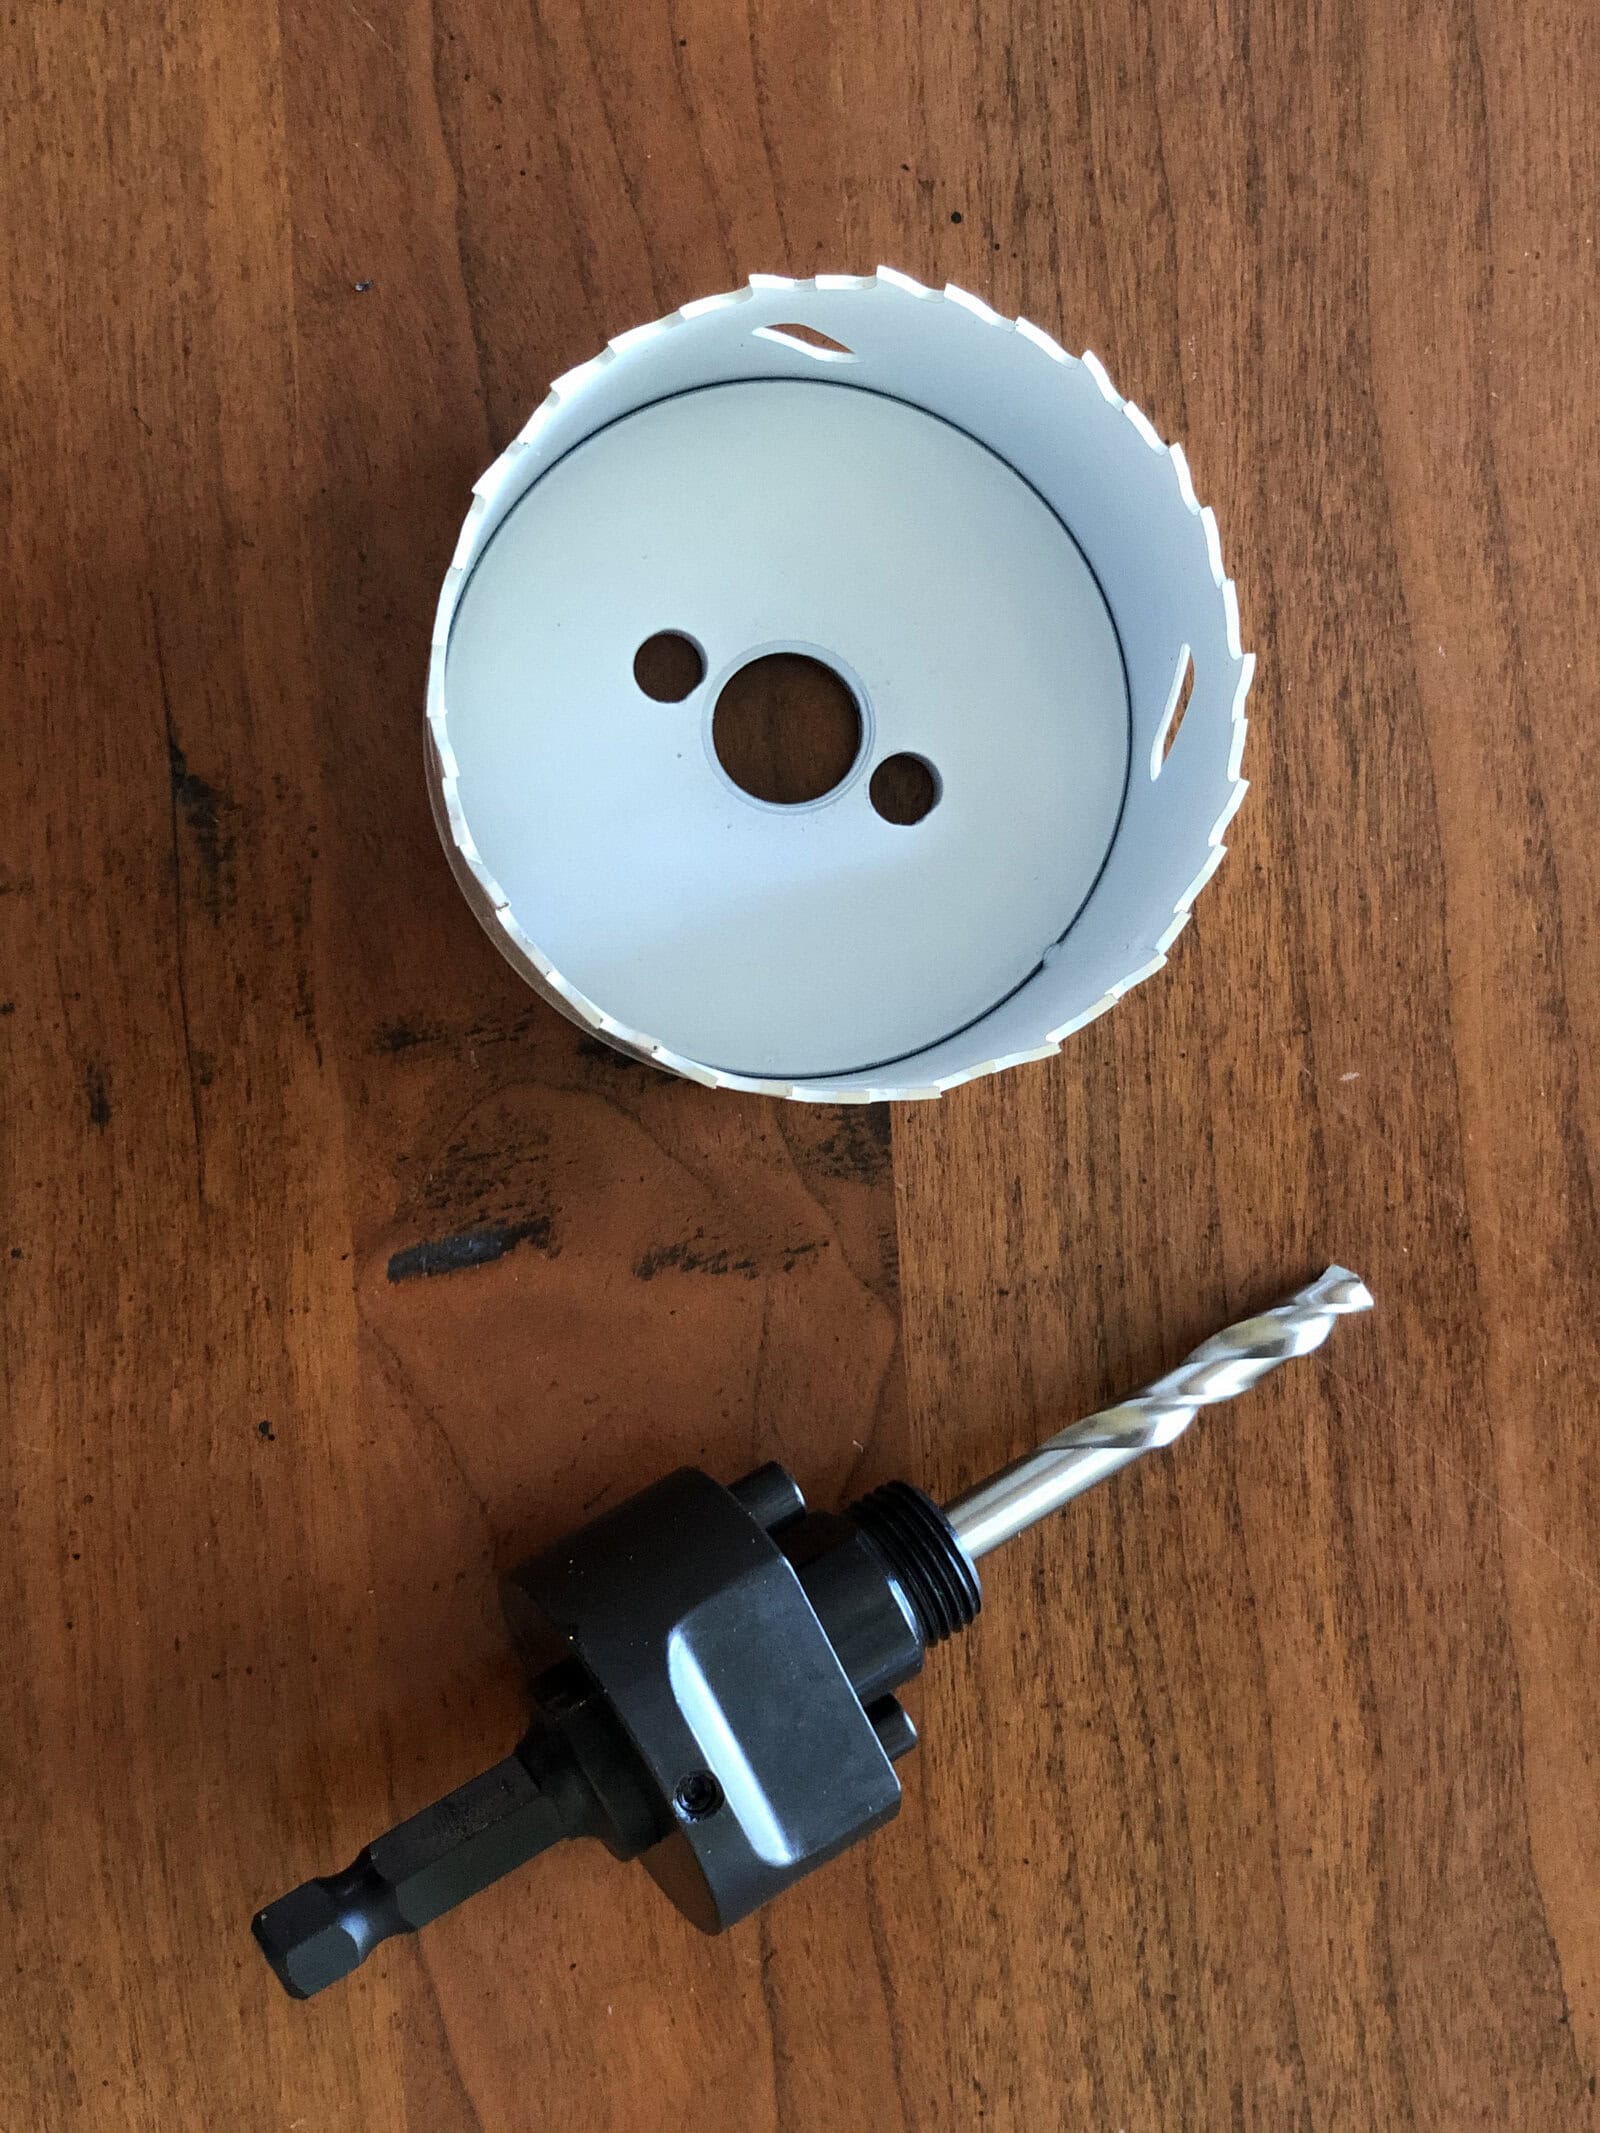
- Bi-Metal Hole Saw
- Hole Saw Arbor w/ Pilot Drill Bit
- Intex Small Strainer Assembly
- Intex Inlet Nozzle
- 2 Plunger Valves
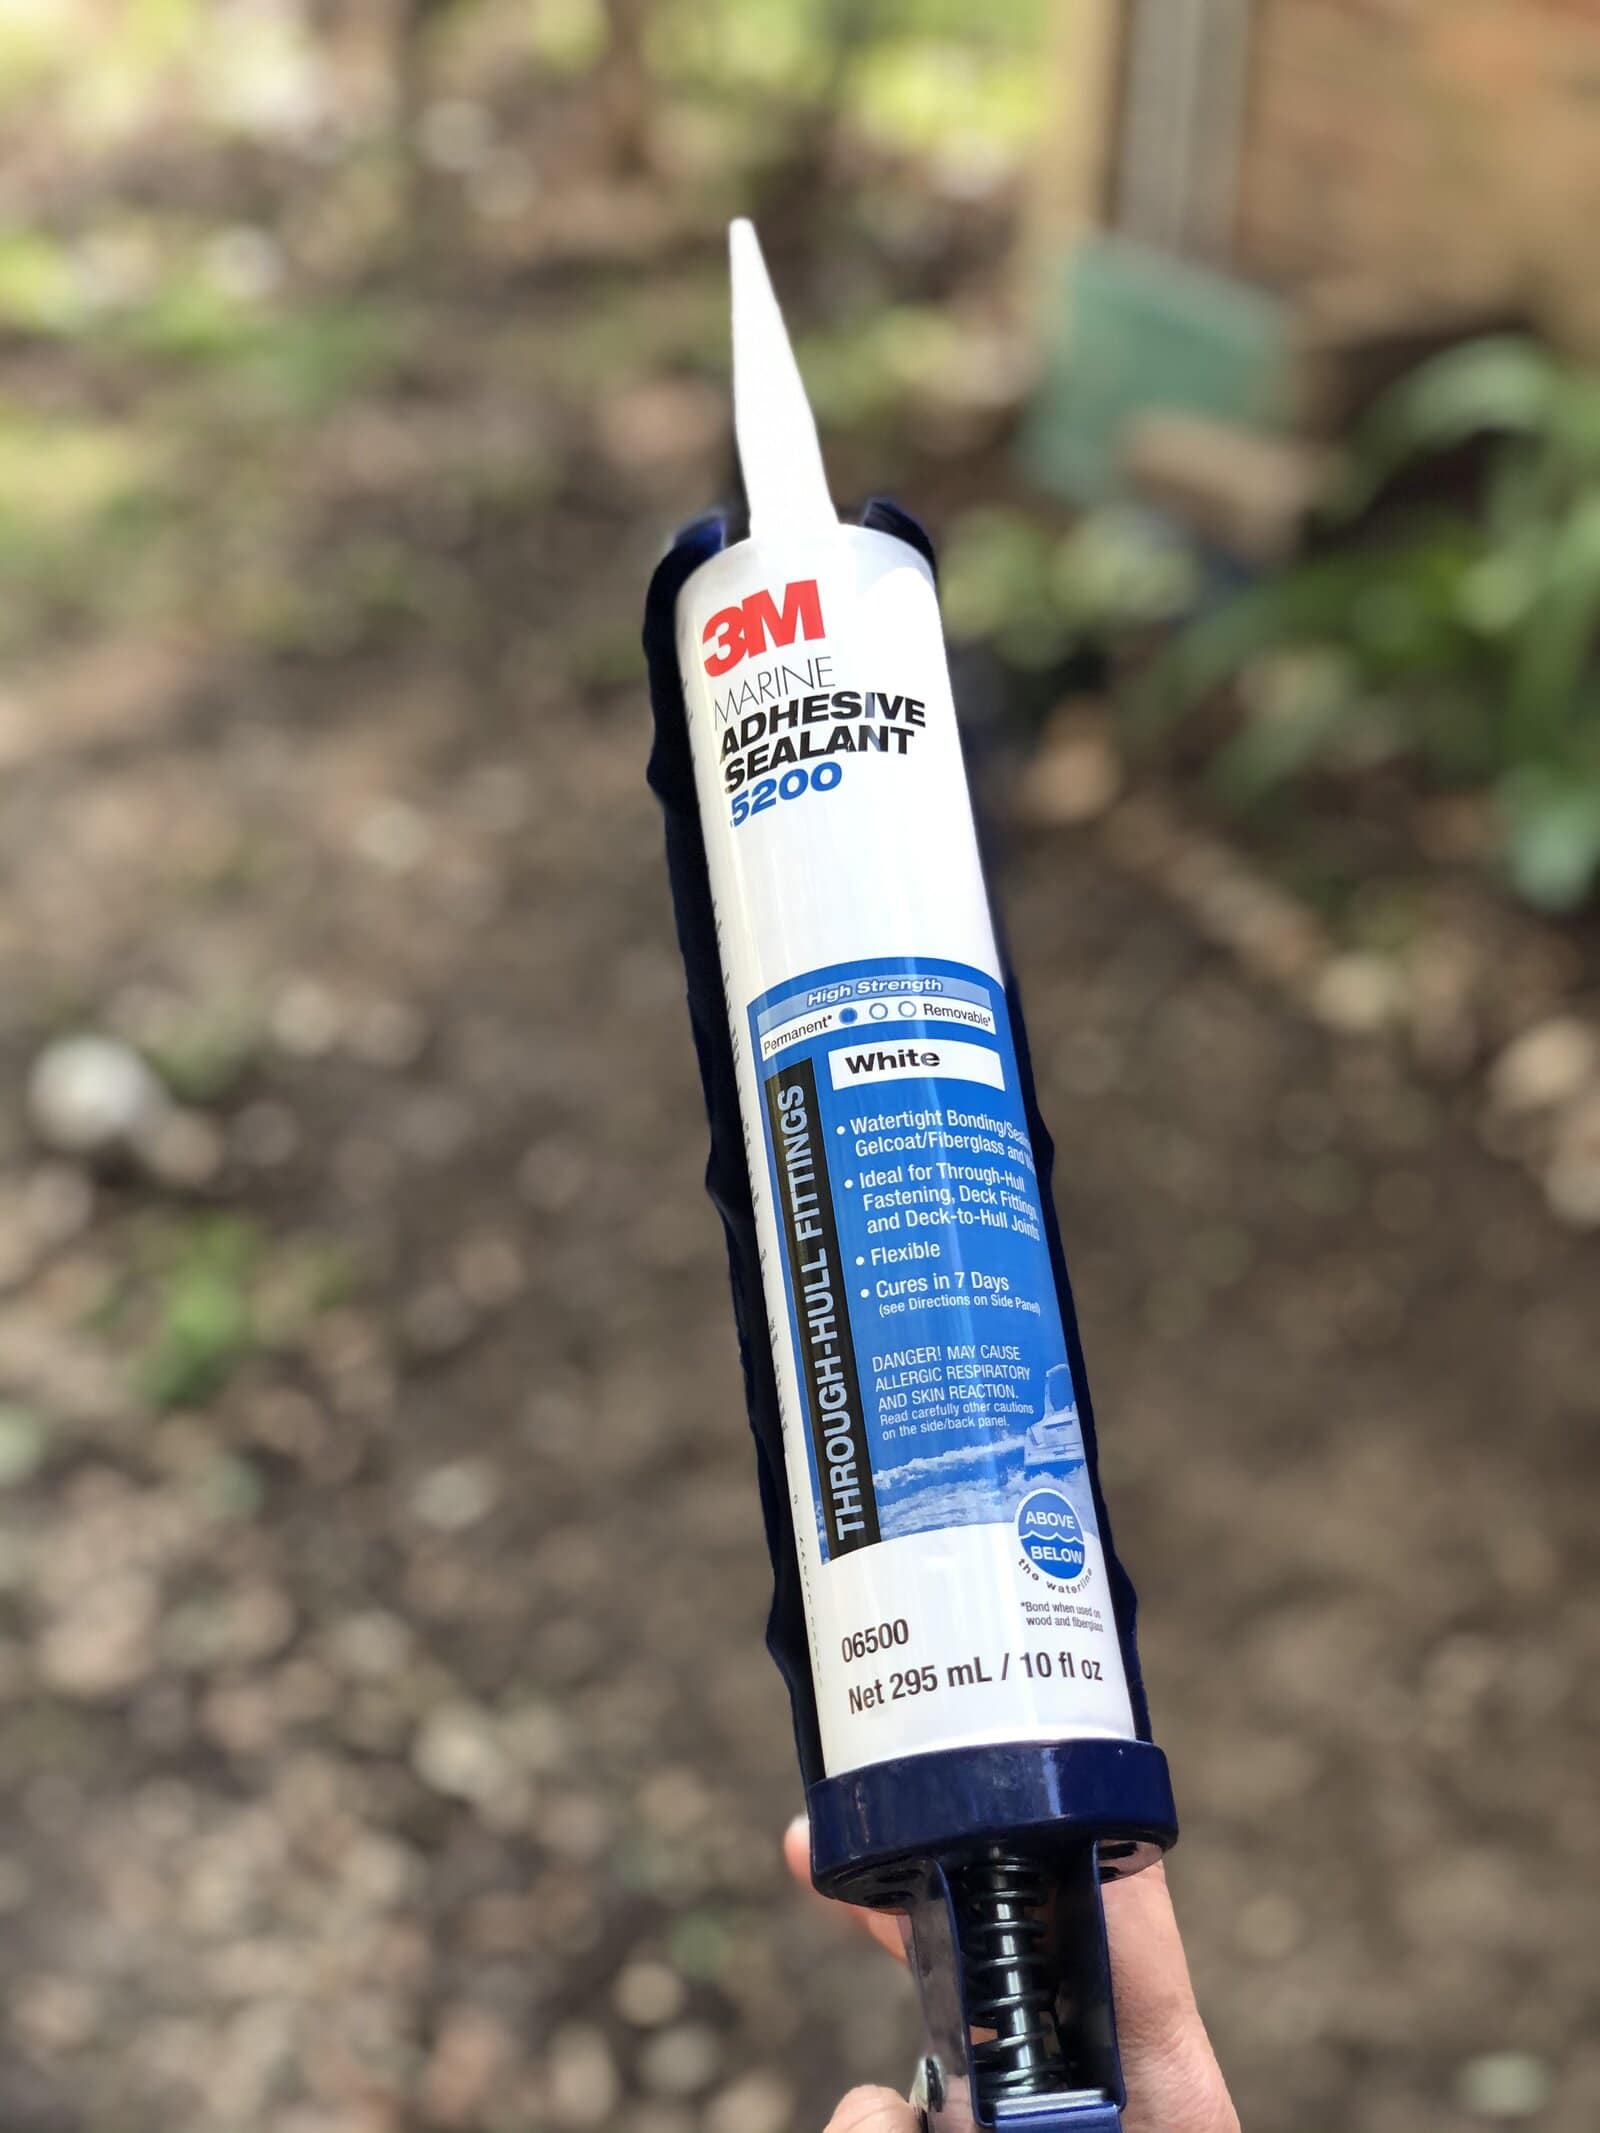
- Marine Adhesive Sealant
- Permanent Marker
- Safety Glasses
- Thick Gloves to protect hands
- Rubber/Silicone Gloves
- File or Sandpaper
- Caulk Gun
I hope I don’t confuse you with the links above. If you click on each link you will see, it all adds up to the correct number of plungers and nozzles. I just found it cheaper to purchase them this way and wanted to share it with you in case you didn’t find it cheaper than what I found. (wink)
Now for the fun! Let’s get this Stock Tank Started!

The first thing you need to figure out is where you’re going to place your nozzles. I studied the above-ground pool systems and how they have their placements are; the nozzle that pushes the water back into the pool is higher than the one that sucks the water out. It doesn’t matter if the nozzle that pushes water goes on the left or right. It will create a circular flow either way. All I do is point the nozzle away from the other nozzle and down a little to stir up things that have settled on the bottom. Once you have an idea of where you are going to place yours, mark it with an X using a permanent marker.
Now to break out the power tools!
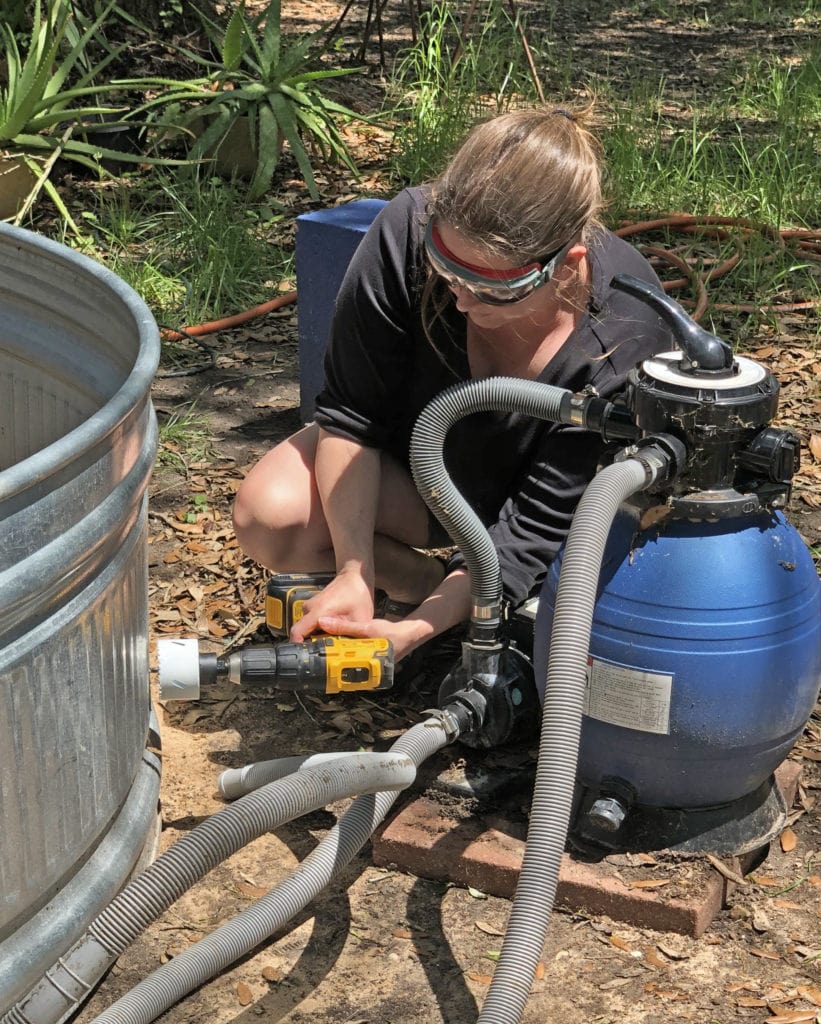
The hole saw is easy to use. You just place the tip of the bit on the center of the X you drew in the previous step and it pretty much drives itself through the metal. The only downfall is it pops off tiny bits of metal that are hot. They are not enough to catch something on fire, but they sure sting hitting your skin!
So be sure you wear safety glasses and let me warn you before you start to cover yourself. Wearing pants and thick gloves on your hands are advised. My daughter snapped this photo right before I jumped up yelling, “Ouch!!” I ended up covering myself up and wearing my gardening gloves. They work for everything – I swear!!
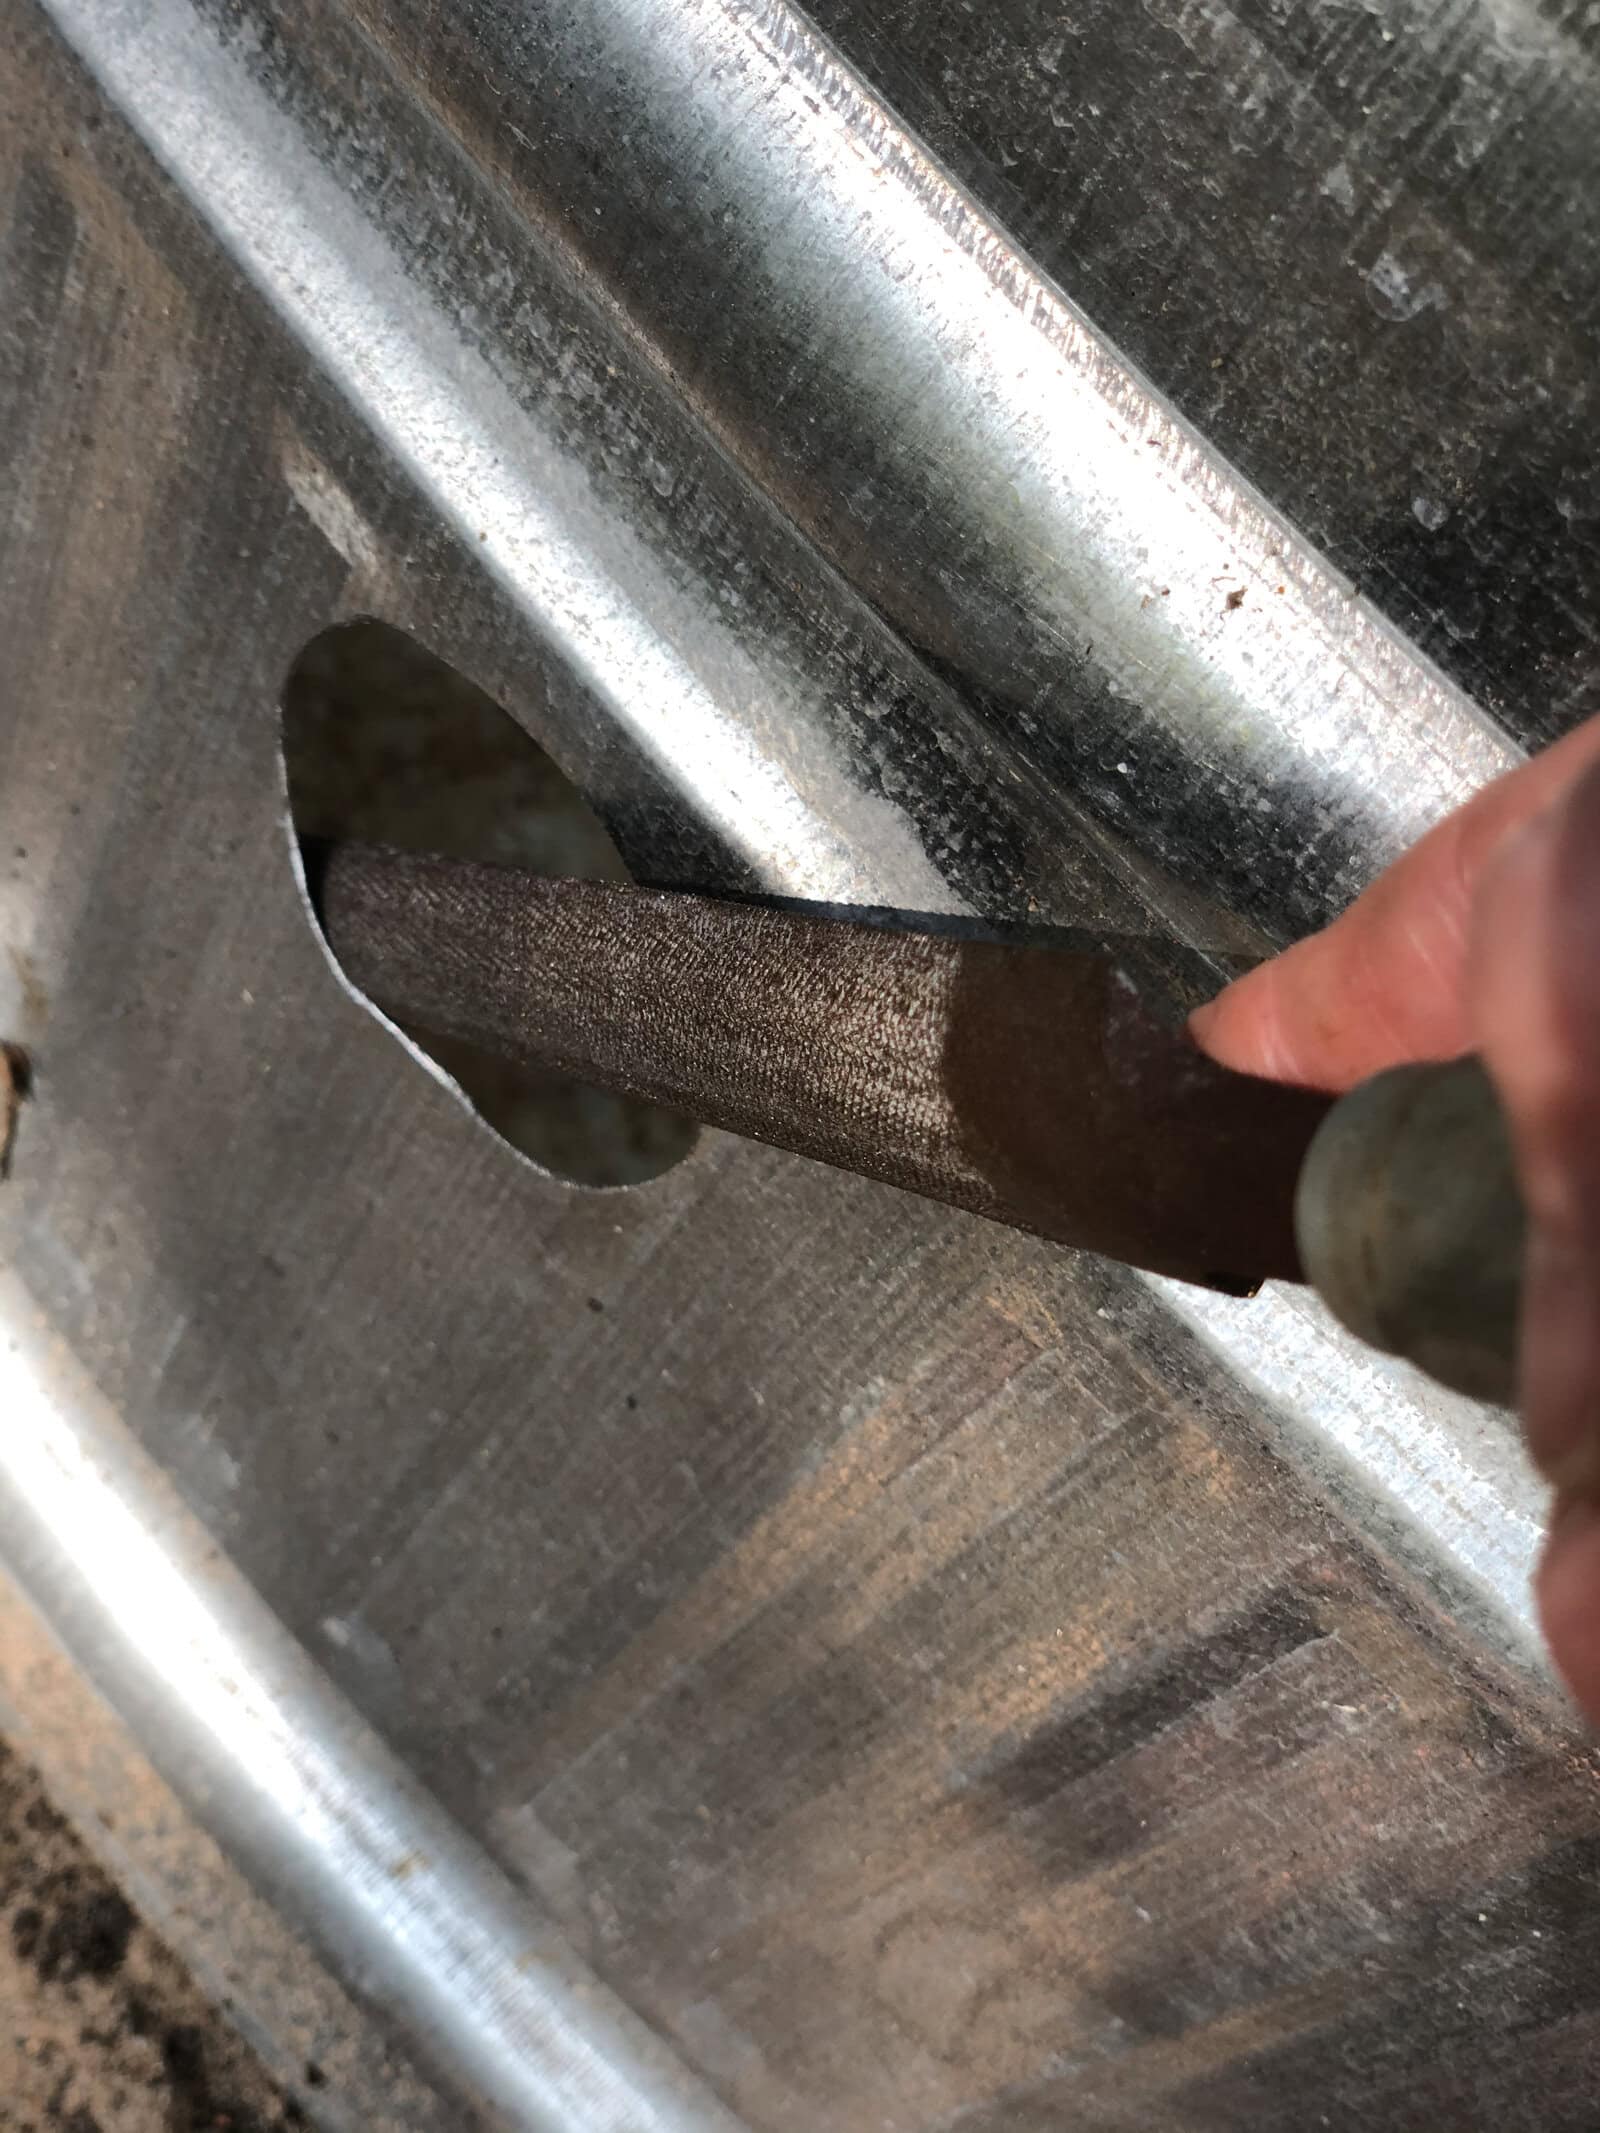
Now comes the part where you file the hole smooth. It seems silly, but it is important to do.
Be careful on this part. The metal is a bit sharp. I used an old file and I had to knock off any loose pieces of metal. I didn’t want them getting in the way of the adhesive sealing up the hole. You can use sandpaper if you do not have a file. Just be super careful with your fingers near the edges.
Be sure to dry fit everything to ensure it fits!
The photo on the left is the basic setup I was going for with my filters. The sand filter/pump I was using when I first set my stock tank used smaller hoses. I had to use hose adapters to downsize the tubes to fit. Now I use a bigger sand filter/pump. But either way, the setup for both of the nozzles is the same.
You will see in the photo on the right I am pointing with an arrow to the black gasket. This is where you separate the pieces and will be applying the adhesive. I was not able to get photos of this because I had to work fast. Basically, you remove the gasket and make a circle covering the inside flat surface with the adhesive sealant.


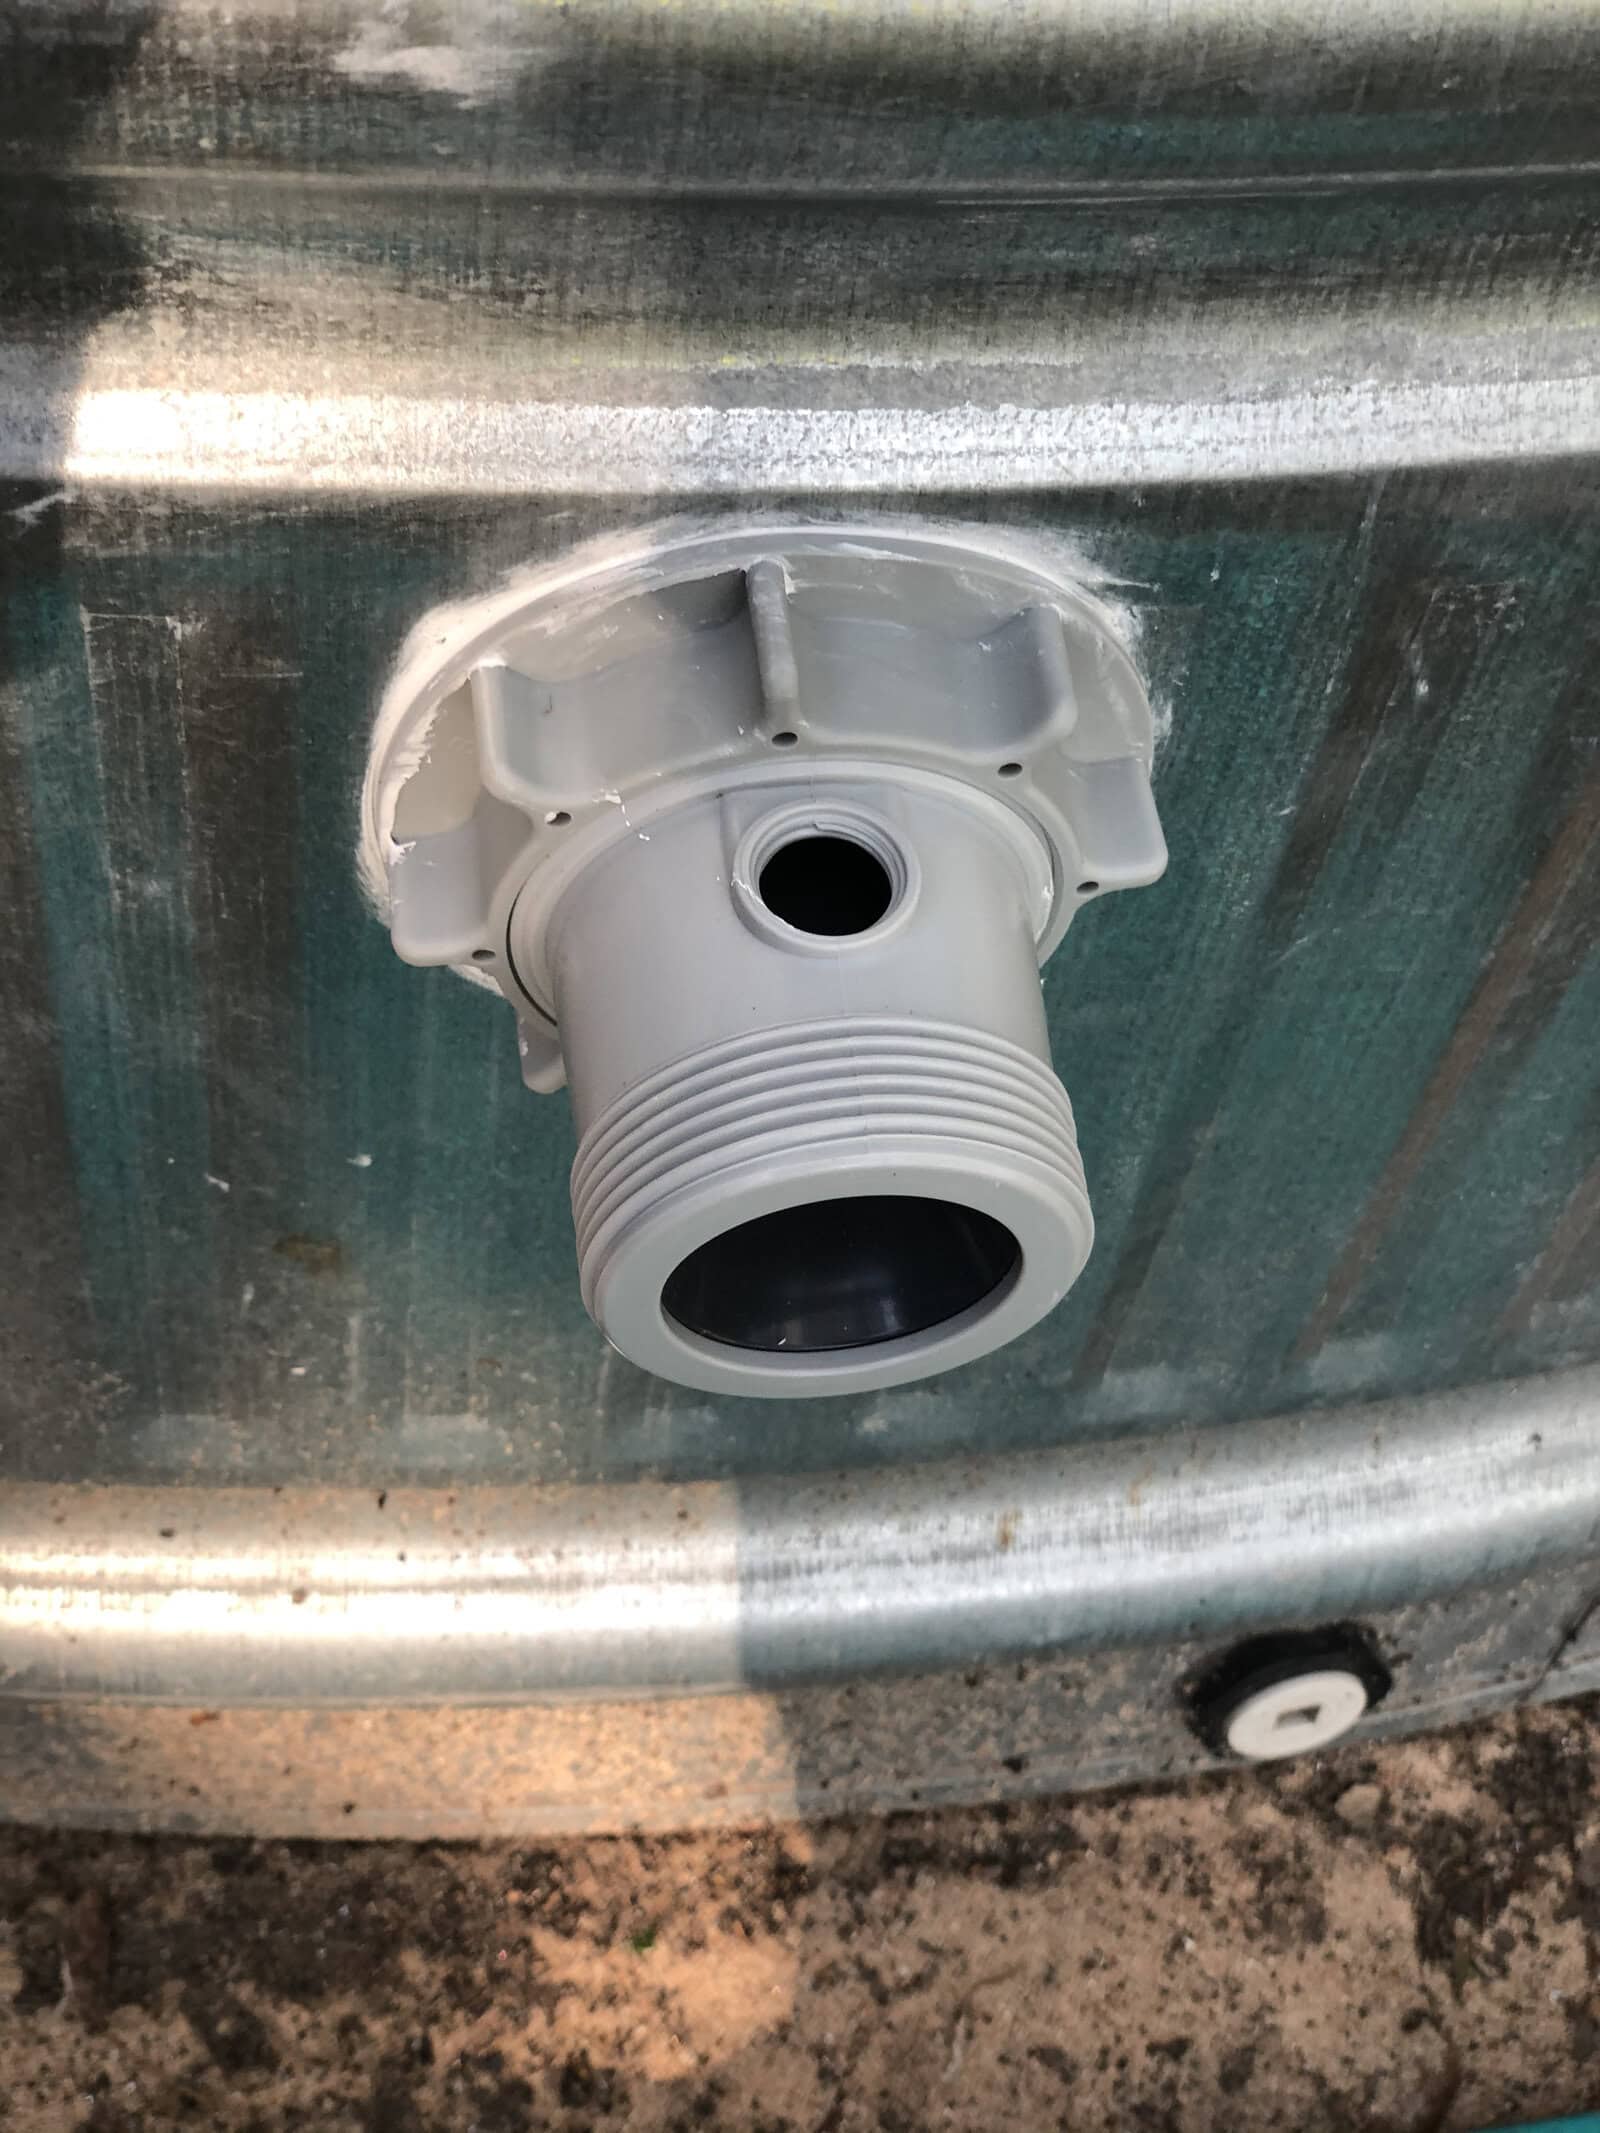
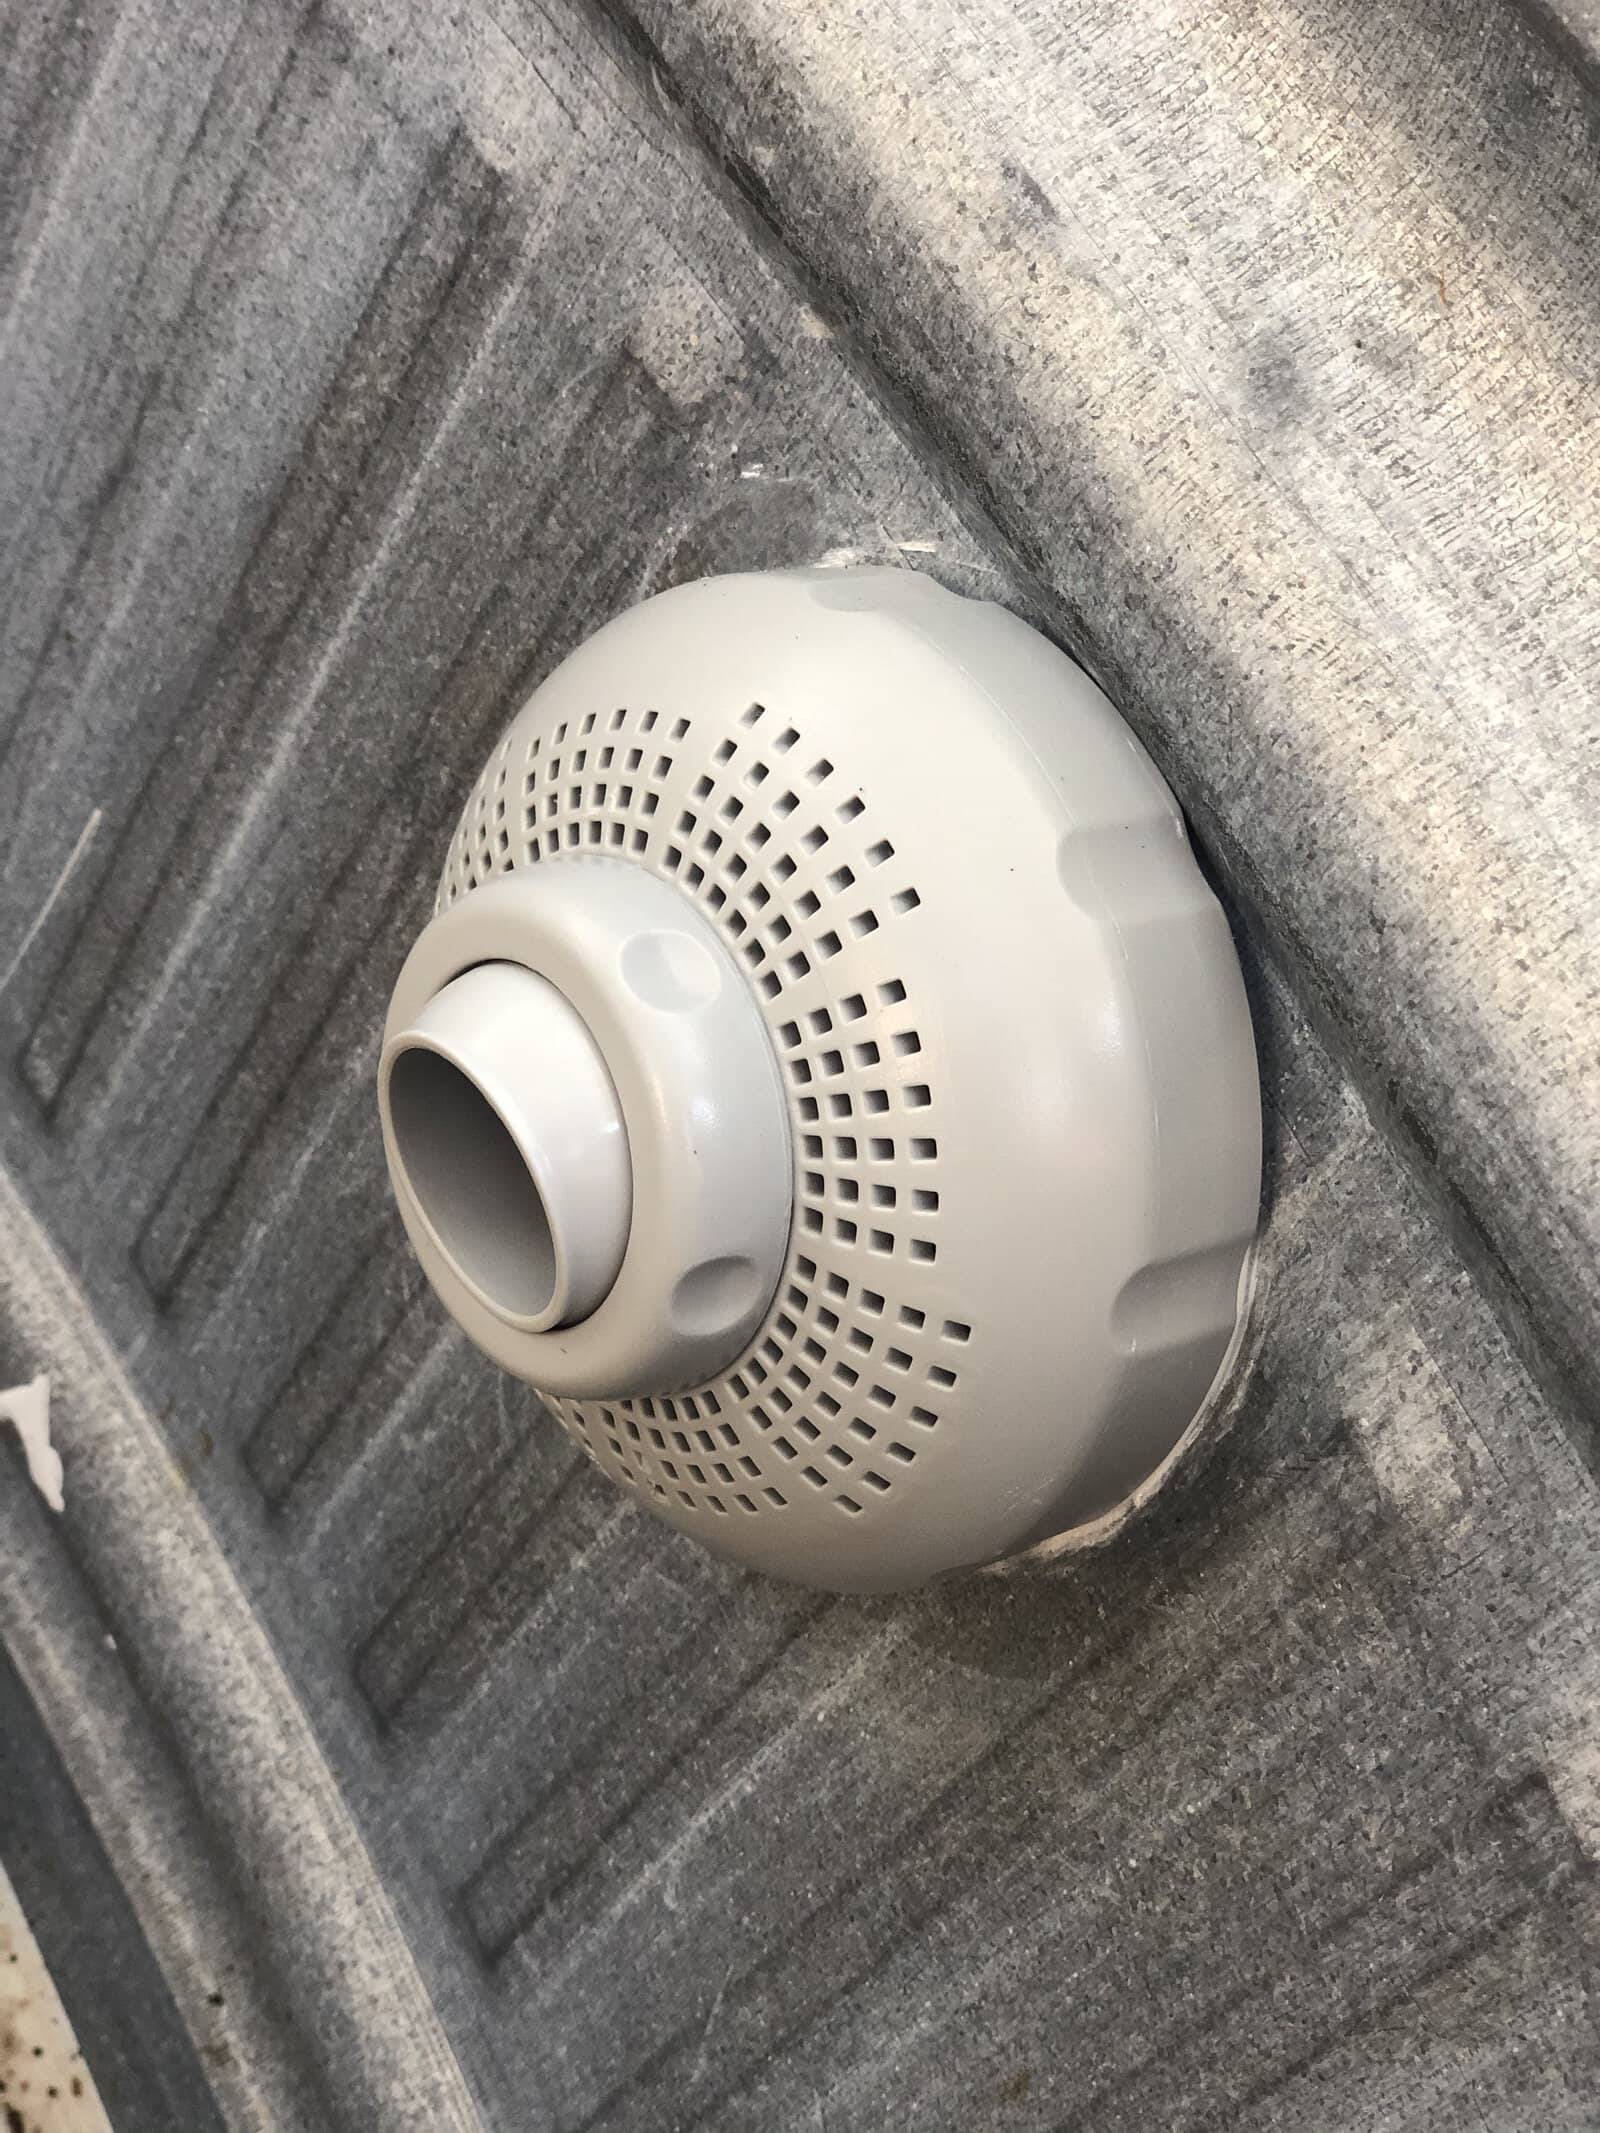
Now it is time to seal the deal….
Be sure to dry-fit everything before attempting to seal it. You want to make sure you understand exactly how everything is going to line up. I did not have any issues but if for any reason your air-holes are covered you will need to file/sand off part of the nut that spins that is covering it. I have seen some people put theirs together and somehow melt the nut over the hole to open it up.
Working fast with the sealant is key. But don’t fret. It is not that you have to go so fast that you are going to mess it up. For me, I was doing this alone so I sealed up the part that was going inside the tank first. I squeezed the sealant on the inside flat area that would press against the stock tank wall. Then, I lined it up and slid the tube part of the nozzle through the hole. I made sure that the air-hole that was on the tube was facing up.
The next thing I did was squeeze the sealant on the nut part that screws it all tight. Of course, I placed a thick bead of sealant on the part that would press up against the stock tank and I slipped it over the tube. Once I hit the threads I twisted it tight while holding the nozzle from the inside of the pool, constantly working to keep the air-hole facing up. Turn it as tight as you can then check to see that there are no gaps. If there are you will need to squeeze some of the adhesive to fill them.

Clean Up
If any drips you can use a damp cloth or paper towel to wipe them. Be careful doing this though because it can smear. If any does smear it is not easy to get off, but just keep using a clean part of the cloth or a new paper towel until all the residue is gone.
Be sure to sweep the metal pieces out of the inside of the tank. A vacuum would work amazingly to clean it all up.
Follow the instructions on the tube of adhesive on how long you need to let it sit and cure before filling it up with water. The marine-grade adhesive is amazing and we have had no issues with it whatsoever, but I was a stickler when it came to how long we waited before filling it up – even with my kids begging me.
I hope you find this little tutorial easy to follow. Please feel free to ask any questions below in the comment section. I will answer them as soon as I can.




One Comment
Pingback: