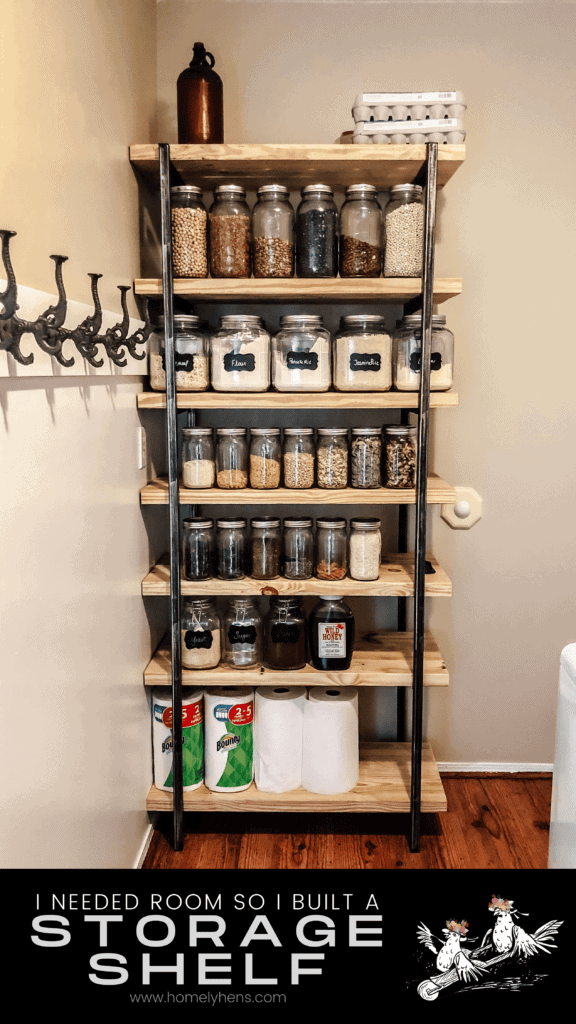
Store Your Canned Goods On This Amazing DIY Shelf
Do you have a designated place where you store your canned goods? I know this might sound like a crazy thing to think of if you don’t have your garden built – but my brain is always thinking 5 steps ahead.
When I started really thinking about growing a garden it dawned on me that I would need to have a place to store it all.
And even though it might seem that I put the cart before the horse… having a place to store food before it gets here makes so much sense to me.
So off to Pinterest I went! (wink) Yup, it is always my go-to place for inspiration.
There are so many ideas out there. But what I wanted was something that was simple, clean, and a little between rustic and modern. And the idea of combining metal and wood together just sang to my heart!
So just a warning, I know I stated this is going to be a DIY project. But the reality is it was a DIO (do it ourselves) project because it was not just me that built this. I had help. But it is totally something you can do if you have the right tools. And I will walk you through it.
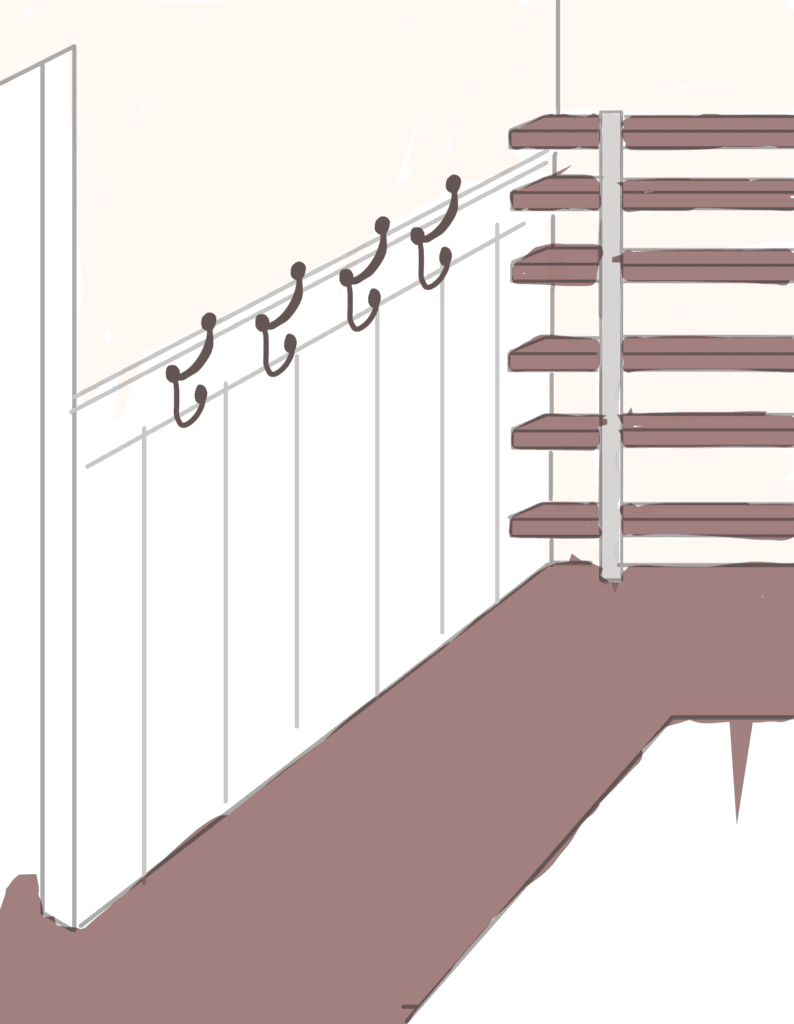
Or you can be like me and reach out to get help. Either way finding a place to store your canned goods is going to help you in the long run. And this is just one of many examples you can find out here in the land of the Internet. (wink)
Side Ladders
This post contains affiliates links. This will not cost you anything but helps us to offset the cost of running the blog. We only share products we are using and are items we would recommend to a friend. Thank you for your support!
Click ‘HERE’ for more info.
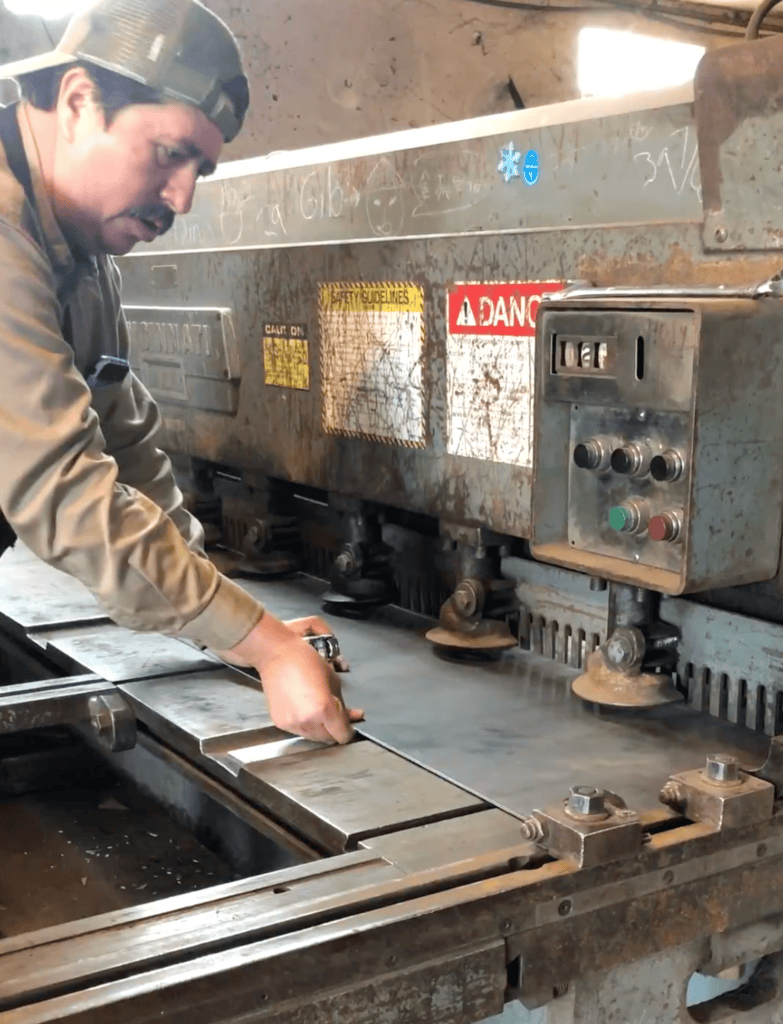
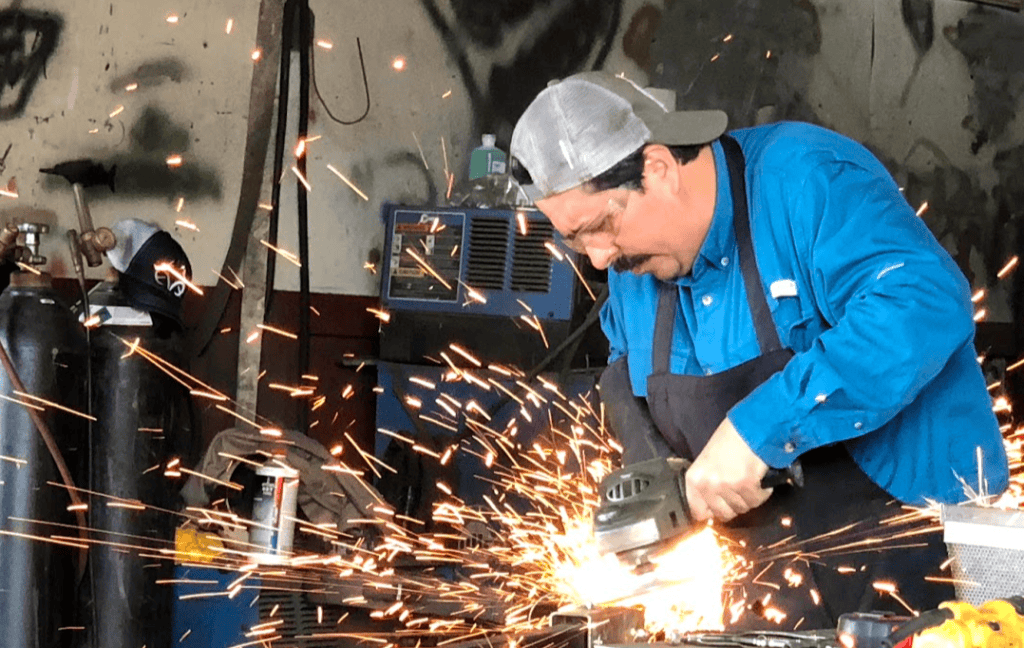
So as I mentioned, I reached out for some help. I worked at a sheet metal shop and was talking to them about buying some square tubing and angle iron through the shop so I could get a good price.
The foreman of the shop ended up telling me they had spare parts around and he could make it for me – SCORE! I was so excited. He cut and bent the angle iron, cut the square tubing, and welded it together using my drawing. He saved me so much time and money.
If you can hire someone to do all that – yay! If not, let me tell you how to do it.
You will need the following tools:
- Welding Machine
- Saw to cut Metal
- Grinder
- Drill with bit to cut through metal
- Gloves and Mask (Saftey Gear)
Material:
- 4 – 76″ long 1″ Square Tubing
- 14 – 14 3/4″ – 1″ Angle Iron
- End Caps
- 11/64 Metal Drill Bit
We do have all of these tools handy but I will admit – I have yet to do any welding. My husband usually is the one who throws this kind of stuff together for me, but at the time I was doing this project – he was working a major turnaround at his job and I didn’t have the heart to ask for his help.
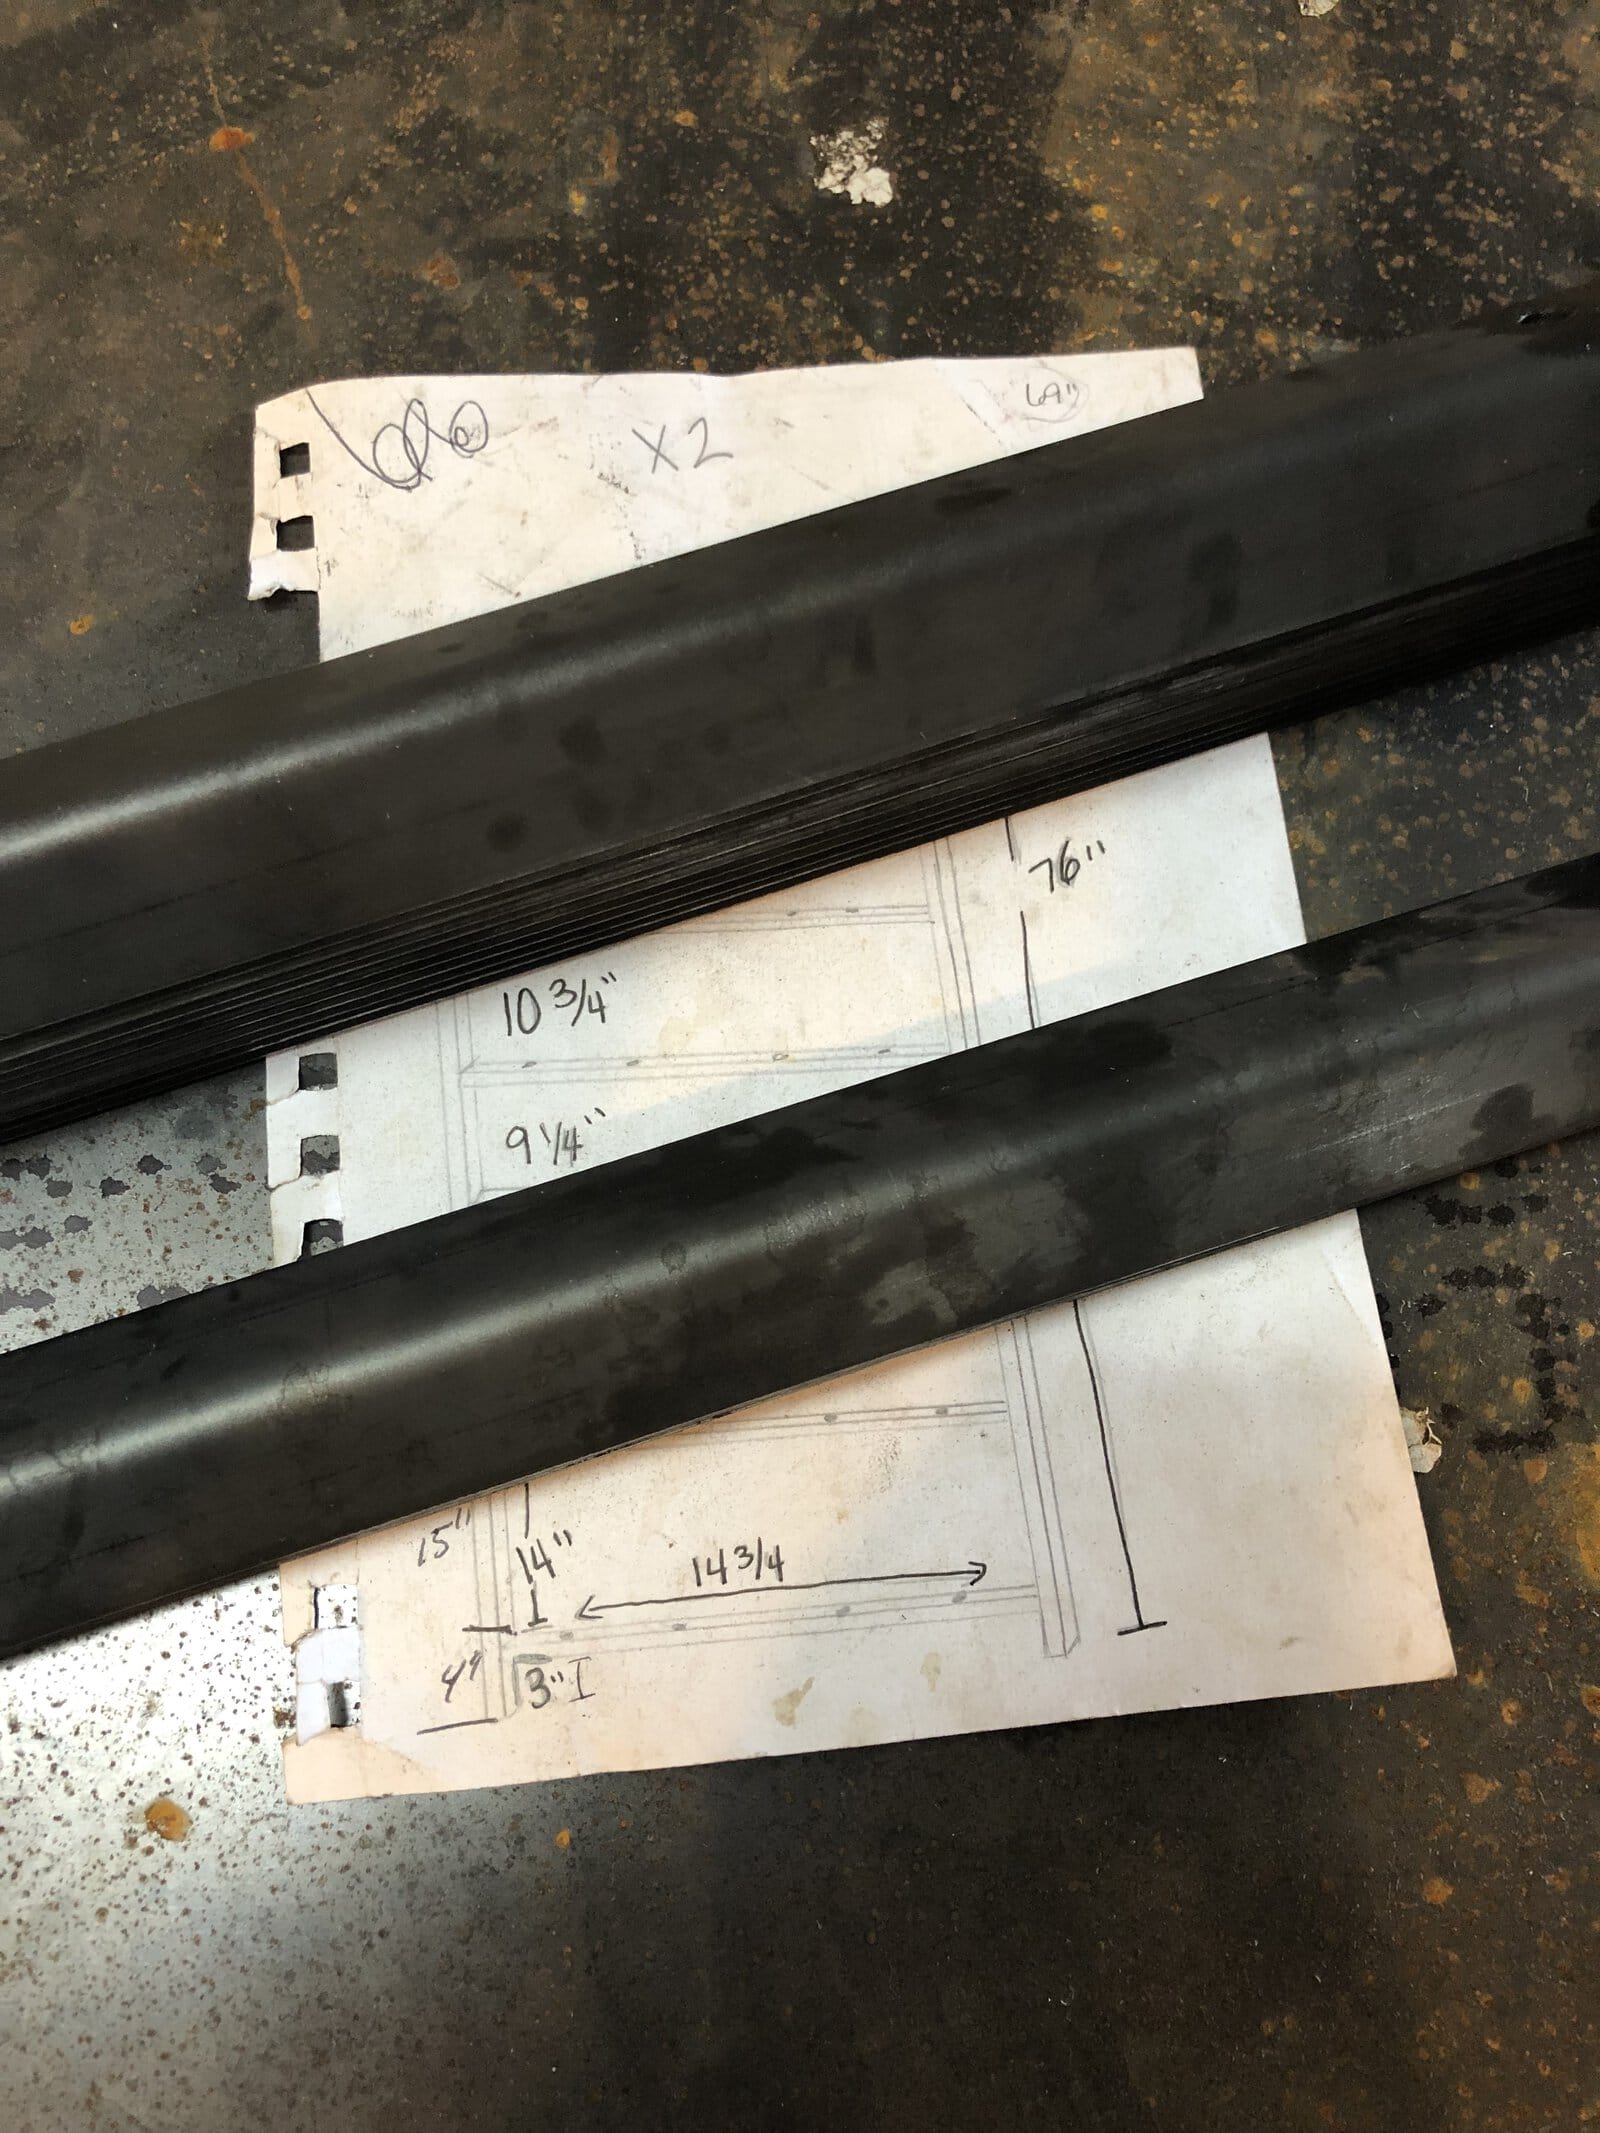
The first thing to do is cut your angle iron. You can use different wood to make yours smaller or wider depending on the room you have to place your shelf. For this shelf, cut the angle iron 14 3/4 inches long and then drilled holes on the tops of the angle iron about 1 1/2 inches from the edge on each side. This is what your boards will be screwed to. Using a grinder clean up any rough edges in the ends that might get in the way of your weld.
The Angle Iron will all face the same way on each side. But please note – they face down and in. Meaning when the two sides are standing up next to each other you will see that they look opposite and face each other. Likewise when they are laying on the ground they both will face up. (See photo below)
Be sure to measure out all the shelf spacing to accommodate the canned goods. Again you can change the spacing depending on what canning goods sizes you plan on using. Use a piece of chalk to make the metal or a black sharpie can work as well. Measure from the top flat part of the angle iron to the bottom edge of the angle iron moving up the shelf to follow my measurements. You can see on my drawing below the measurements I used for mine.
Weld each angle on starting by tack welding first then beading across to seal the deal.


Adding the Wooden Shelves
The next part of this adventure is to get all the shelving supplies. This has me heading to the Home Improvement Store.
As with any project – I always bring help along to ensure the job gets done properly. My thought with this is one without help does it alone and it is just not as much fun! haha
Tools:
- Drill
- Clamps
Materials:
- 14 – 2″ x 8″ x 34′” Boards – Be sure it is NOT TREATED. This wood goes inside and your food sits on it.
- 1″ Course Thread Wood Screws
- Food Grade Mineral Oil
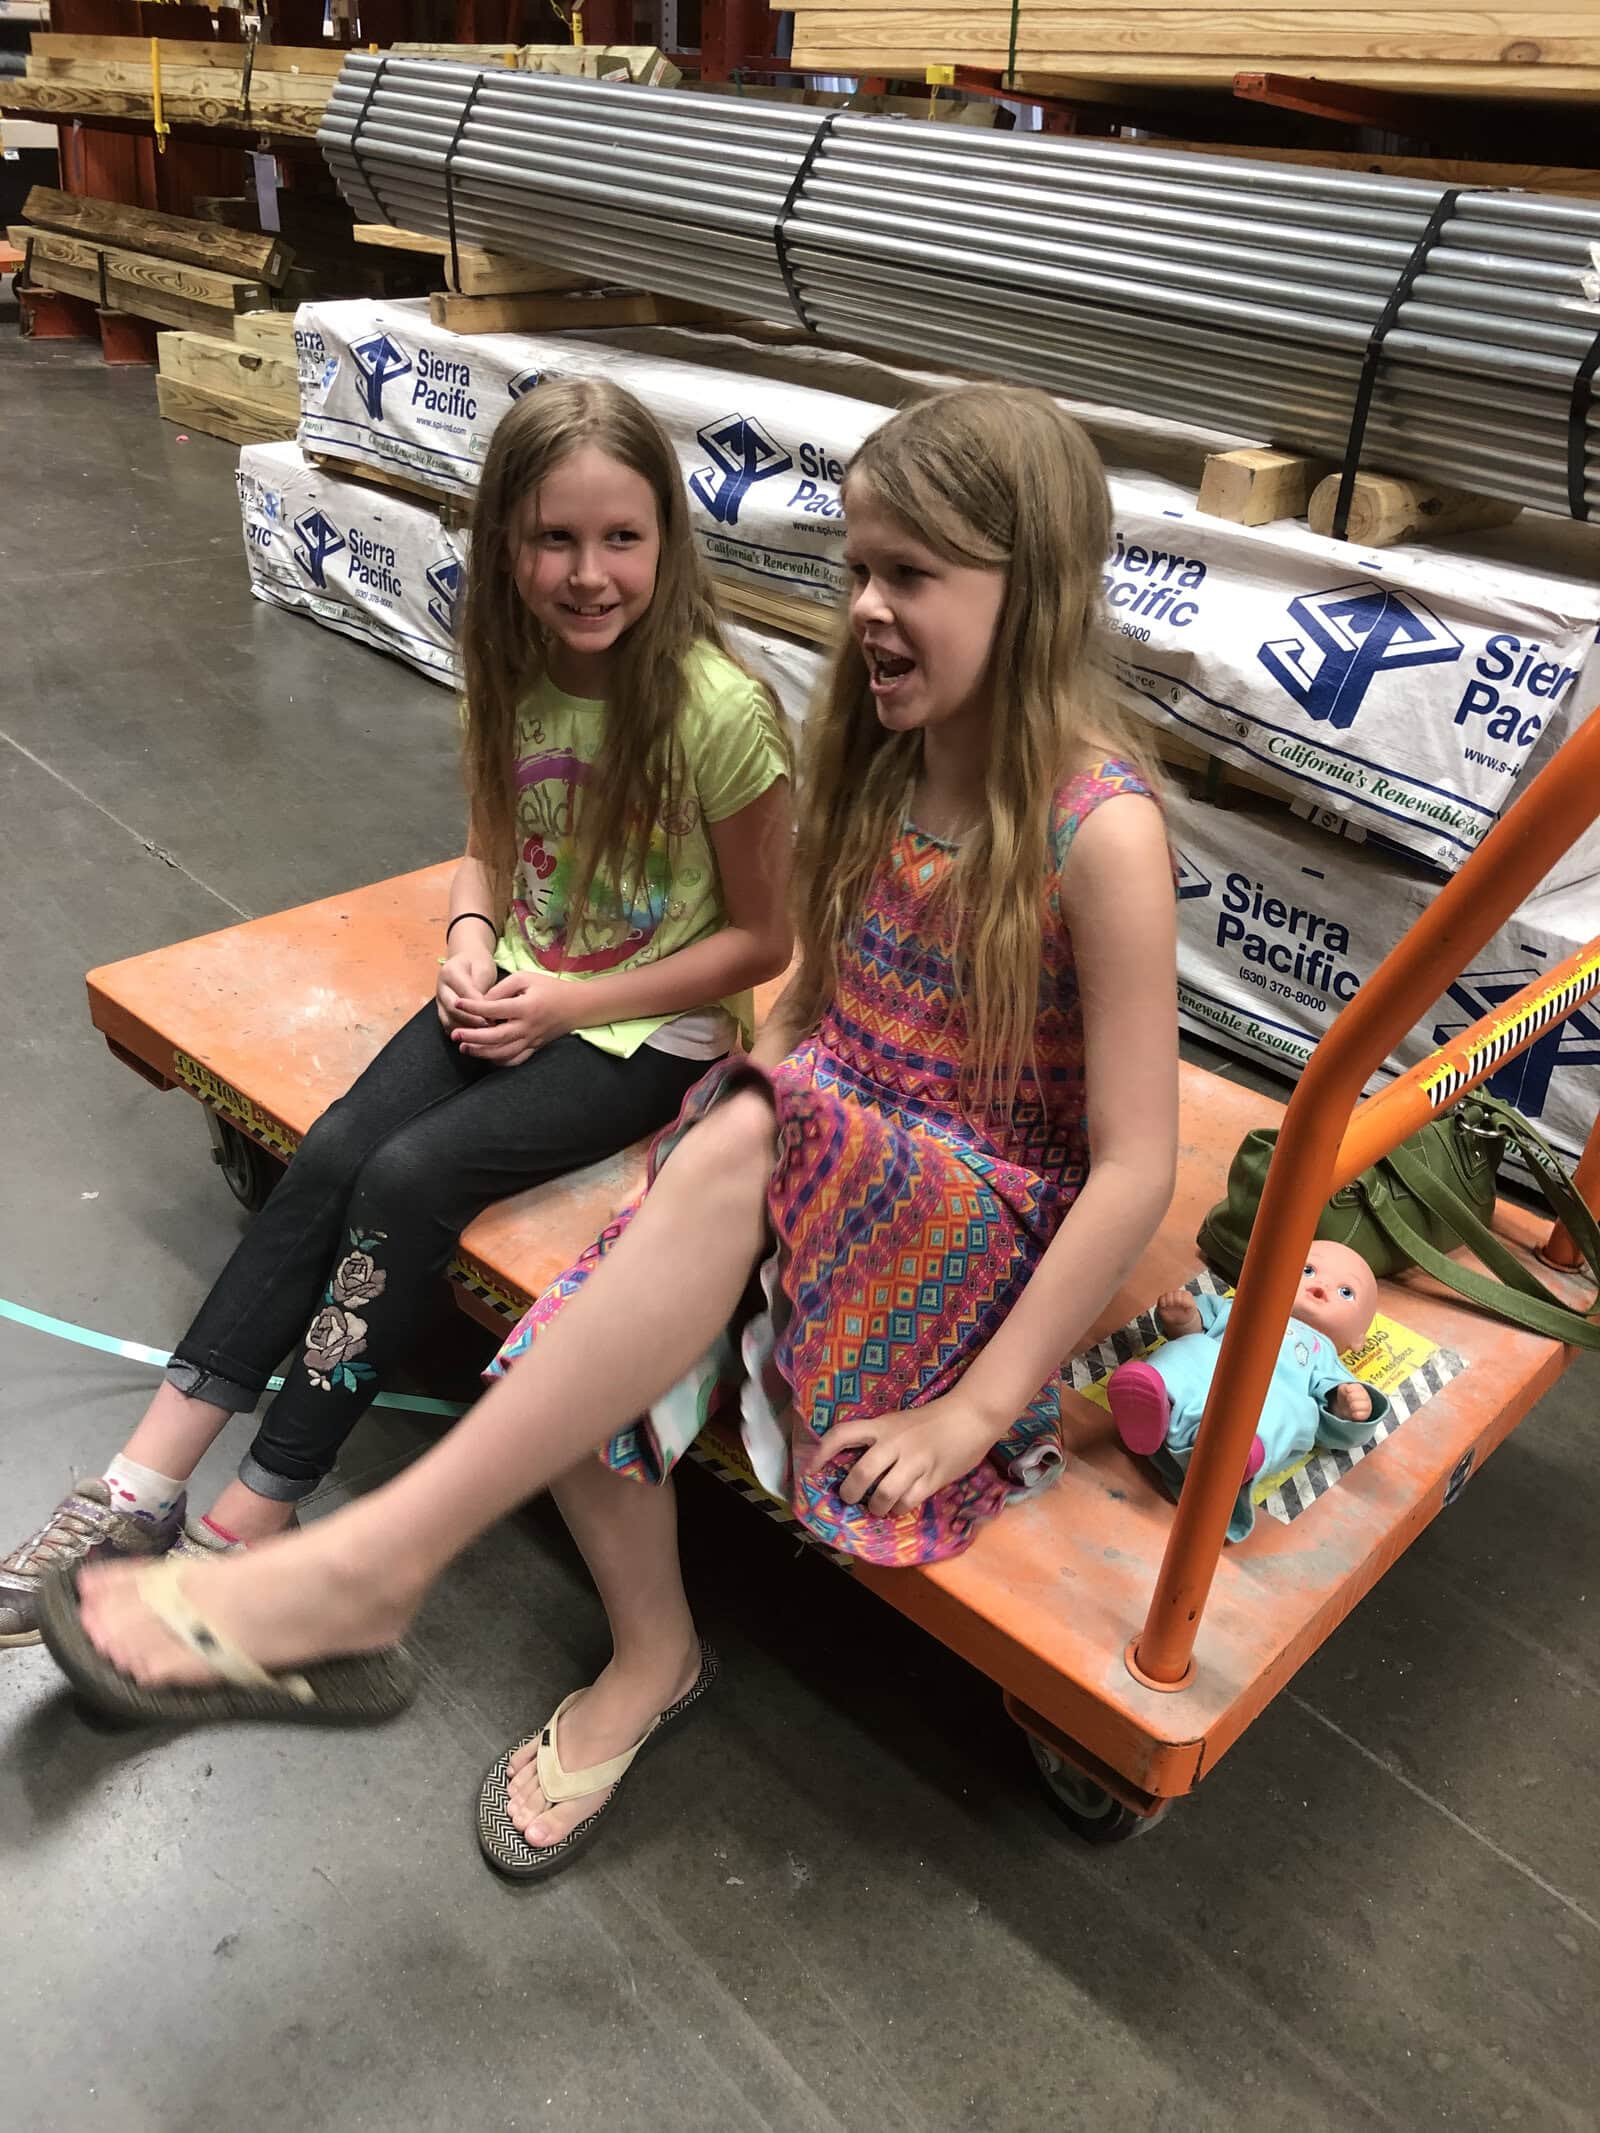
As you can see in my photo I had my wood cut for me. Usually, I cut it myself. haha But I decided to let them do it because I didn’t have access to our trailer that I usually have for all my fun projects and this just helped it fit in my car. (Ignore the long piece it is for another project)
Knowing the big home improvement stores can cut your wood for you is so beneficial for so many of us DIYers. There are so many of us that want to do have projects but don’t have all the tools. The best part of it all is they do it all for free! I hear the angels singing when I hear the word FREE! haha
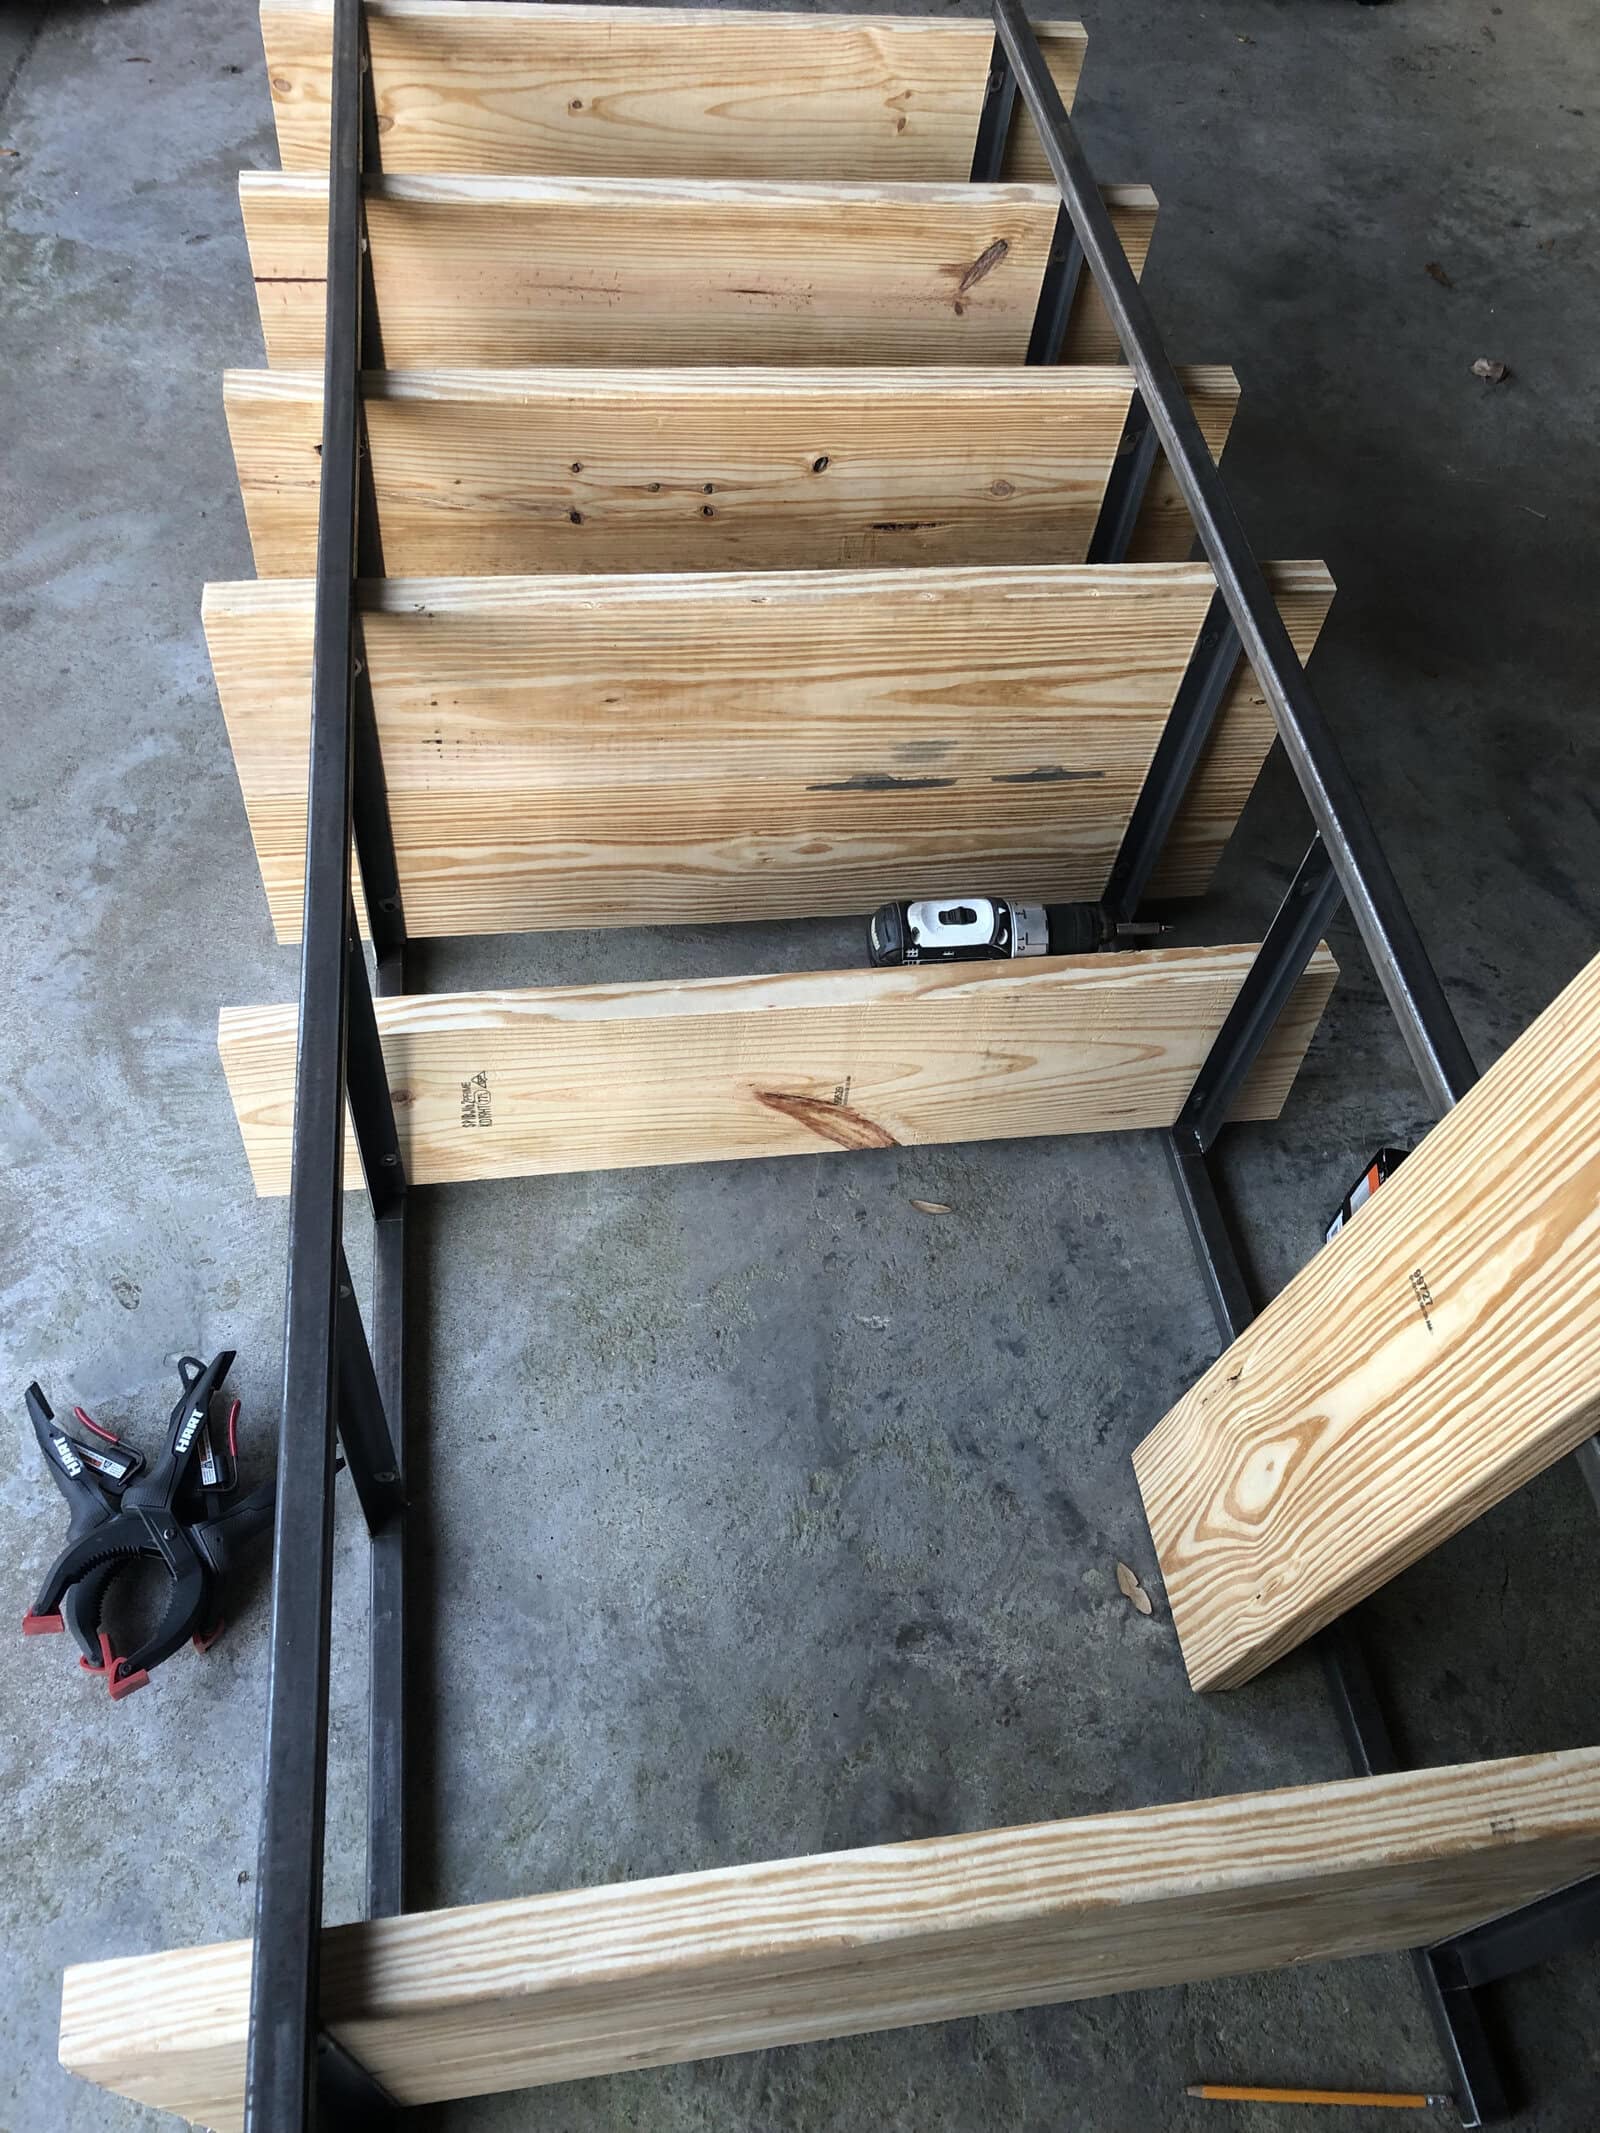
Once I got home I was so excited to get these together. I lightly sanded them and then started screwing them in place.
I was so excited at how easy they were to put together. But I will say – the clamps TOTALLY made things easier. If it wasn’t for those I would have had to include child labor in this project and we all know how whiney they can be. ha ha ha
I started at the top because I was screwing from the bottom of the shelves and if I had gone the other way I wouldn’t have been able to get the drill between the selves when I got to the top shelves that were closer together in size.
I laid the wood piece in the bottom against the frame and the clamps just held it in place while I was drilling it in. Then I laid the next board on top of the one I already screwed in and repeated the process.
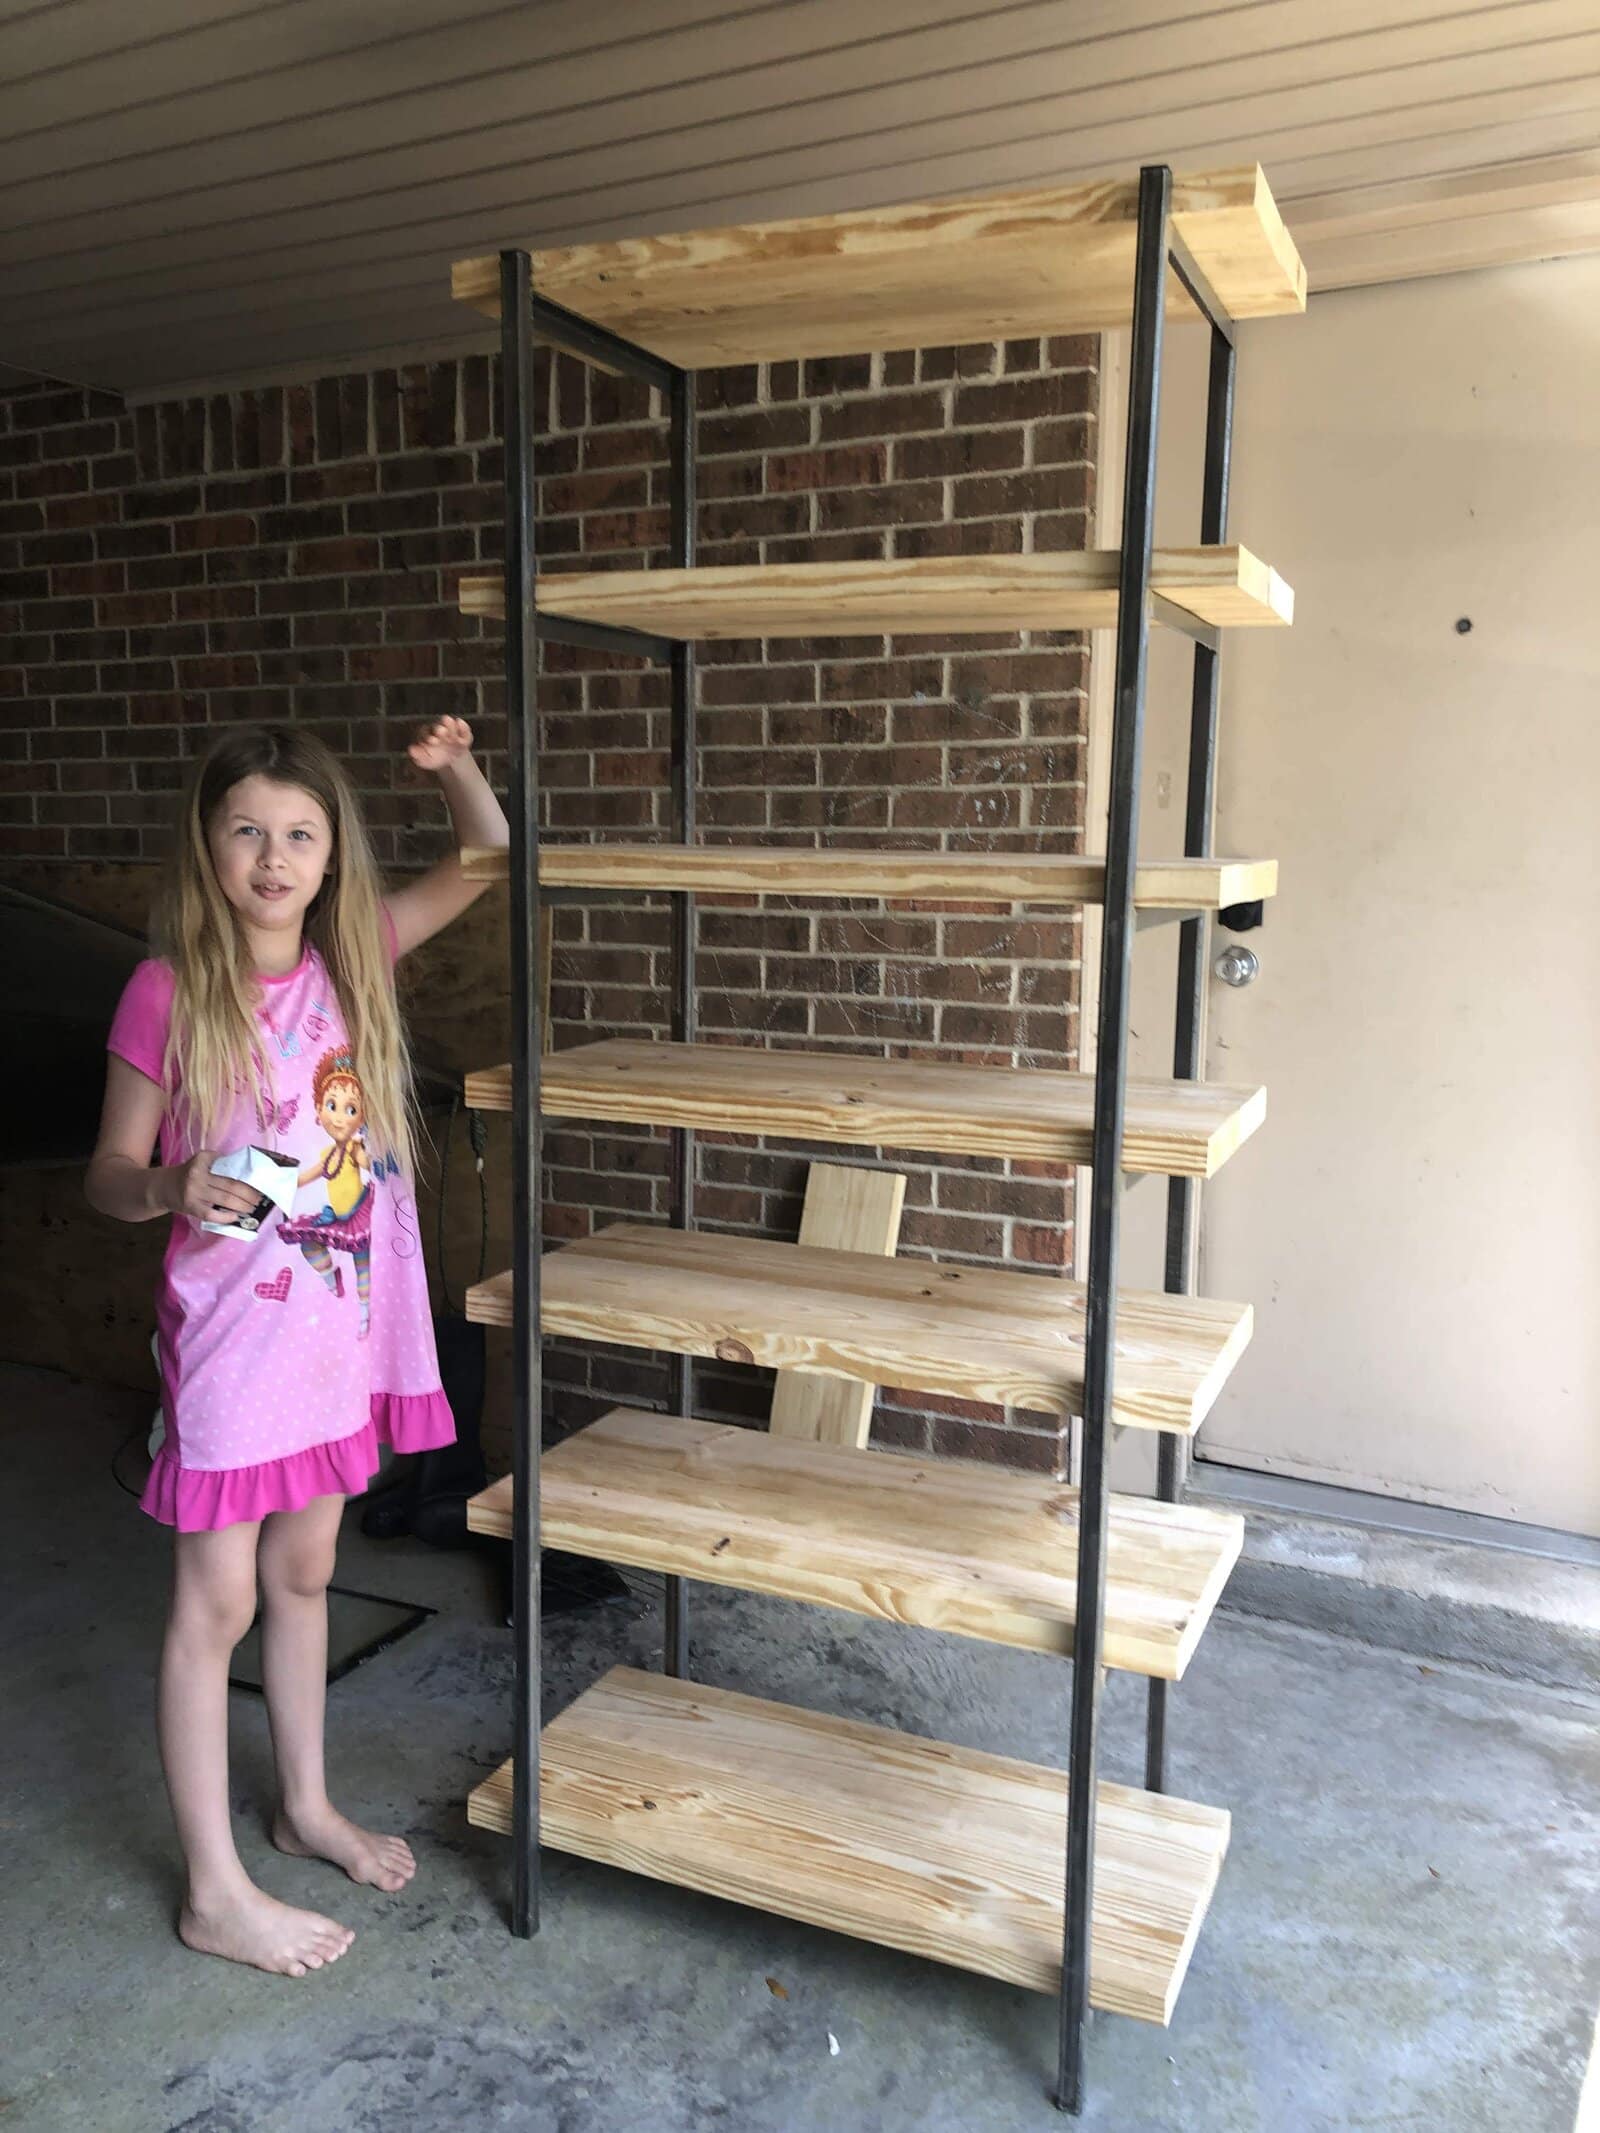
Once the whole thing was screwed together the beauty of lifting this thing came into play. I will tell you – this baby is HEAVY!
Ahh… but look at that baby! Can you see already how cool it is going to be to store your canned goods on? (wink)
With that being said I totally recommend you anchoring this bad boy to the wall just in case a toddler decides to try to climb it. It is extremely sturdy but the heaviness of it could seriously hurt someone especially if it is full of canned goods.
To anchor it, simply find your studs in your wall and then screw an L-Bracket into the bottom of the shelves and then into the stud. This should secure it. If you don’t have 2 studs side by side do 2 on different shelves. The key is to be sure you are not relying on just one brace.
The only thing left to do now is to seal it. You can do it in so many ways. I ended up using food-grade mineral oil on mine. It is the same stuff you use on cutting boards so I felt good using it.
Remember all my suggestions that I have linked are just where I have found them. Check your local stores to see if you can get better deals.
A place to store your canned goods

And there you have it! I have to tell you I love this better than anything else in my kitchen and have wondered if I ripped out my cabinets and did this look throughout would my husband flip out? haha
So if you are looking for a way to store your canned goods, I hope you give this a try. It has helped me organize my stuff and given me so much more room to help me stay organized.

UPDATE:
I have been messaged on Instagram and Facebook a lot on where I got the Jars and the Cute Stickers so I thought I would link them here in case you are interested as well.


