How to Make Low Sugar Mixed Berry Jelly from Juice
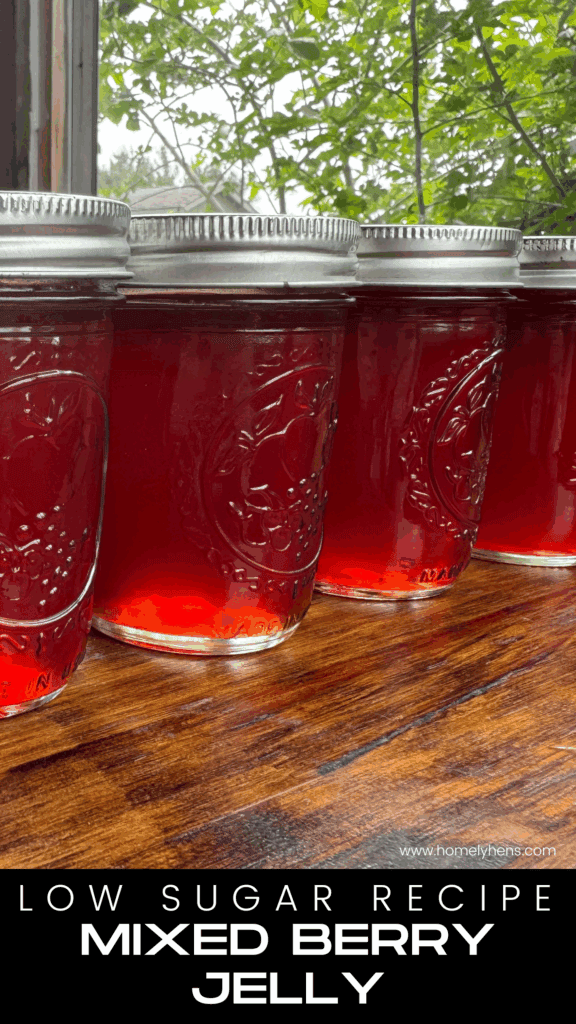
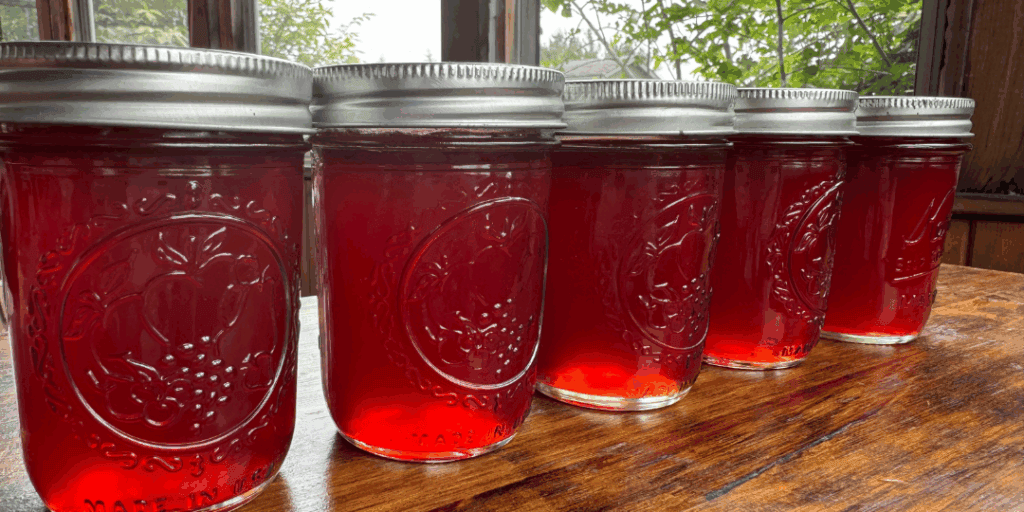
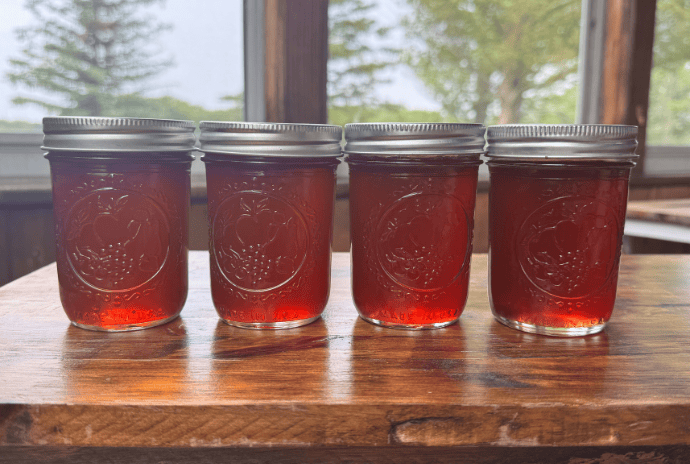
Making Low-Sugar Mixed Berry Jelly from Juice is a simple and satisfying way to preserve big berry flavor, without needing fresh fruit.
This recipe uses store-bought mixed berry juice, so it’s perfect when berries aren’t in season or time is short. A great canning recipe to use during all seasons of the year!
With less sugar than traditional jelly and no need for special equipment beyond basic canning tools, it’s ideal for beginners. If you’re new to preserving or just want a quick, flavorful recipe that works, this one’s a great place to start. Visit our Jam and Jelly Recipes page to learn how to make homemade jams and jellies.
This post contains affiliate links. This will not cost you anything but will help us to offset the cost of running the blog. We only share products we use and would recommend to a friend. Thank you for your support! Click ‘HERE’ for more info.
Quick Steps: How to Make Mixed Berry Jelly from Juice
- Prep jars and tools for safe canning.
- Mix a small amount of sugar with the pectin to help prevent clumping.
- Combine juice, lemon juice, butter, and sugar-pectin mix in a large pot.
- Bring to a boil, stirring constantly.
- Add remaining sugar and return to a hard boil for 1 minute.
- Ladle hot jelly into jars.
- Wipe rims, apply lids, and screw on bands fingertip-tight.
- Process in a water bath canner for 10 minutes.
- Cool jars undisturbed for 12–24 hours, then check seals.
Ingredients and Supplies for Jelly
- Mixed Berry Juice – This is the base of your jelly. Using store-bought 100% mixed berry juice saves time and gives a consistent flavor. Look for blends with tart, high-acid berries like raspberry, cranberry, and blackberry for best results. I’ve found organic mixed berry juices at Aldi!
- Granulated Sugar– Sugar not only sweetens the jelly but also works with the pectin to help it gel properly. This recipe uses less sugar than traditional versions thanks to low-sugar pectin. I use organic sugar when possible.
- Sure-Jell Low or No Sugar Pectin– This specialized pectin allows your jelly to set with less sugar. It’s perfect for achieving a sweet jam or jelly with less sugar added.
- Lemon Juice- If your juice blend contains lower-acid fruits like blueberries, lemon juice can help boost acidity for a better gel and improved shelf stability. Always use bottled lemon juice for consistent acidity.
- Butter (Optional)- A small amount of butter reduces foaming during the cooking process, making for a smoother jelly and less skim-off before filling jars.
Equipment & Canning Tools
- Water bath canner or deep stockpot with rack- Used to process jars and make them shelf-stable.
- Canning Tools– These tools help you preserve the jelly safely and efficiently:
- Half-Pint Jars with new lids and bands – Ideal size for jellies; make sure they’re clean and warmed. While you certainly can get these from Amazon, they are usually cheaper at Walmart, Farm and Fleet, Menards, etc.
- Jar Funnel– Helps you pour jelly neatly into jars. Most canning tool sets come with a plastic one, but I like this stainless steel option better.
- Large Pot- You’ll need a wide, deep pot to boil the juice, pectin, and sugar mixture. Jelly tends to foam, so give yourself plenty of space to prevent spills.
- Measuring Tools & Ladle- Use dry measuring cups for sugar and liquid measuring cups for juice and lemon juice to ensure accuracy and a successful set.


Step-by-Step: How to Make Mixed Berry Jelly with Juice
Step 1: Prepare your jars: Wash jars, lids, and bands in hot, soapy water. Keep jars warm until ready to use. If you are processing (canning) for 10 minutes or longer, there is no need to sterilize your jars. Just make sure they are clean. Remember, adding hot ingredients to a warm or hot jar is best practice so the glass doesn’t change temperature too quickly and crack.
Step 2: Add water to your canner and start to heat so the water is warm when you add the jars.
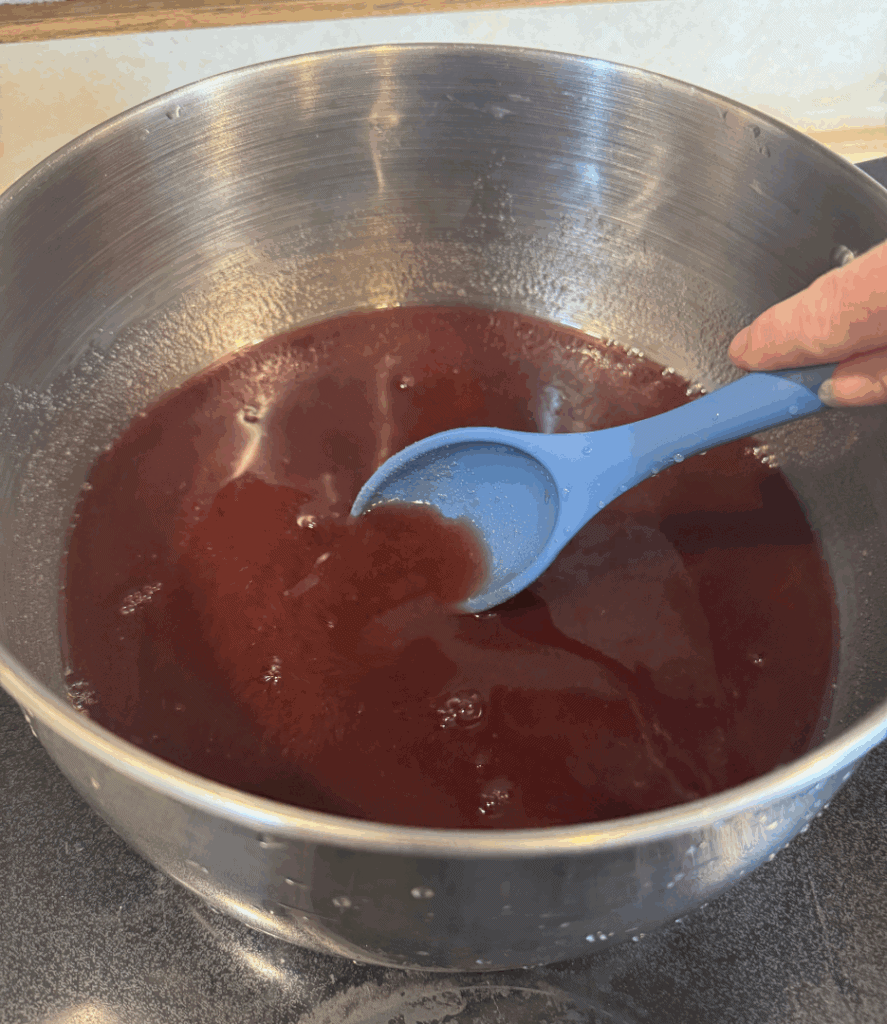
Step 3: Add juice, lemon juice, and butter into a large pot. Combine 1/4 cup of sugar and pectin, and whisk into the juice. Adding a little bit of sugar to the pectin will help the pectin not clump when it is added to the juice. Bring the mixture to a boil over high heat, stirring constantly so it doesn’t burn.
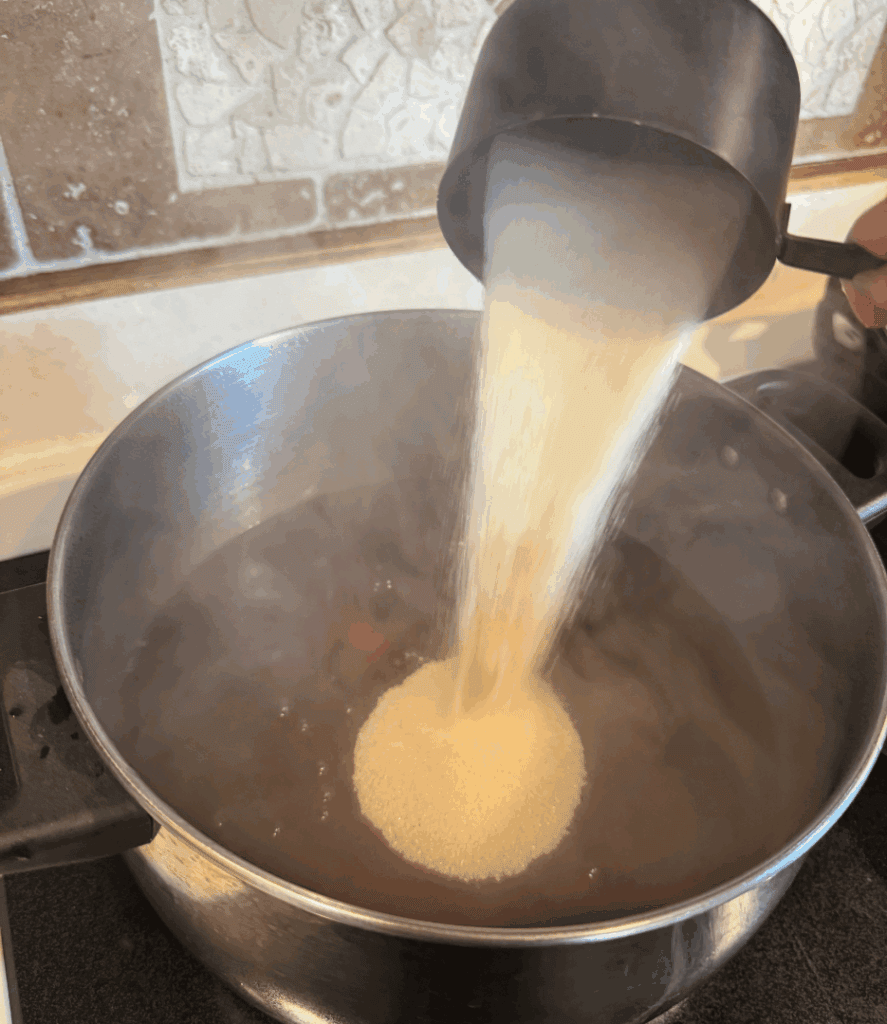
Step 4: Add the rest of the sugar and return to a full rolling boil. Boil hard for 1 minute, stirring constantly. A hard boil cannot be stirred down. Remove from heat and skim off foam if needed.
Step 5: Ladle the jelly into warm jars, leaving ¼-inch headspace. Wipe the rims with a clean cloth, center the lids on the jars, and put the bands on finger-tip tight.
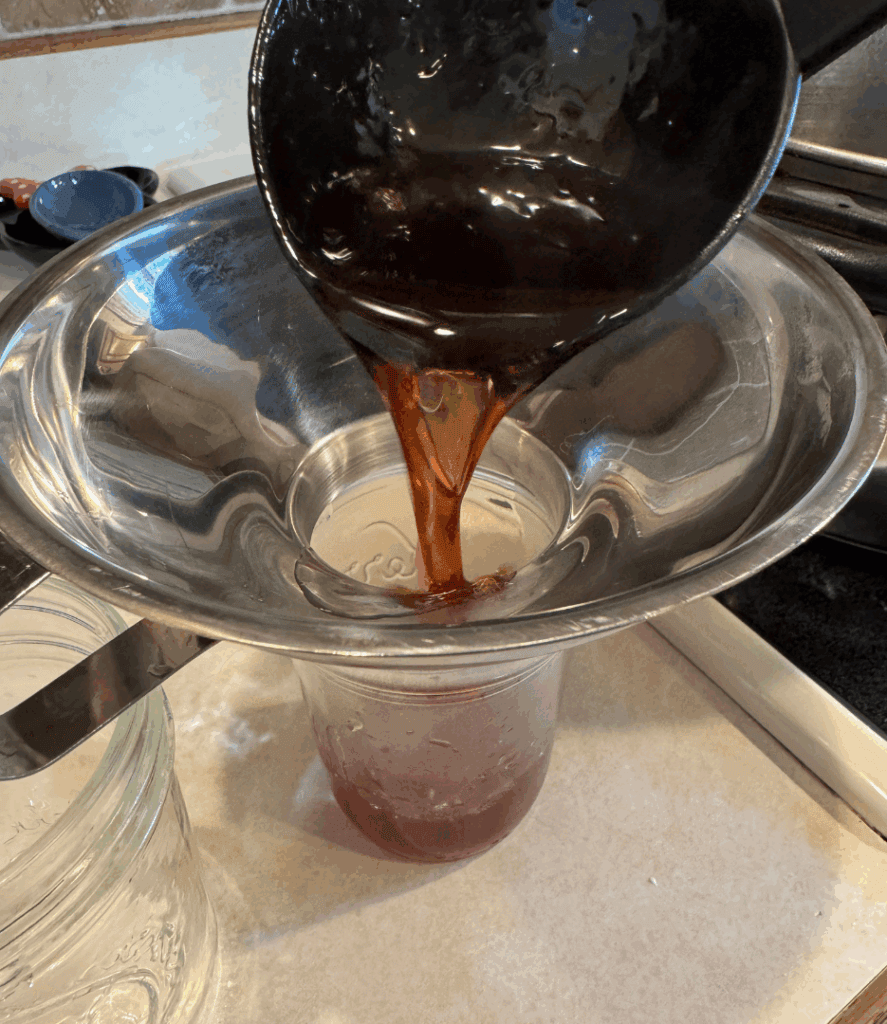
How to Water Bath Can Jelly
Step 6: Process in a water bath canner for 10 minutes (adjust for altitude). When processing jars in a water bath canner, the timer starts when the water starts boiling. When the timer goes off, remove the lid and let the jars sit for 5 minutes. Remove the jars with a jar lifter and let them sit, undisturbed, for 12-24 hours.
Remove the rings and check the seals by pulling up gently. The lids should not come off or pop up and down. If any jars did not seal, put them in the fridge and use them within a couple of weeks. If they sealed properly, store in a cool, dry place with the rings off.
Low-Sugar Homemade Jelly vs. Store-Bought Comparison
Many store-bought mixed berry jellies contain 7–10 grams of added sugar per tablespoon, even in natural or premium brands. While some use fruit juice blends like apple, cherry, or grape juice, they often also include high fructose corn syrup, corn syrup, and other additives. Even varieties labeled as natural or low sugar may still list sugar as the first ingredient, which means there’s more sugar than fruit juice.
In contrast, this homemade low-sugar mixed berry jelly has approximately 6 grams of sugar per tablespoon, and you control every ingredient. There’s no high fructose corn syrup, no artificial sweeteners, and just the right balance of natural berry flavor and sweetness.
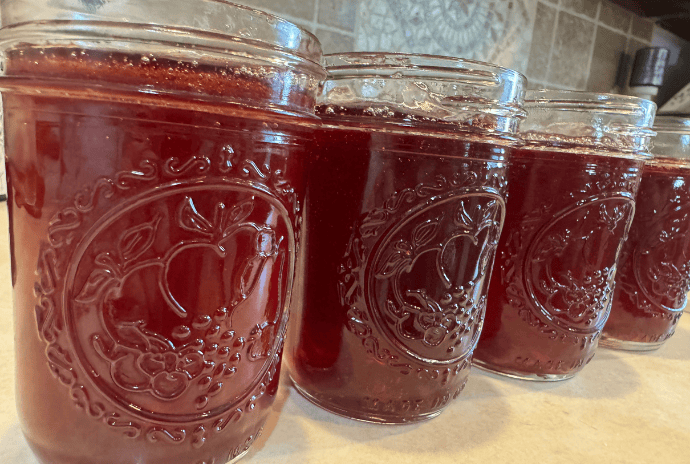
I love making homemade jams and jellies because I can customize sweetness, pectin type, and exact berry flavor when we want to change things up! It is a cleaner, more customizable option for those who want a wholesome spread for their family.
Why You’ll Love This Homemade Jelly Recipe
You’re going to love this recipe if you’re a beginner or a veteran canner. It uses store-bought juice so it doesn’t matter what season it is or what fruits are available. It’s usually easy to find delicious juices wherever you shop. Jams and jellies are typically great for beginners and are quick in the water bath canner. They are shelf-stable and make great gifts around the holidays.
My niece and nephew LOVE it when I make them homemade jelly. If it’s that easy to bring a smile to their faces, you better believe I’m going to do it, not to mention there is less sugar in these than in most store-bought brands.
FAQs About Making Mixed Berry Jelly at Home
Yes, you can use store-bought or homemade juice. Just make sure it is 100% juice and there are no added ingredients, like sugars or artificial sweeteners.
Lemon juice helps add acid to the jelly, making it set properly and safe to eat. Different fruits have different acidity levels, so when you’re using mixed berry or mixed fruit juice, you’ll want to use lemon juice to make sure your acidity level is high enough for safe home water bath canning.
This jelly has 5-6g of sugar per tbsp of jelly, compared to store-bought jelly, which can be 7-10g per tbsp serving. Note: Nutrition information is approximate and may vary based on the juice blend used.
Common causes include undercooking, incorrect pectin type, or too little acid. Rebatching with added pectin or lemon juice can help fix it. Follow the directions on How to Rebatch Jelly if you find yourself in the predicament.
It’s not recommended. Jelly can fail to set if doubled—make two separate batches instead for better results.
Explore More Jelly Recipes Made with Less Sugar
If you love making homemade jelly, you’re going to love these extra recipes! Jelly makes such a sweet gift or homemade treat that you can batch make. Give a few of these other low-sugar jelly recipes a try:
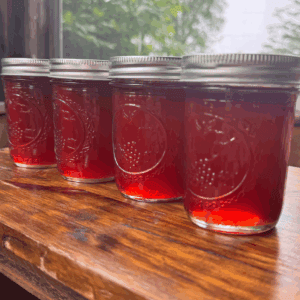
Low Sugar Mixed Berry Jelly (Made with Store-Bought Juice)
Equipment
- water bath canner
- Canning Tools
- 5-6 half pint jars
Ingredients
- 4 cups mixed berry juice
- 2 tbsp lemon juice
- 1/4 tsp butter optional, to help reduce foaming
- 3 cups sugar
- 1 box sure jell low or no sugar added pectin
Instructions
- Prepare your jars: Wash jars, lids, and bands in hot soapy water. Keep jars warm until ready to use.
- Add juice, lemon juice, and butter into a large pot.
- Combine 1/4 cup of sugar and pectin, and whisk it into the juice. Bring to a boil over high heat, stirring constantly.
- Add the sugar and return to a full rolling boil. Boil hard for 1 minute, stirring constantly.
- Remove from heat and skim off foam if needed.
- Ladle into hot jars, leaving ¼-inch headspace. Wipe rims, apply lids and bands finger-tight.
- Process in a water bath canner for 10 minutes (adjust for altitude).
- Let jars sit for 5 minutes with the lid off. Remove jars and let sit undisturbed for 12-24 hours before checking seals and storing.


