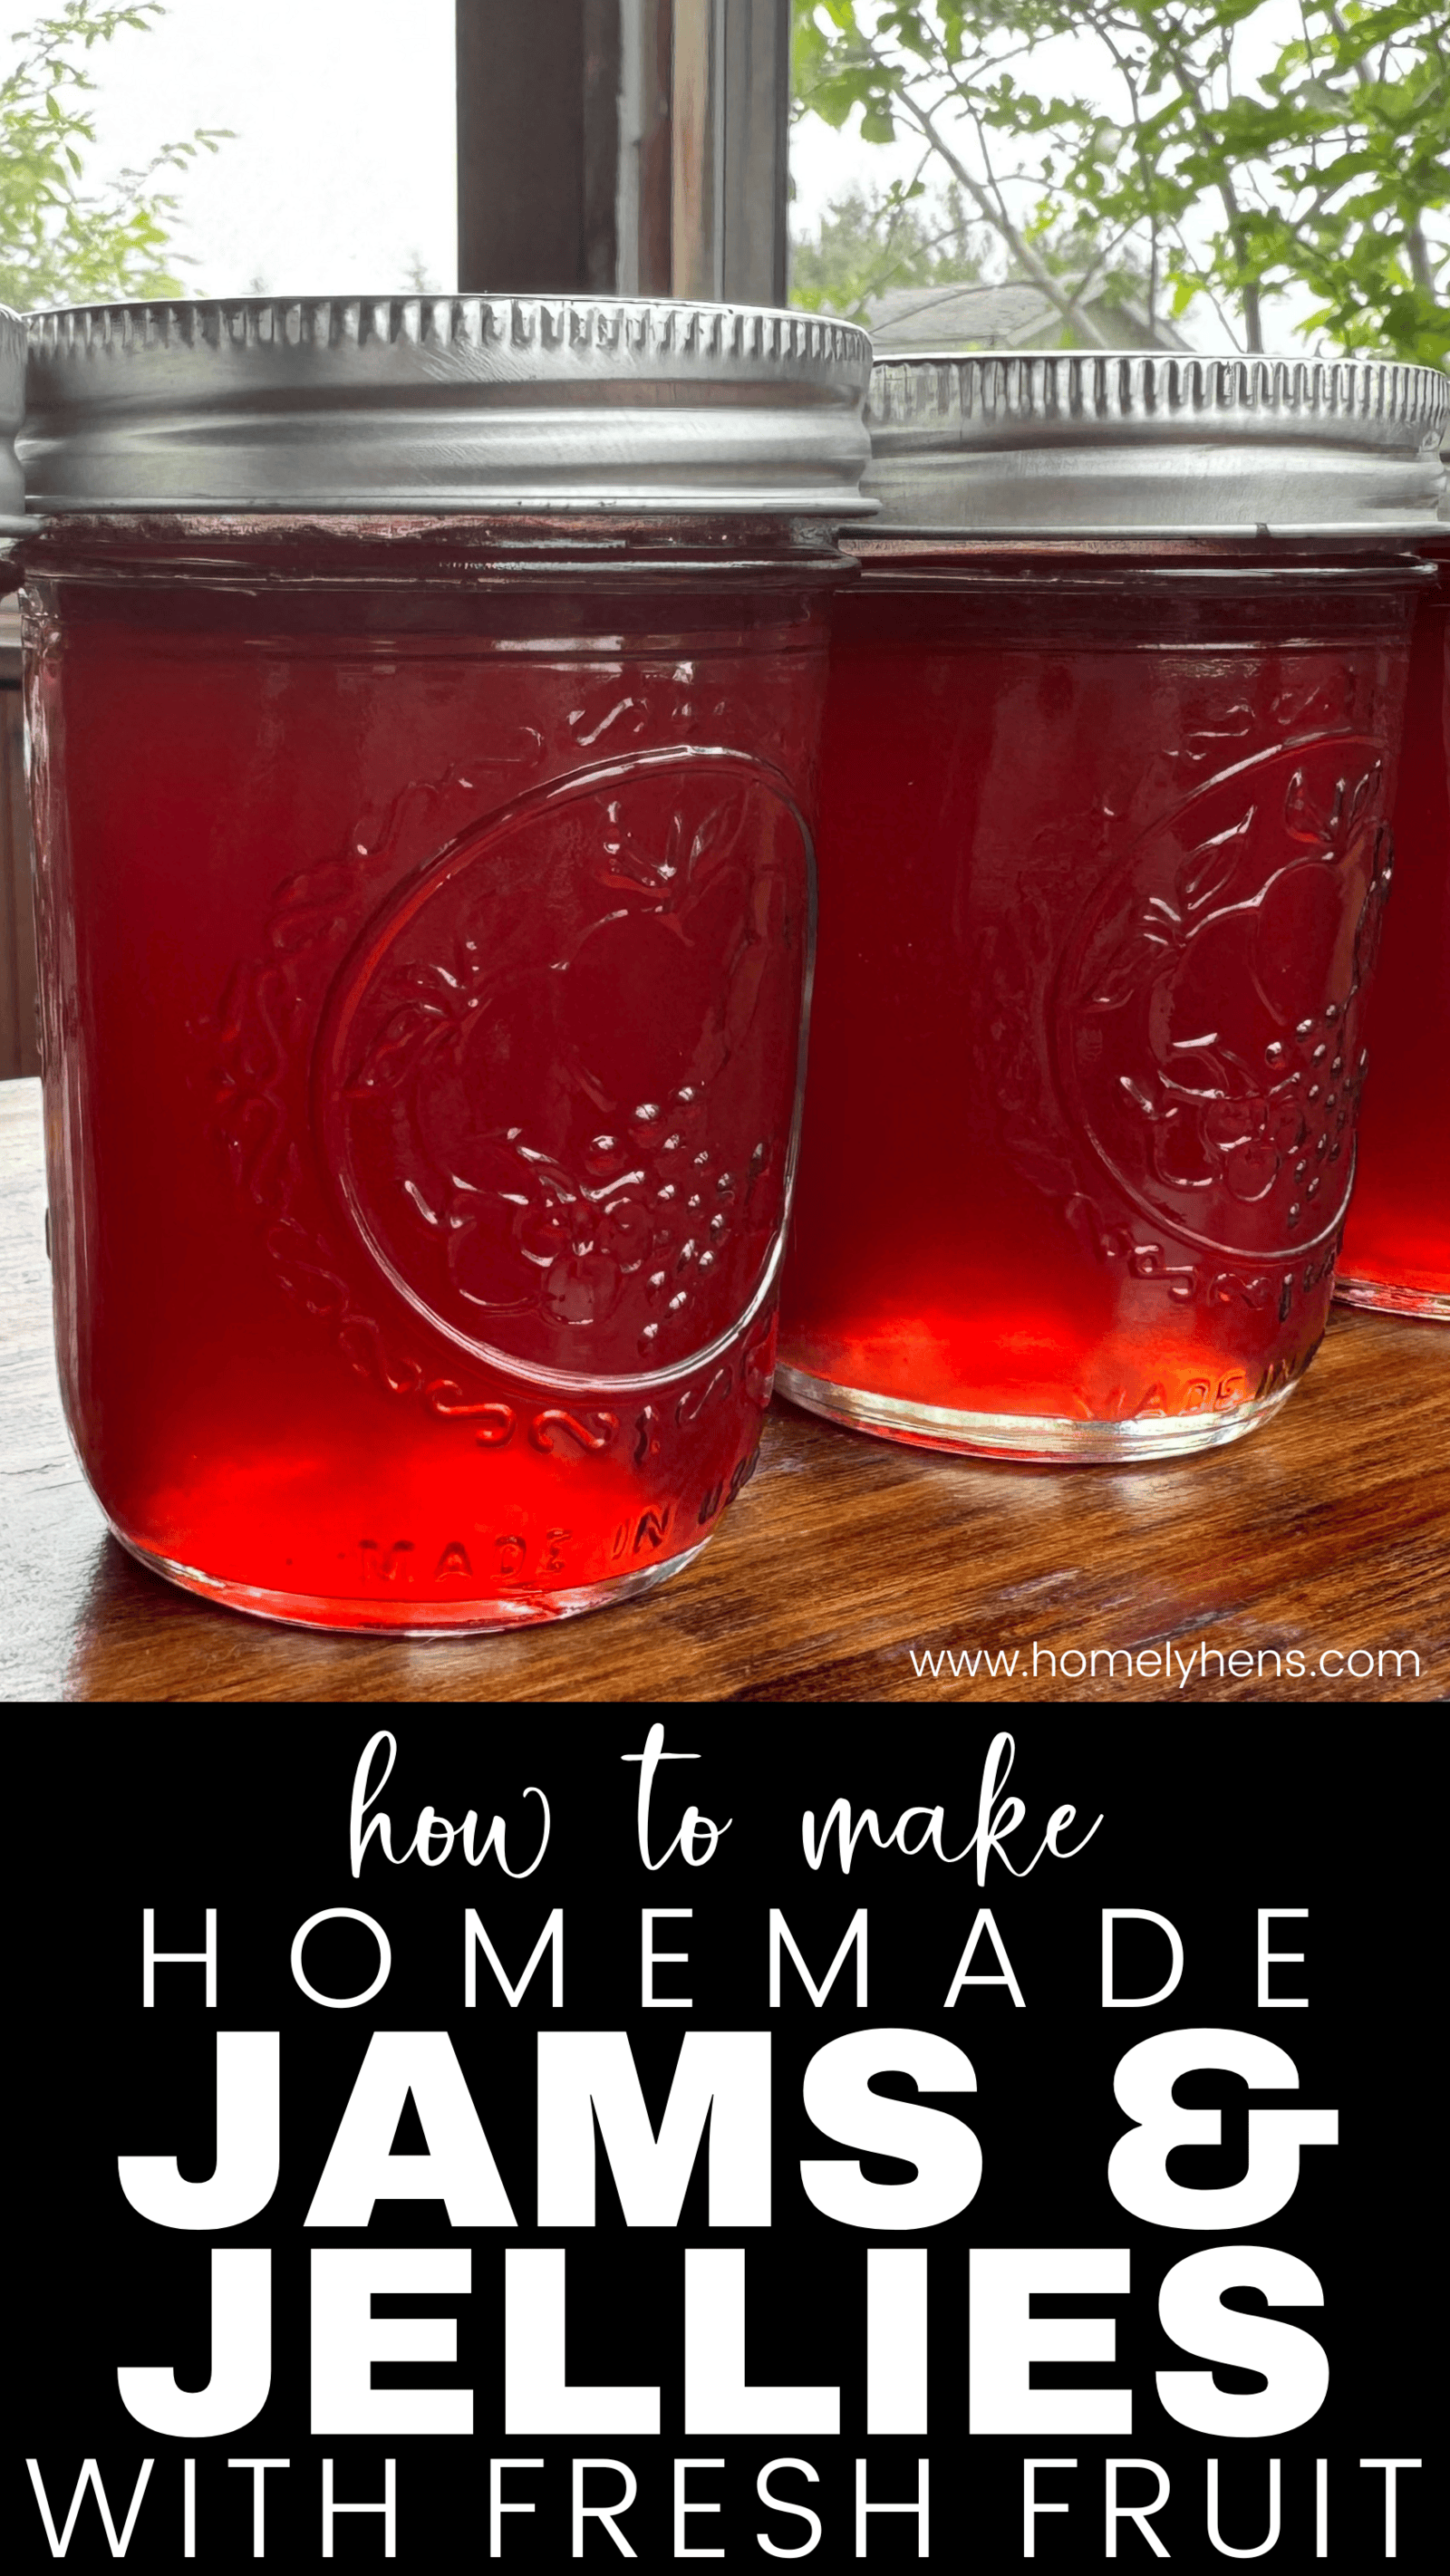
How to Make Homemade Jams and Jellies with Fresh Fruit
Make homemade jams and jellies using garden-fresh or wild-foraged fruit. These low-sugar, small-batch recipes are perfect for homestead canning and preserving the natural sweetness of each season.
Whether you’re new to canning or looking to expand your pantry with creative flavor combinations, you’ll find tried-and-true recipes the whole family will love.
Looking for more ways to preserve your harvest? Visit the Food Preservation page for tips, guides, and more canning inspiration.
This post contains affiliate links. This will not cost you anything but will help us offset the cost of running the blog. We only share products we are using and items we would recommend to a friend. Thank you for your support! Click ‘HERE’ for more info.
Tools You’ll Need for Small-Batch Jam Making
There are a few tools that make jam and jelly making easier! If you’re going to can your homemade jellies and jams, you need a water bath canner; this one comes with a tool set, too. If you’re planning on freezing your jellies or jams, skip the canner!
A good quality stainless steel funnel is also convenient to have for when you’re canning or doing other projects. Of course, 8-oz jelly jars or even 4-oz jars are good to have on hand so you can preserve your favorite fruity spreads in either size jar.
Pectin is also nice to have if you want to use it for your jam and jelly recipes. There are a few different pectins you can use. I usually use Sure-Jell Low Sugar Pectin, but there’s a regular Sure-Jell Pectin, and I also like the Ball brand, which has both the regular and low-sugar kind. There’s also liquid pectin if you prefer to use that.
Small Batch Jam and Jelly Recipes for Homesteaders
You will love these homemade jam and jelly recipes that can all be water bath canned for long-term storage. Control the ingredients going into your jams and jellies, and use fresh fruits from your garden to make them!
- No Pectin Strawberry Rhubarb Jam – A sweet-tart jam with no added pectin.
- Low Sugar Grape Jelly – Classic flavor made with less sugar and better fruit flavor.
- Low Sugar Black Raspberry Currant Jam – Wild fruit meets rich flavor.
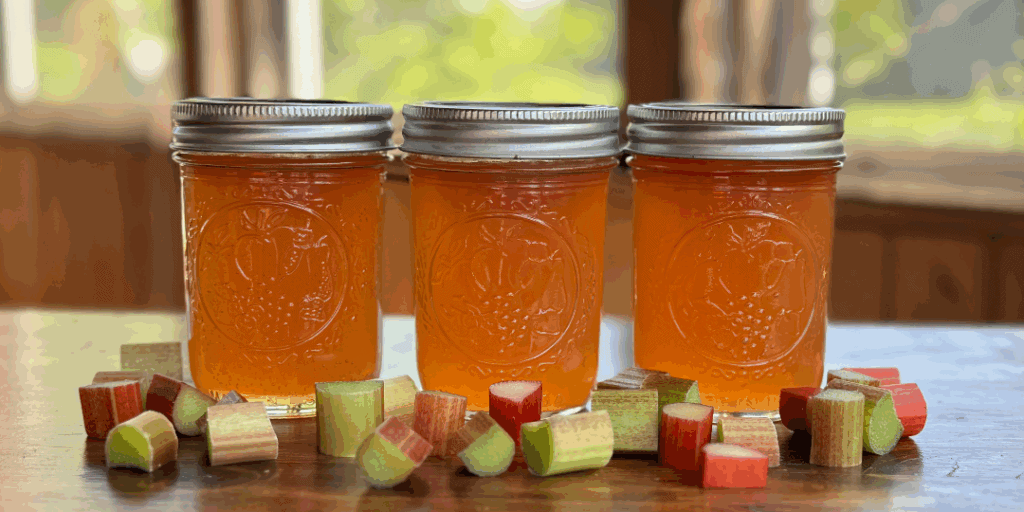
- Low Sugar Rhubarb Jelly – A tart and tangy jelly perfect for spring preserving.
What’s the Difference Between Jam, Jelly, and Preserves?
It’s easy to confuse jams and jellies or use the words interchangeably if you aren’t familiar with their characteristics. There are some distinct differences between the two, and preserves, so here’s an explanation.
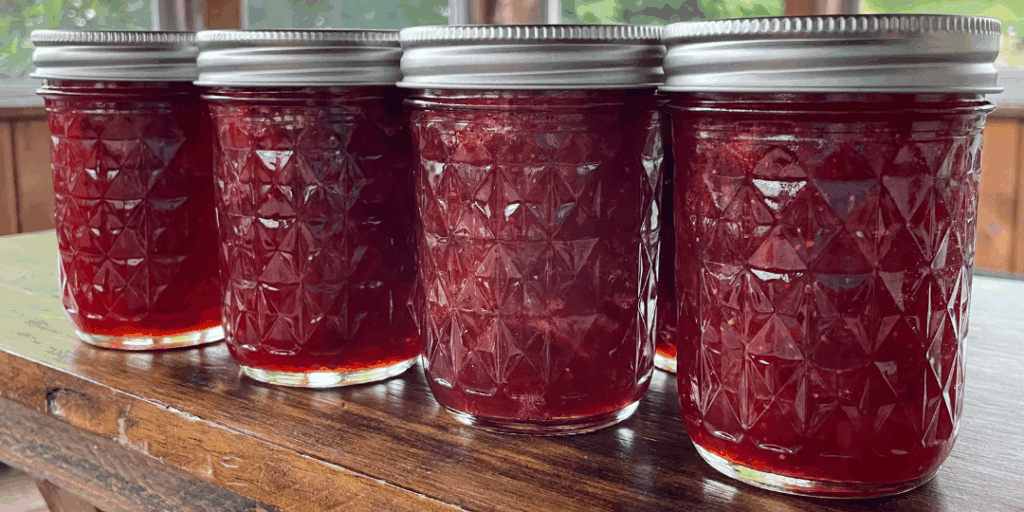
- Jelly – Made with only juice, no whole fruit pieces or seeds. Jellies are typically clear and firm. You can make jelly using store-bought juice, or you can juice your own fruit to make jelly.
- Jam – Made using crushed or pureed fruit. The jam recipes skip the step of juicing the fruit and use the whole fruit. Jam has seeds if the fruit naturally has seeds.
- Preserves – Preserves are usually made with whole or large pieces of fruit suspended in a thick syrup. Best used as a topping for ice cream or pancakes.
My favorite way to turn fruit into a delicious spread is to make jam, because it’s easy, and the fruit chunks aren’t too big. Each person in the family will have a different favorite, though, so give a variety of recipes a try!
Should You Use Pectin in Homemade Jams and Jellies?
Understanding the difference between pectin and no-pectin recipes can help you choose the best method for your homemade jams and jellies.
Pectin naturally occurs in fruit, which helps jams and jellies gel. Store-bought pectin allows for shorter cook times and consistent results, especially with low-pectin fruits like strawberries or peaches. It’s ideal if you want a firm set or are short on time.
No-pectin recipes rely on the fruit’s natural pectin and longer cook times to reach the gel stage. These often have a softer set and more concentrated flavor, making them a favorite for small-batch, old-fashioned preserves.
Both methods are safe when processed properly. Your choice depends on the fruit you’re using, how much sugar you want to add, and the texture you prefer. Using pectin is usually easier for beginners because it cooks for a shorter amount of time, and there’s less room for error.
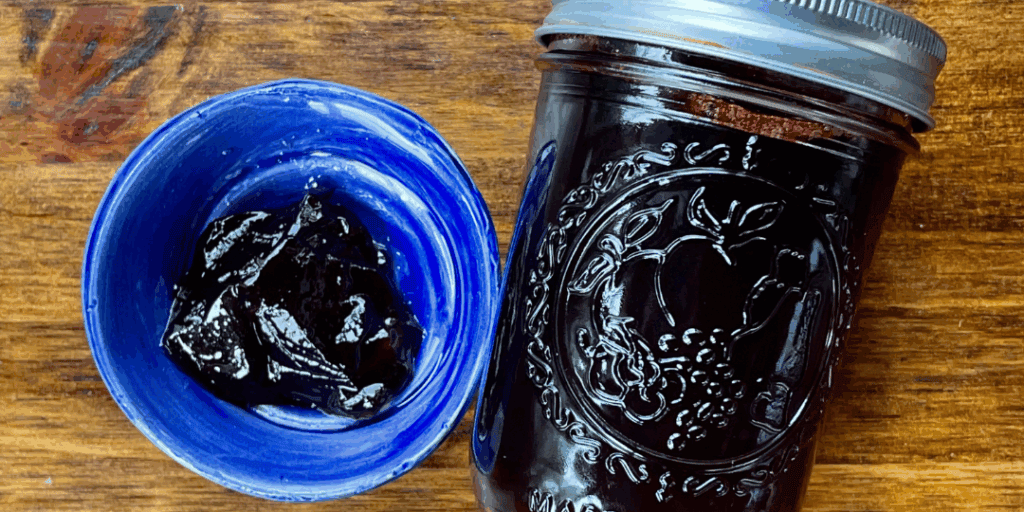
Powdered vs Liquid Pectin: What’s the Difference and When to Use Each
Powdered Pectin
- It must be mixed with the fruit before cooking.
- Sugar is usually added after boiling the fruit-pectin mixture.
- Common brands: Sure-Jell (yellow box for regular recipes, pink for low-sugar or no-sugar).
- Great for recipes that involve some cooking time.
Liquid Pectin
- Added after the fruit and sugar have been boiled together.
- Doesn’t require pre-mixing with fruit.
- Typically used in high-sugar recipes.
- Common brands: Certo or Ball liquid pectin.
Can You Substitute One for the Other?
Not directly. Liquid and powdered pectins are not interchangeable without adjusting the entire recipe. They set differently and require different timing in the cooking process, so always follow a tested recipe specific to the type you’re using.
Which Should You Use?
- Choose powdered pectin for greater flexibility and a wider range of recipe types, including low-sugar options.
- Use liquid pectin if you’re following a traditional high-sugar jelly recipe and want a simpler process with fewer steps.
Understanding how and when to use each type ensures your homemade jams and jellies set up just right every time.
Troubleshooting & More Resources
- How to Rebatch Jelly That Didn’t Set – It is frustrating when you spend time making jelly and then realize it didn’t set! I’ve done this a time or two, and this rebatch recipe helped me to correct the mishap. Save this one for later because it is bound to happen one day!
- Monthly Canning Guide – This is a great guide to have to help you plan out your year. This guide is specifically for zone 5, but you can use it and adapt it to your zone, too.
Explore More Preserving Recipes
We love jams and jellies around here, but don’t forget about some other ways to use a water bath or pressure canner. Take a look at these other pages that go in-depth about other ways to can food.
- Fruit Preserves & Pie Fillings – coming soon
- Canned Vegetables – coming soon
Can You Freeze Homemade Jam and Jelly
Want to grab these jam and jelly recipes, but are intimidated by water bath canning? Have no fear, you can still make these and use the freezer instead!
What is Freezer Jam?
Freezer jam or jelly is still made with fruits, sugar, and pectin, but uses the freezer instead of a canner. There are two ways to make freezer jam: using a cooked jam or jelly recipe (like most of our recipes), letting it cool, and then freezing or using a traditional freezer jam recipe is a different recipe altogether and uses freezer-specific pectin.
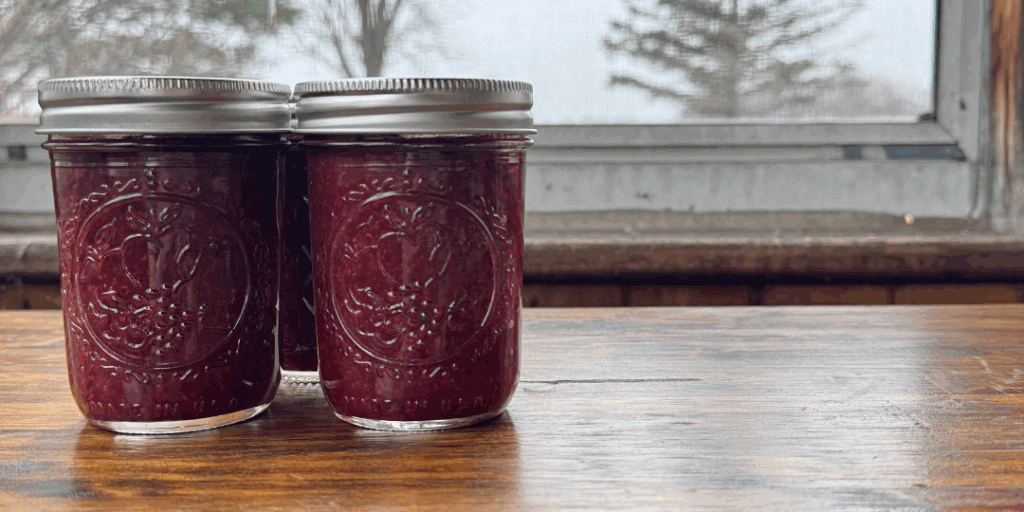
Freezing Cooked Jam vs. Freezer Jam: What’s the Difference?
If you’ve made a batch of jam or jelly and don’t want to can it, you might wonder if you can just freeze it. The answer is yes, but it’s different from traditional freezer jam.
Cooked Jam You Freeze:
- Made with regular pectin and cooked on the stove
- Can be frozen after cooking, if you skip water bath canning
- Sets firmly, like a shelf-stable jam
- Safe and delicious, but it takes more time and tools than regular freezer jam
- Must be refrigerated after it comes out of the freezer, not shelf-stable
Freezer Jam:
- Made with freezer pectin and no cooking required
- Quick and fresh-tasting
- Softer set and more fruit-forward flavor
- Best for small batches and short-term storage
- Must be refrigerated after it comes out of the freezer, not shelf-stable
Which One Should You Choose?
- Want speed and ease? Go with freezer jam.
- Using a canning recipe but skipping the canner? You can freeze the cooked jam safely — just be sure it’s properly cooked and jarred.
Tips for Freezing Cooked Jam and Jelly Recipes
- Use freezer-safe containers or glass jars with straight sides to avoid breakage
- Leave ½ inch headspace to allow for expansion, do not overfill
- Let jam or jelly cool completely before freezing
- Label the jars with the date and type
- Store for up to 1 year in the freezer or 3–4 weeks in the fridge after opening
Frequently Asked Questions about Homemade Jams & Jellies
Jam or jelly is set when it thickens and holds its shape. You can test this by placing a spoonful on a cold plate and letting it sit for 1–2 minutes. If it wrinkles when you push it with your finger, it’s ready. You can also use a thermometer—220°F is the gel point at sea level.
Common reasons that jelly doesn’t set include undercooking, using overripe fruit (which has less pectin), incorrect measurements, not enough sugar, or expired pectin. If it doesn’t set, you can try re-cooking it with more pectin following these Rebatch Your Jelly instructions, or let it sit longer; sometimes jelly firms up after 24–48 hours.
Yes, but you need to use a low- or no-sugar pectin, or a recipe specifically formulated for reduced sugar. Standard pectin needs a high sugar-to-fruit ratio to gel properly, so cutting sugar without adjusting the recipe can result in runny jam.
Yes! You can make small-batch jams and store them in the fridge for a few weeks or freeze them for longer storage. This is a great option if you’re just starting or don’t have canning equipment.
If you’re water bath canning your jelly or jam for more than 10 minutes, you don’t need to sterilize jars beforehand, just make sure they’re clean and hot. If processing time is under 10 minutes, sterilizing jars is necessary.
Want to explore more ways to preserve your harvest? Head over to the Food Preservation page for helpful guides, practical tips, and plenty of canning inspiration.


