The Best 3 Ingredient No Pectin Black Raspberry Jam Recipe & The New Love of Your Life
If you’re looking for a no-pectin black raspberry jam recipe, you’ve come to the right place! Black raspberry season in Northern Illinois was in full swing last June, and we made the most of it with bars, jam, and pie. With about 7 cups of berries still in the freezer, I’m considering another pie or maybe some mini pies next.
This simple, no-pectin recipe highlights the rich, natural flavor of black raspberries without relying on added thickening agents. It’s perfect for beginners or anyone wanting a straightforward way to preserve these delicious berries.
If you’re interested in exploring more homemade spreads, be sure to visit our Jams and Jellies page, where you’ll find a collection of recipes that cover everything from classic jams to unique jelly flavors.
This post contains affiliate links. This will not cost you anything but will help us to offset the cost of running the blog. We only share products we use and would recommend to a friend. Thank you for your support! Click ‘HERE’ for more info.
Mix, Mash, and Make!
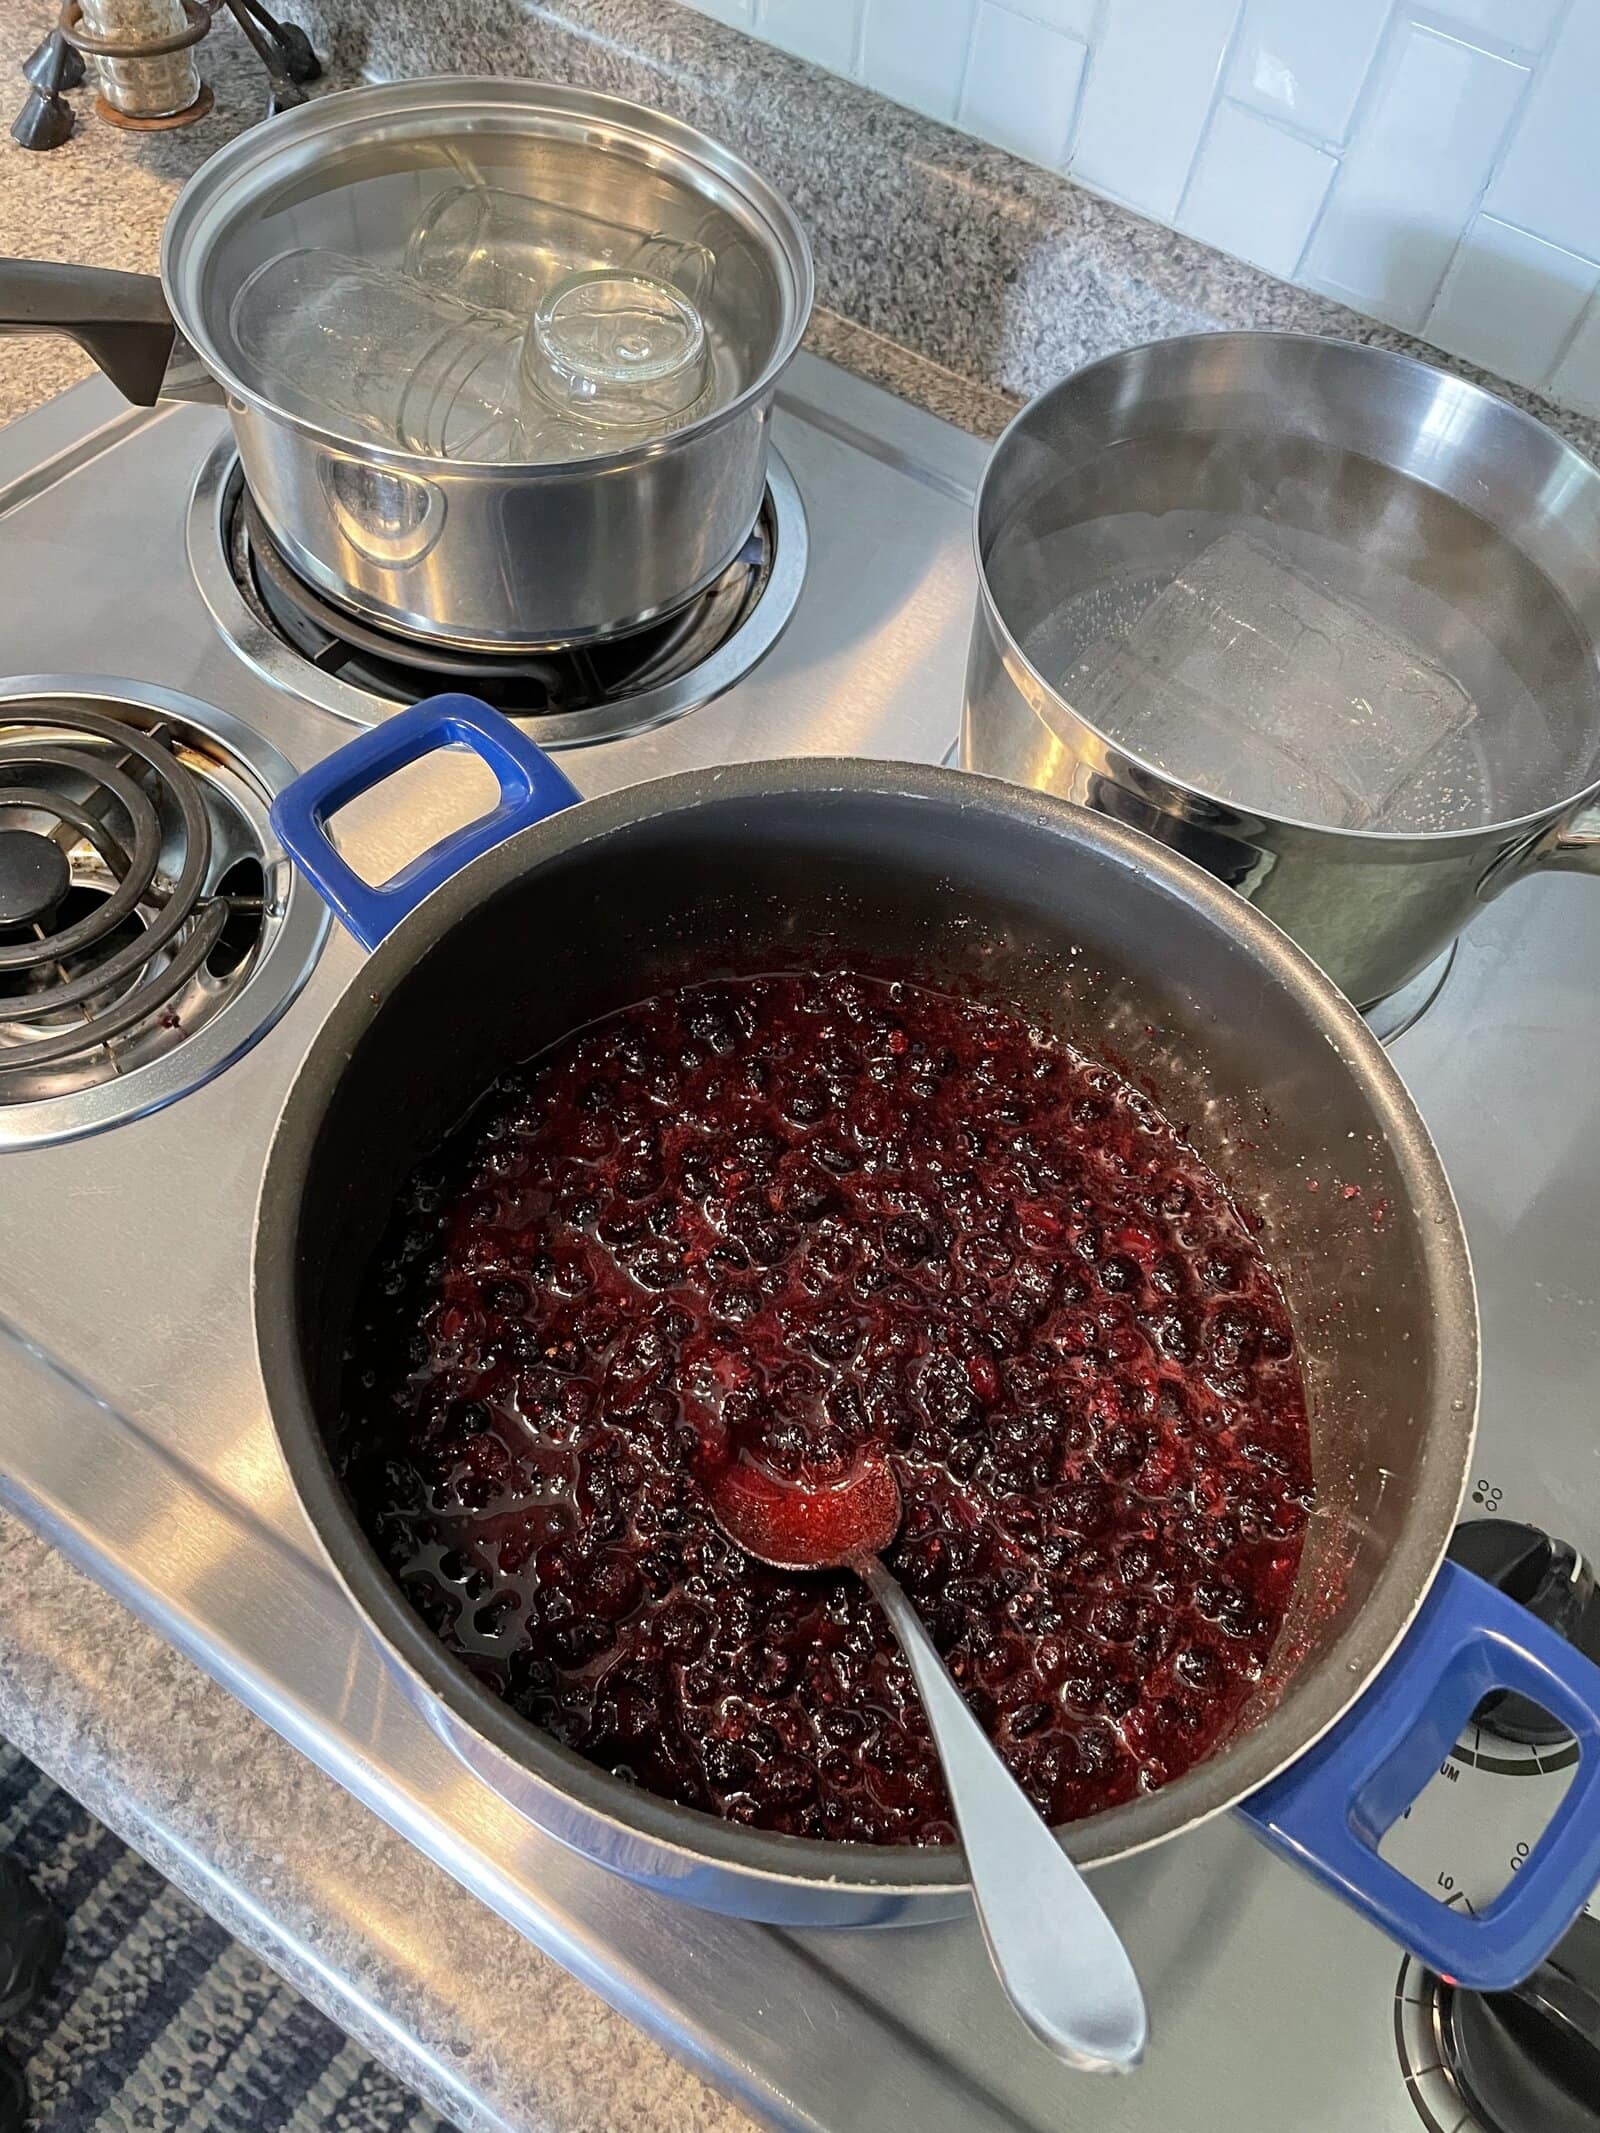
To prepare your jars make sure you sanitize them by boiling them for about 10 minutes. Do this step while making the jam. Put jars and lids in a large pot (or two if needed) with water. Bring the water to a boil and allow it to boil until you’re ready to fill the jars. You’ll need 3-4 8oz jars.
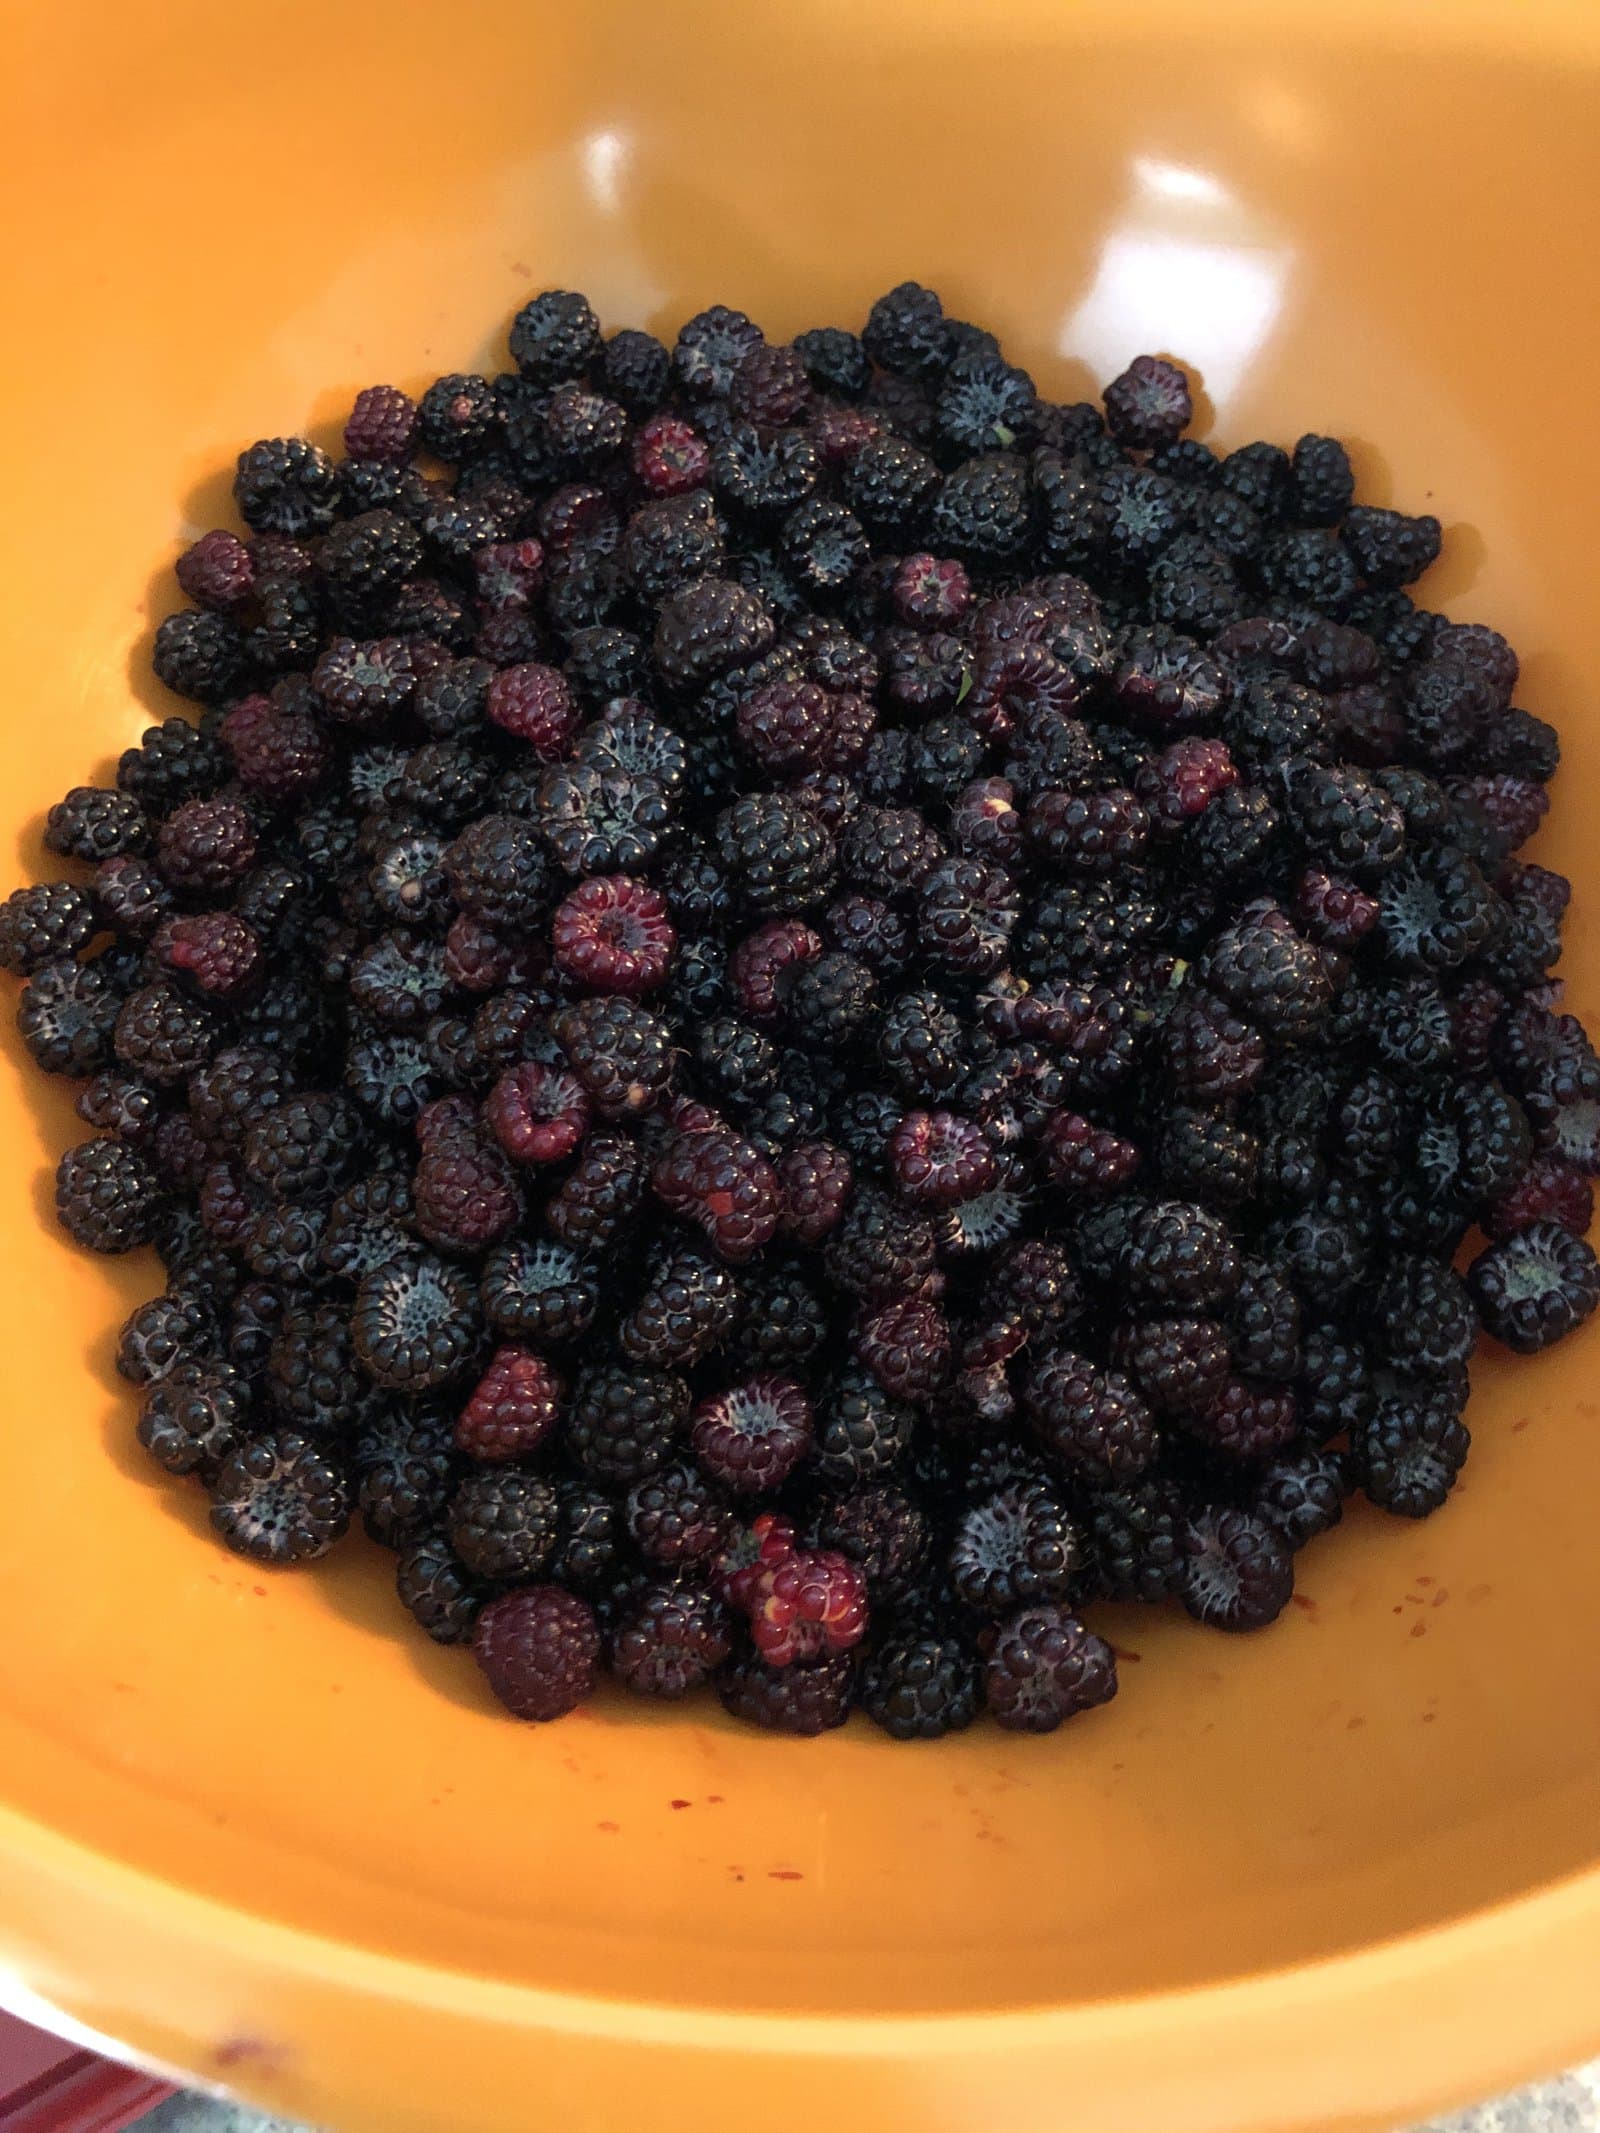
To make the jam, add 4 cups of berries, 2 tbsp of lemon juice, and about 2 cups of sugar to a large pot. Make sure to leave room at the top so it doesn’t boil over later.
I used lemon juice in this recipe to help the raspberry flavor POP. It also helps the jam gel up without having to use pectin. Simple ingredient recipes are the best kind!
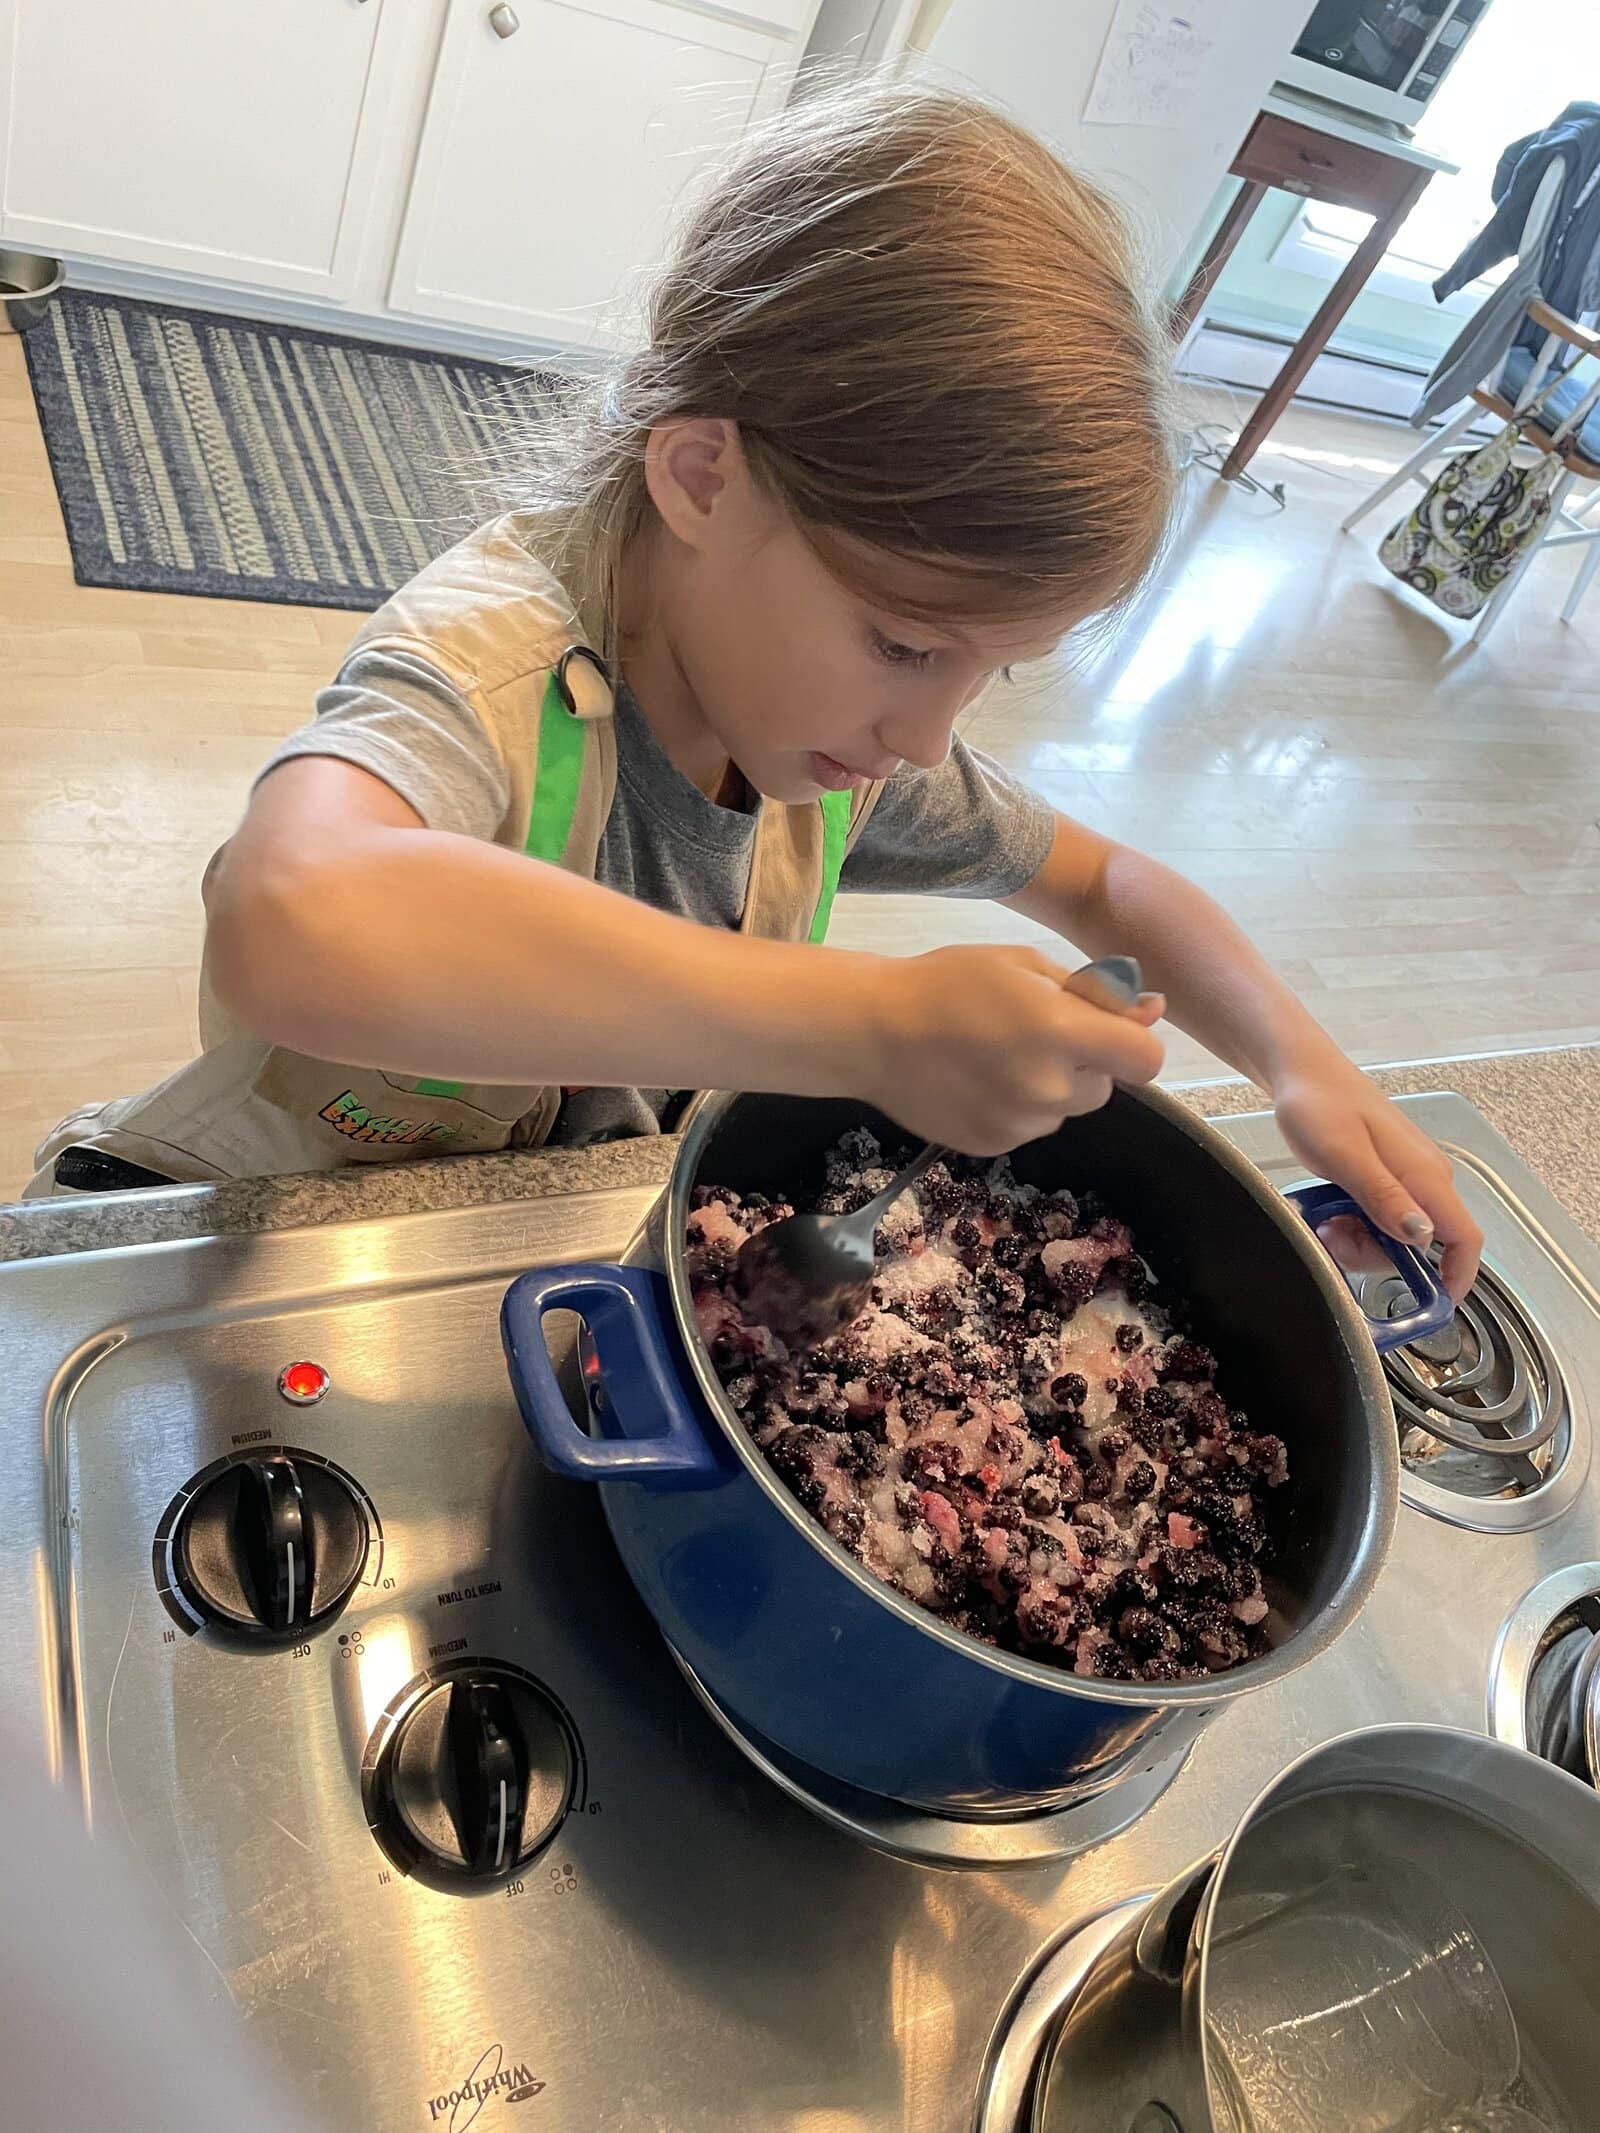
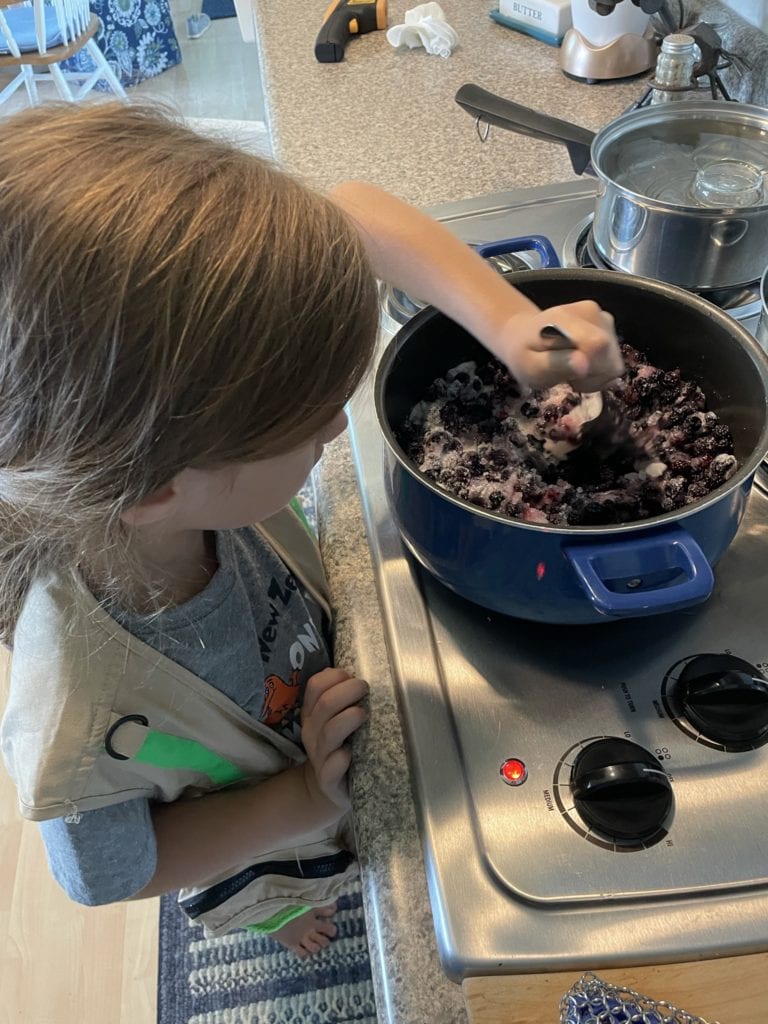
Heat the pot over medium heat. Mash and stir the berries until they release their juice. My daughter had a hard time stirring it up until the berries started to break down, then the mixture became very easy to stir.
Turn the heat up to high and boil the mixture rapidly, stirring occasionally. Don’t splatter yourself with the mixture. OUCH.
Boil and cook for 8-10 minutes and then start to test for the gel stage.


No Pectin Black Raspberry Jam – Is It Done Yet?
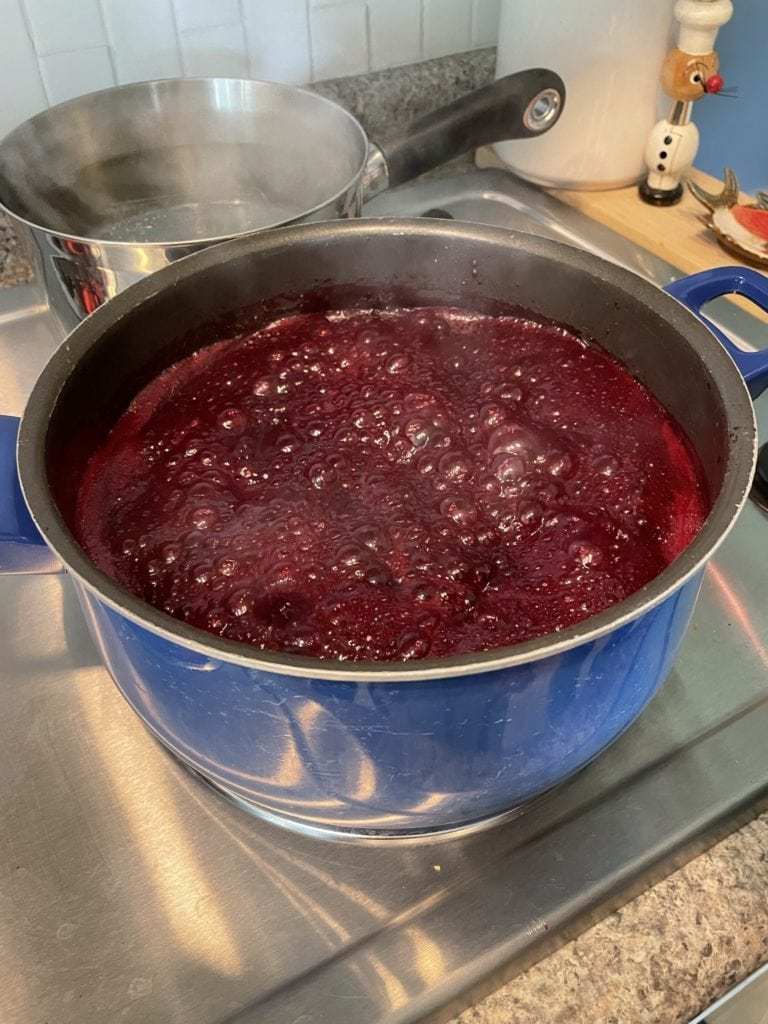
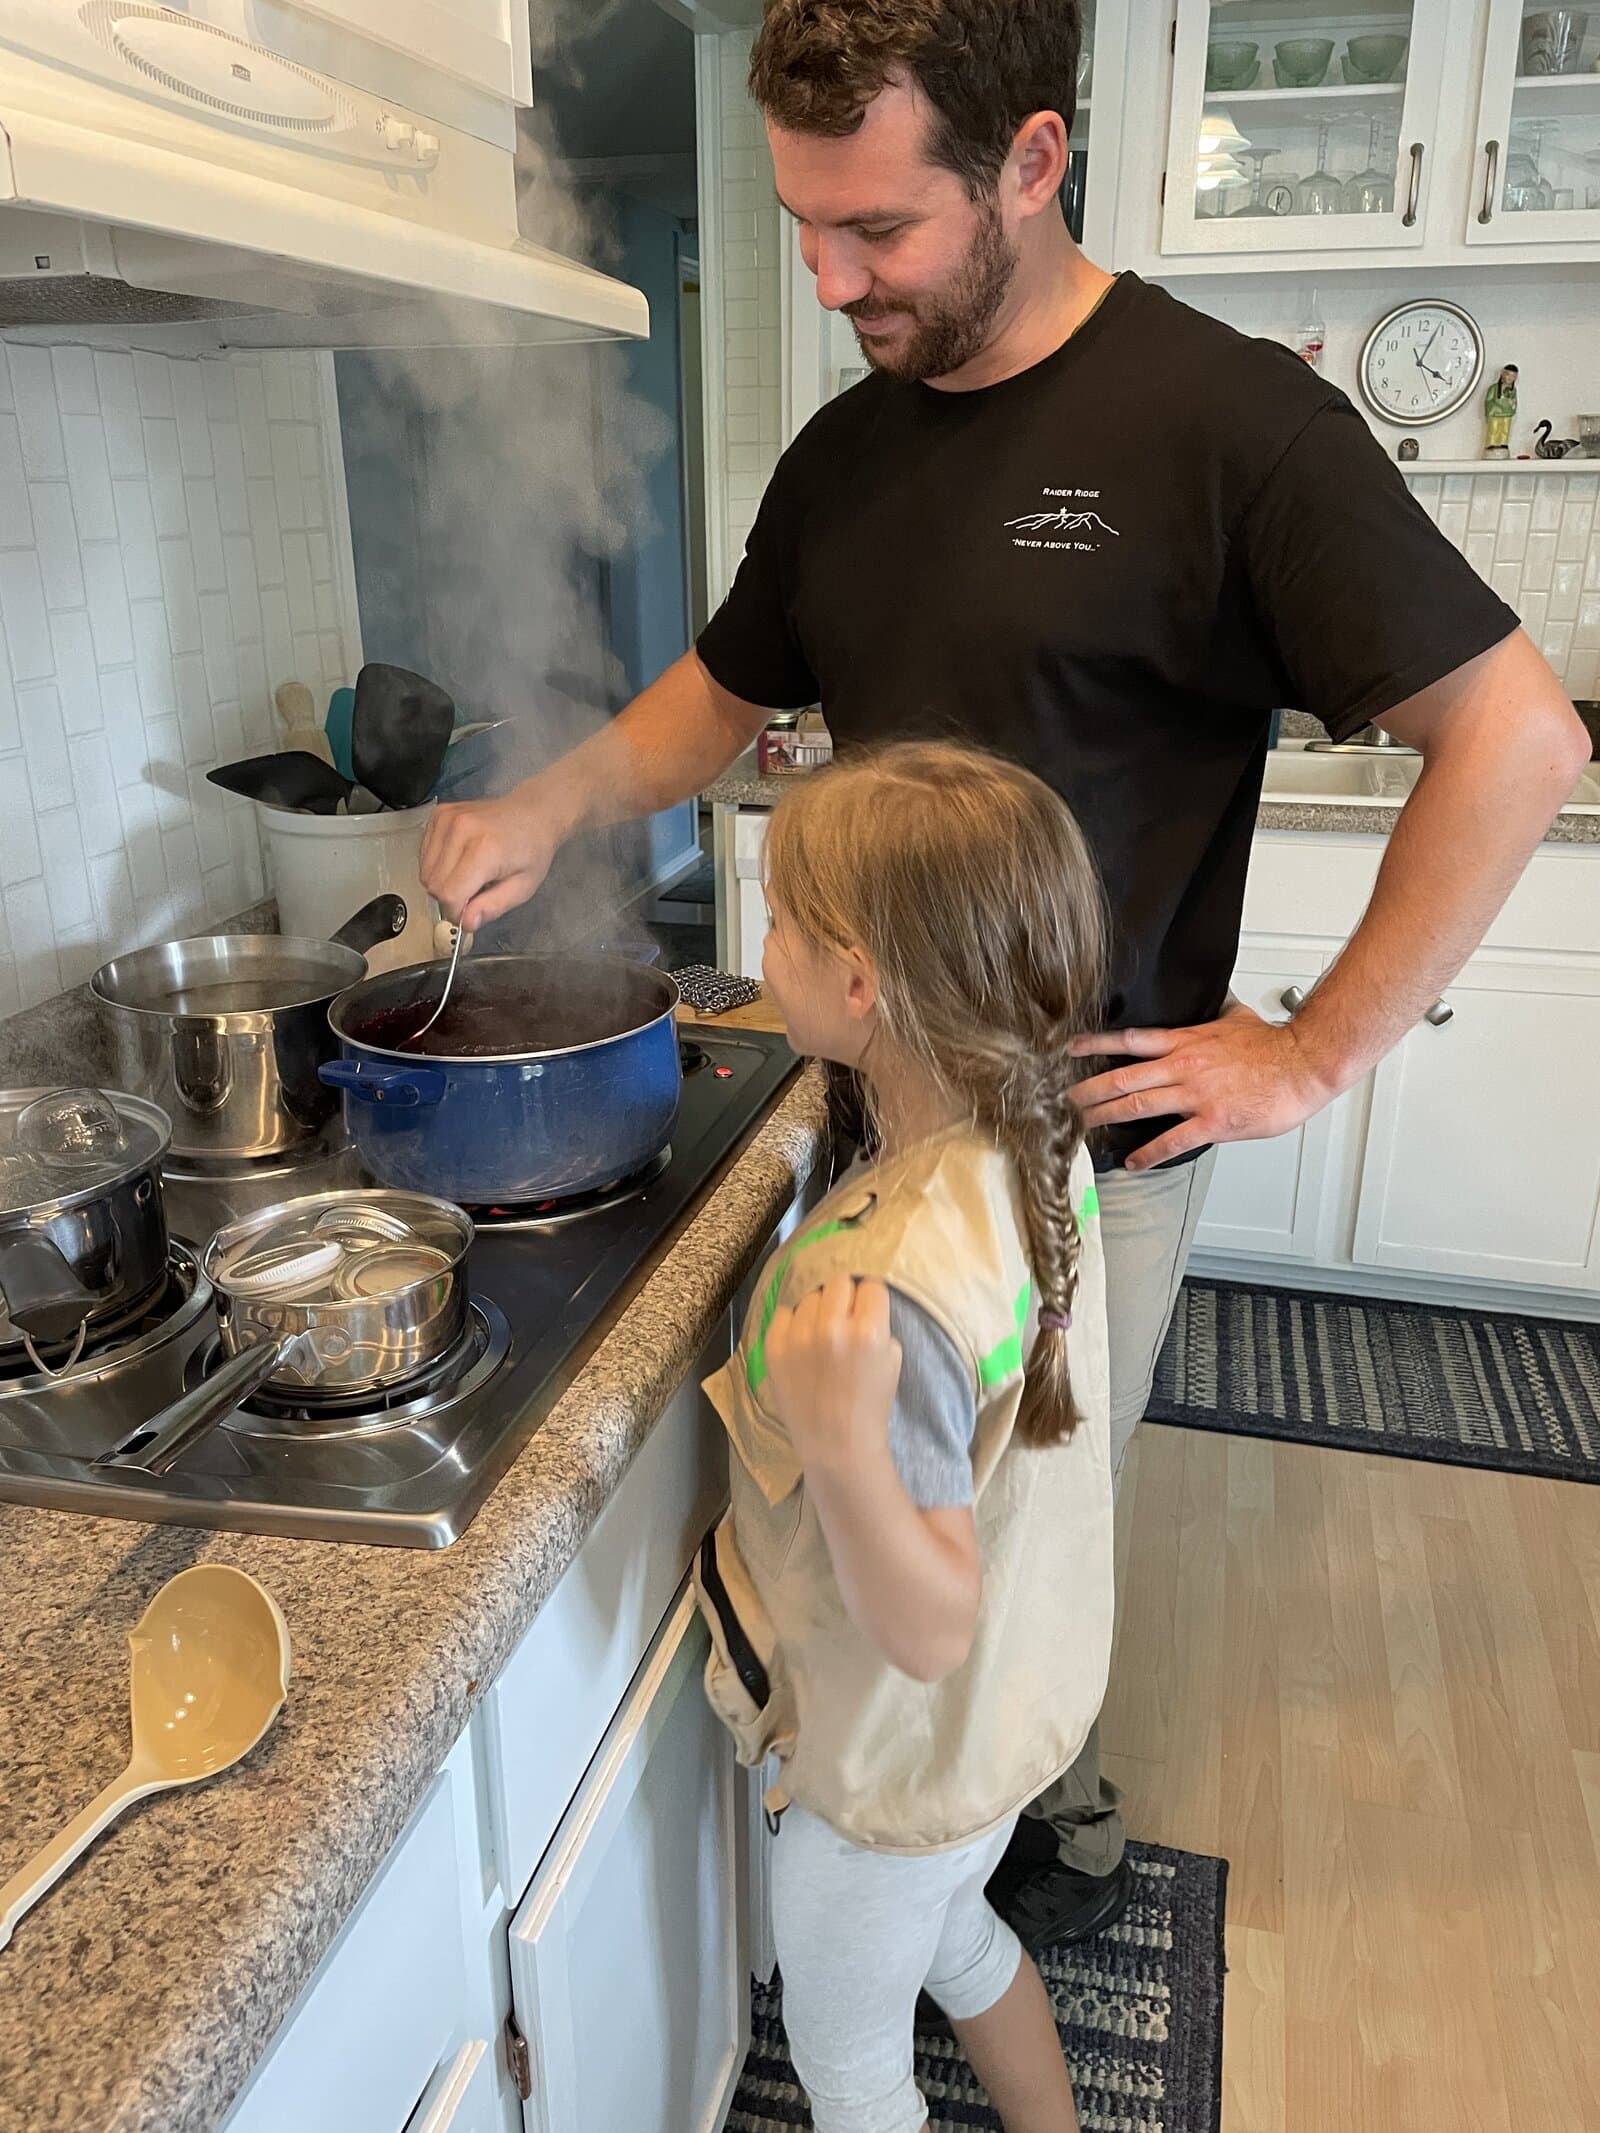
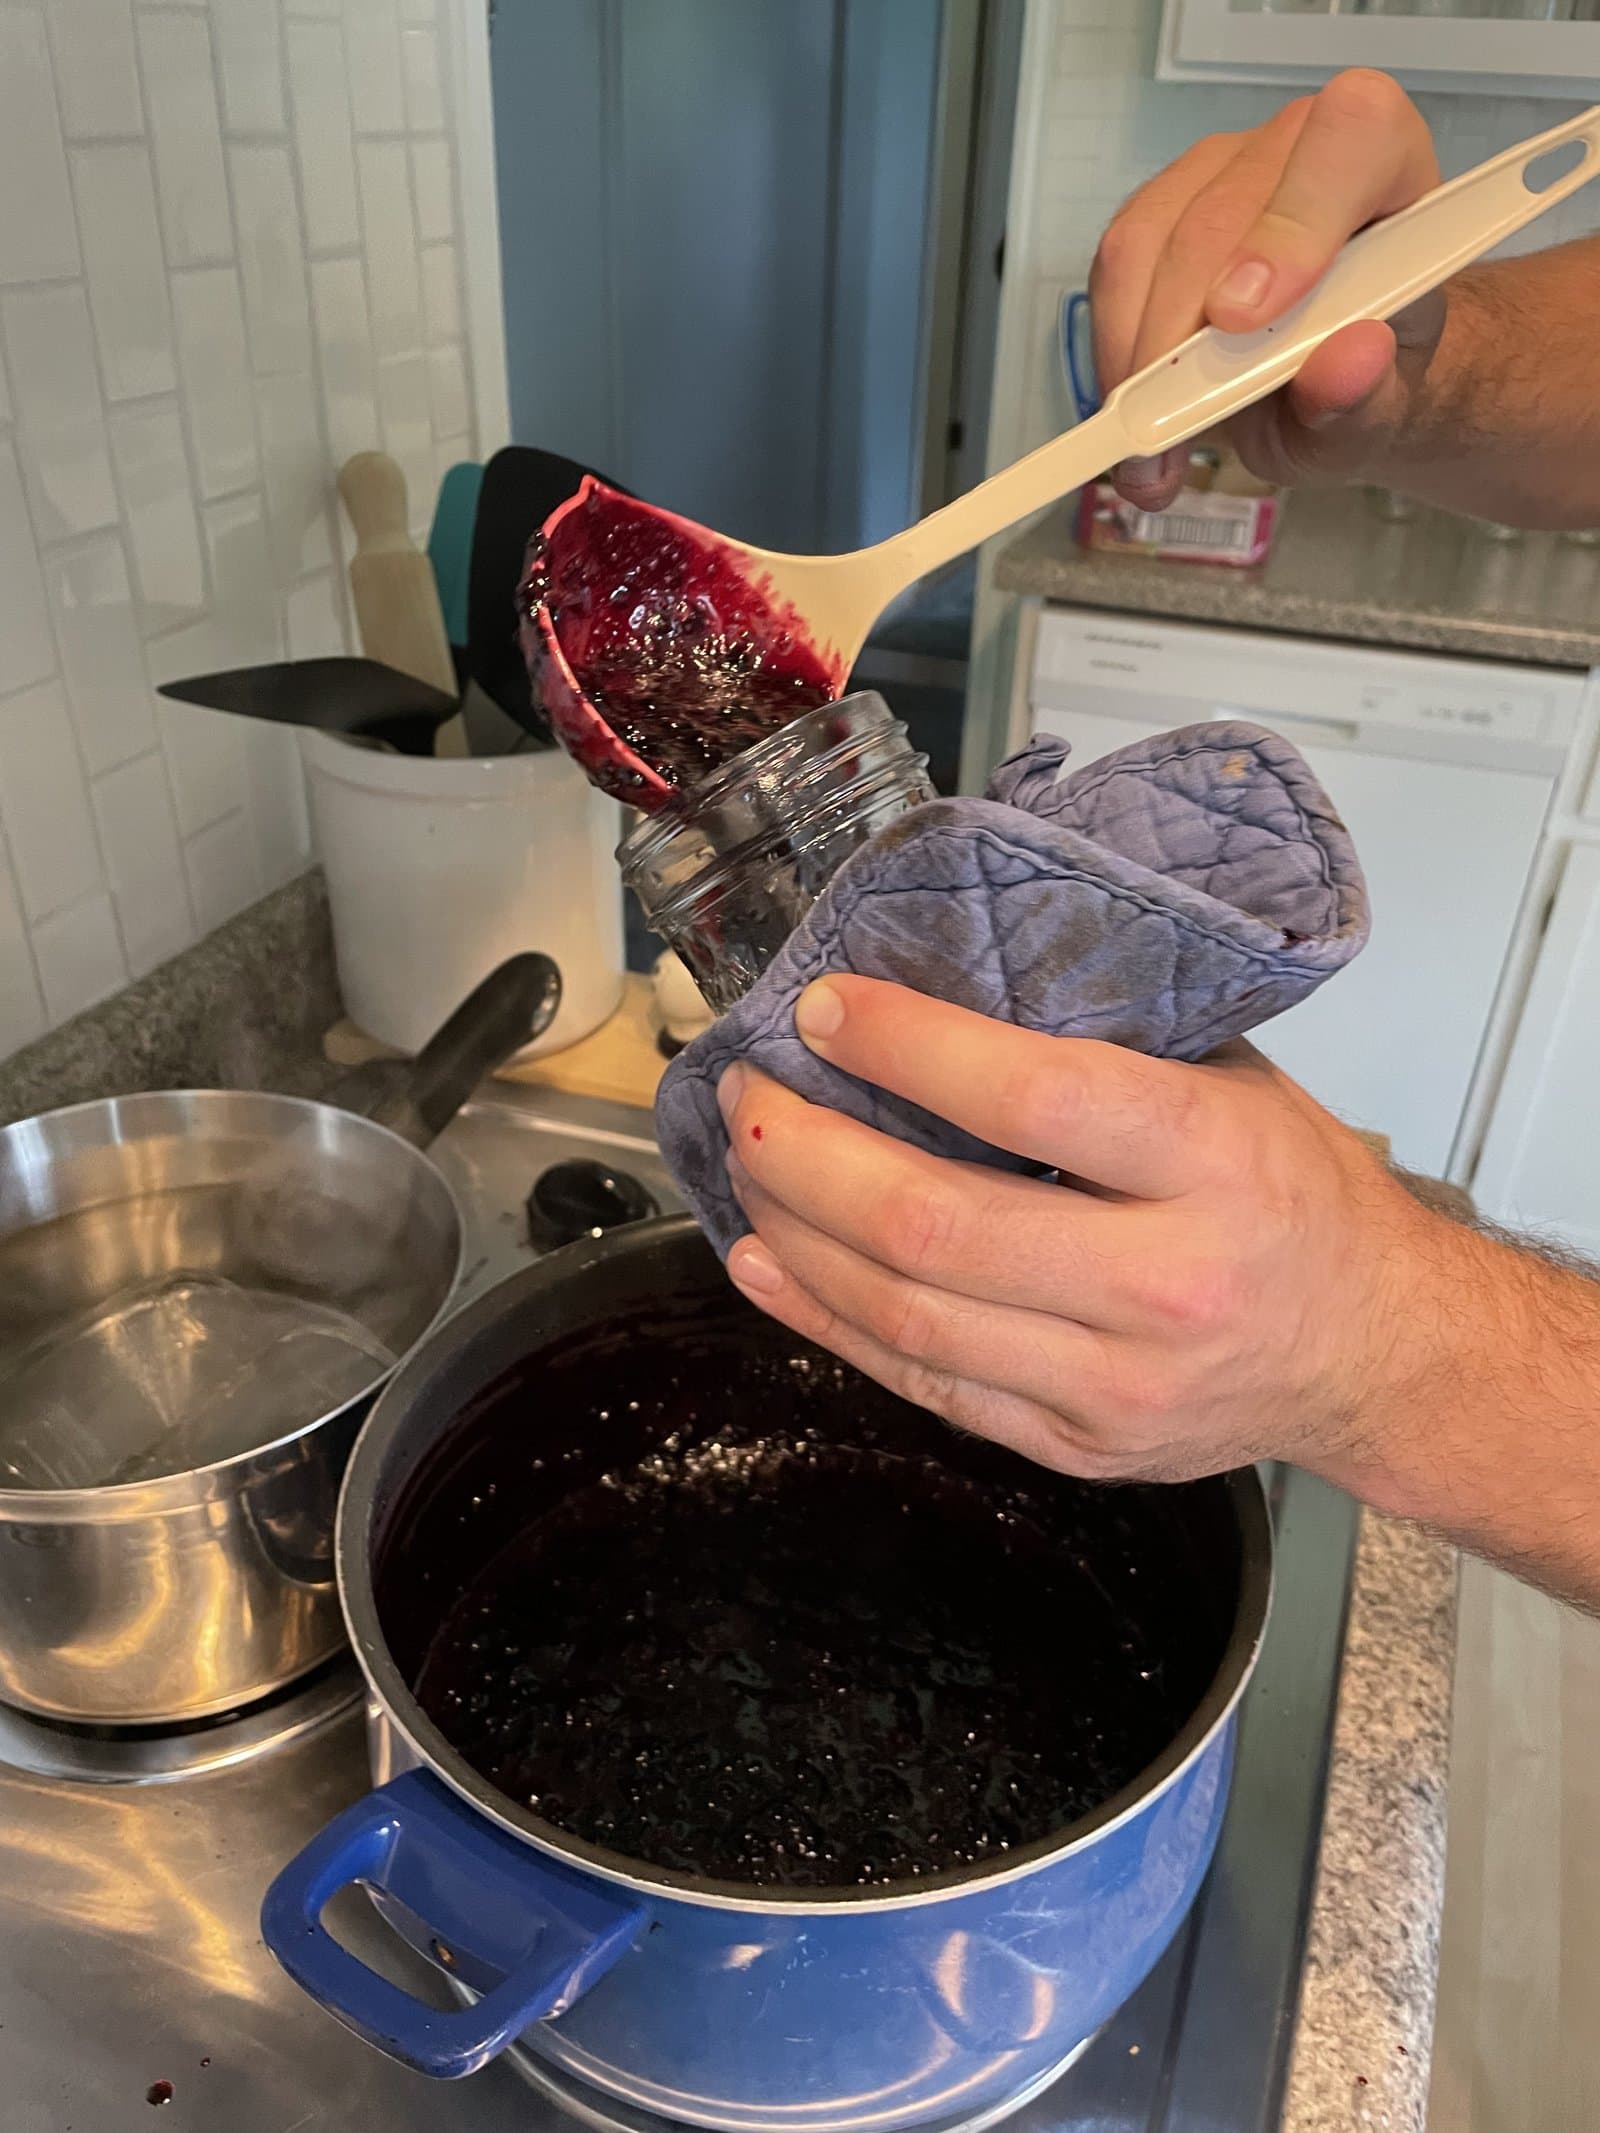
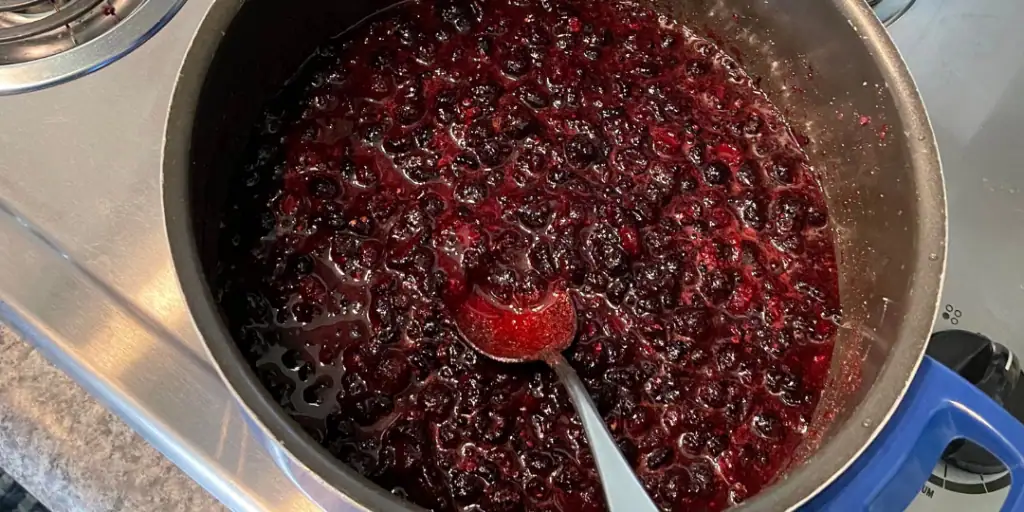
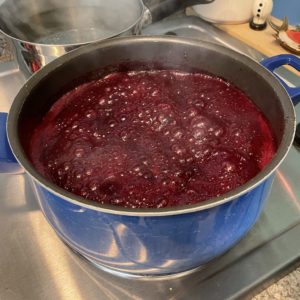
Take a spoon and dip it into the jam. Pour the liquid out of the spoon and observe how it drips off. It is not done if the jam drips in individual droplets. You’ll know if it has reached the gel stage if the liquid no long drips off the spoon in droplets, but comes off more as a glob or a “sheet.” The temperature of the jam should now be 220ºF.
When it is done, remove the jam from the heat. Carefully take the jars and lids out of the boiling water using tongs because they will be HOT.
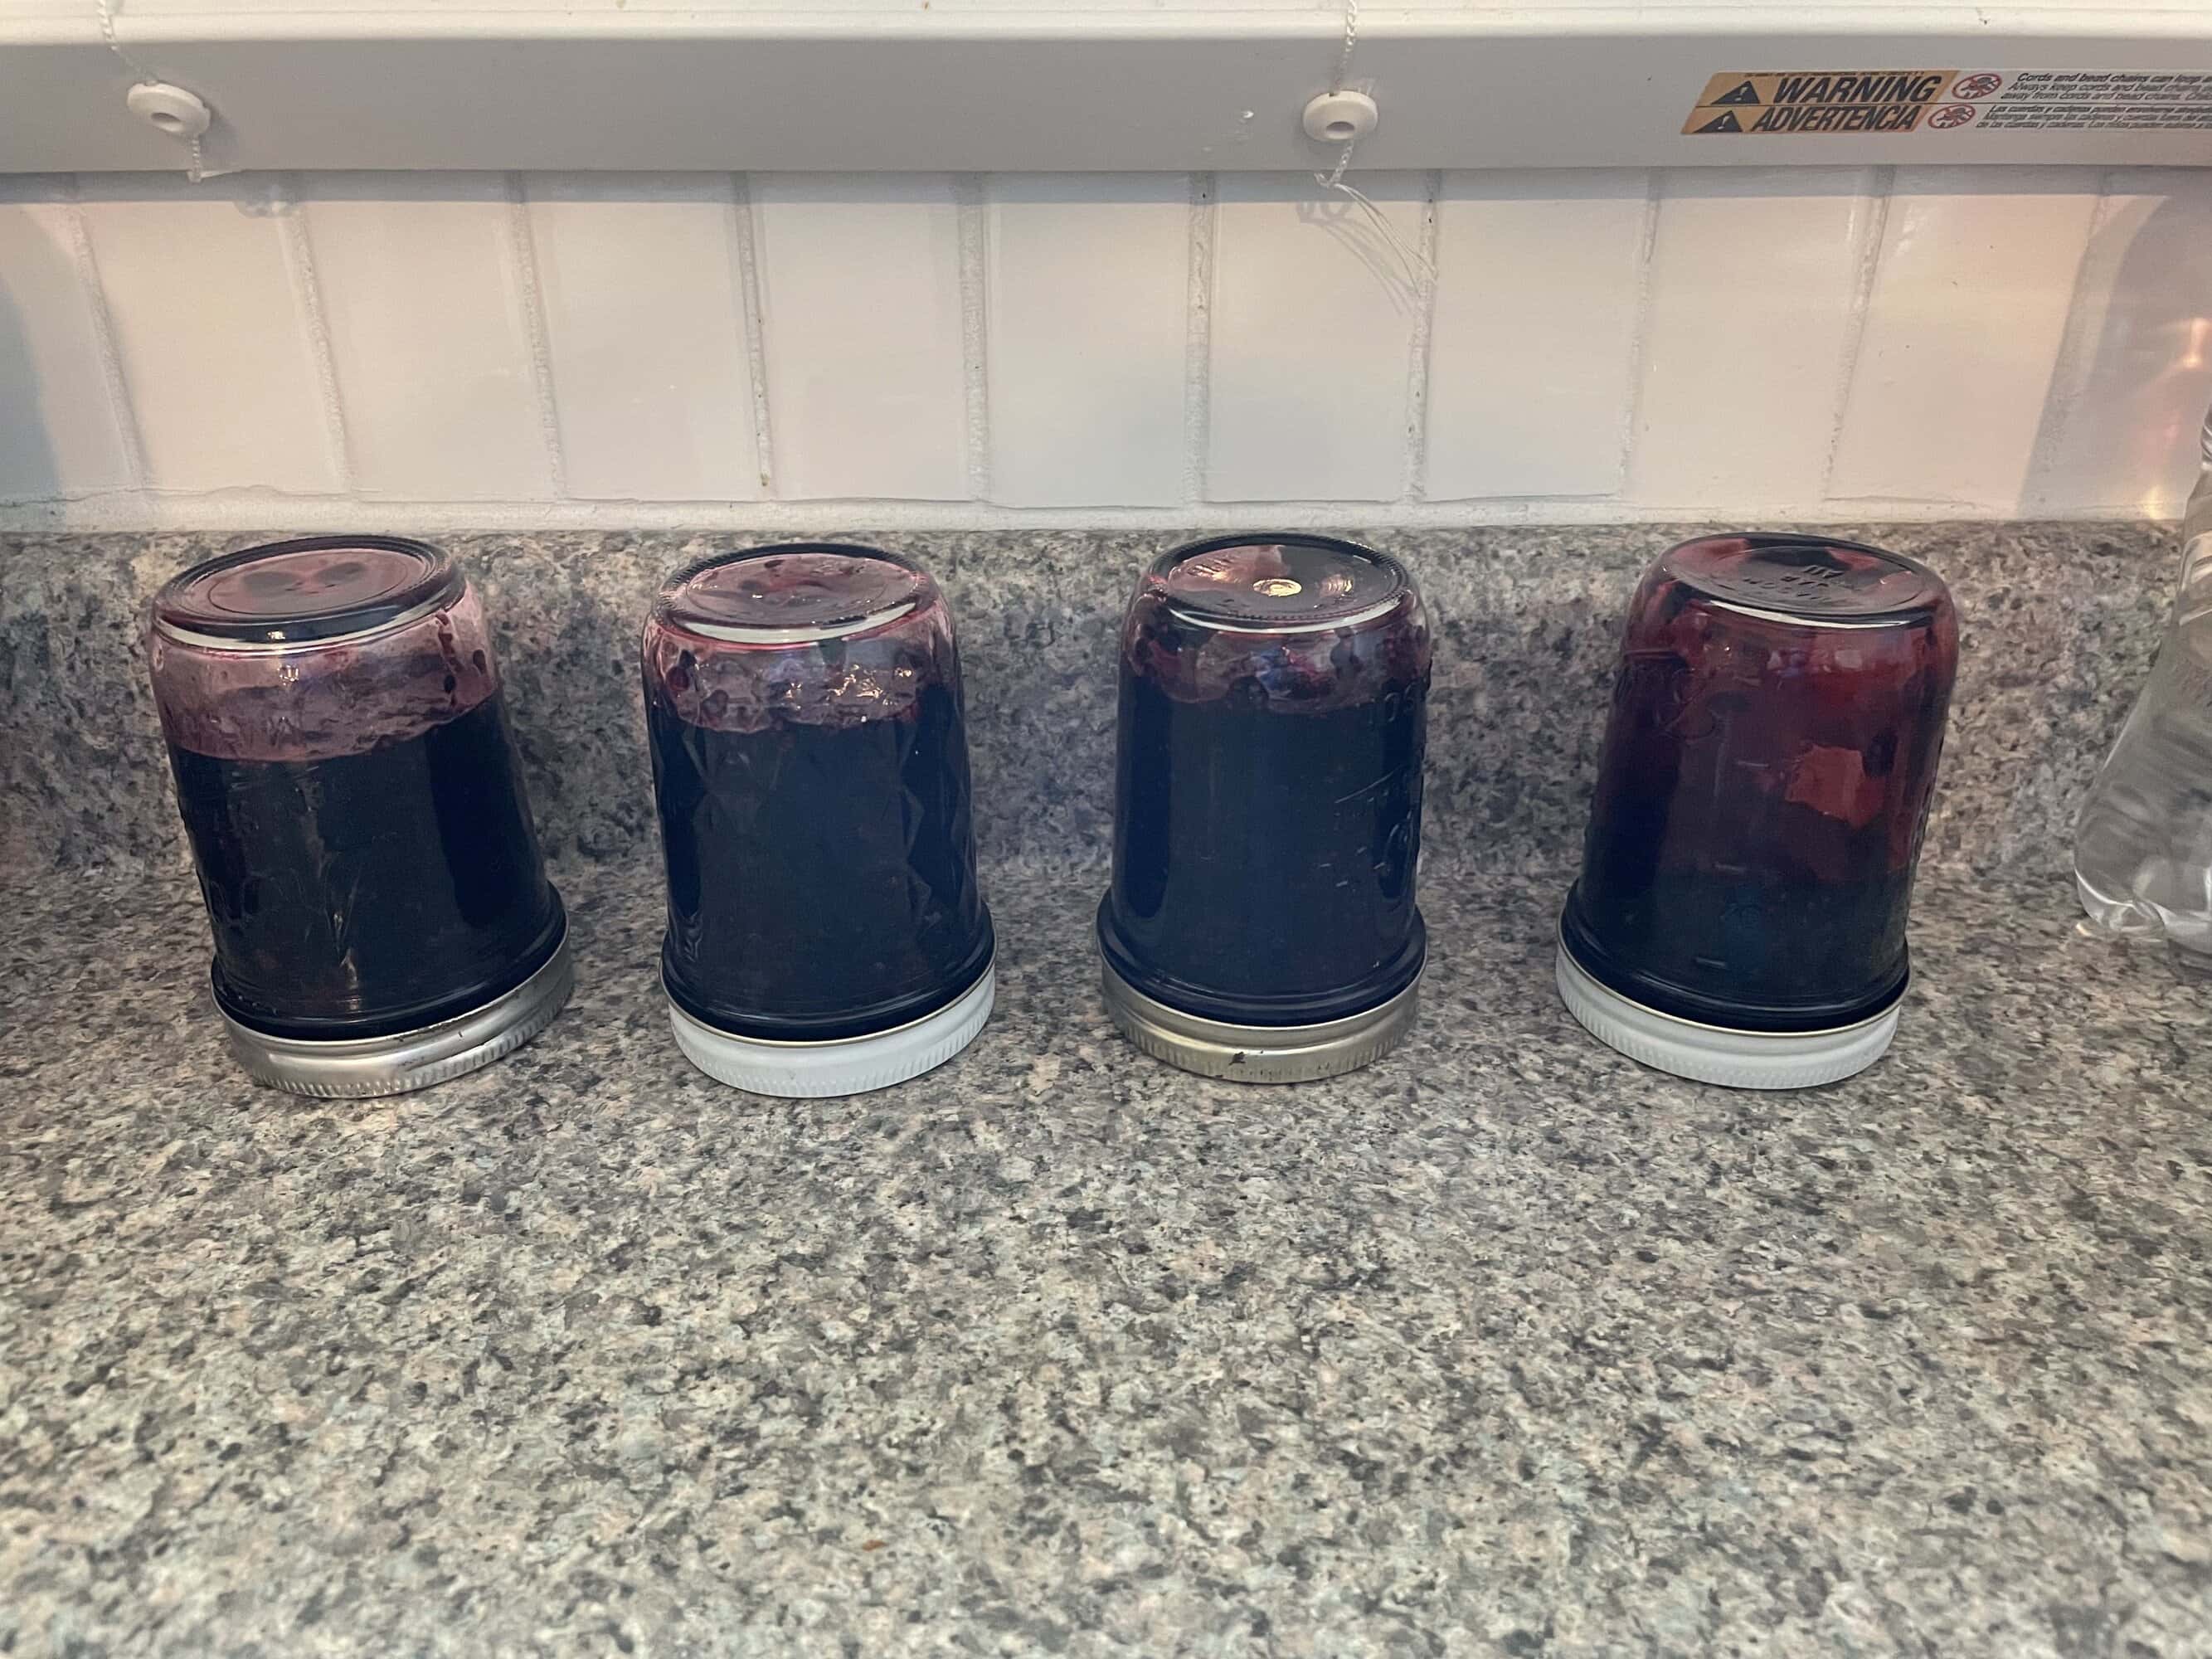
Fill each jar with jam leaving at least 1/4 inch of space at the top. Tighten the lids on and immediately turn the jars upside down. As you can see from my picture, we used 4 jars but could have fit everything into 3 jars so you’ll probably only need 3.
Upside Down Canning & Why I Don’t Recommend This Anymore
Leave the hot jars upside down for 15-20 minutes before flipping them over. The jars should seal when you flip them over. The jars seal because the lids are heated by the hot jam which causes pressure inside the jar.
I tested this sealing method with a pickle recipe too and it worked like a charm! The pickles sealed up wonderfully and I used bigger jars so I had some variety.
*EDIT* Yes, this method works most of the time but in reality, the jars aren’t as reliably sealed as they are in a water bath canner. When I was in a pinch and did not have a big pot to process my jars in, this worked but I did have a jar unseal using this method later on and know now through more research that it isn’t a reliable way to can. While using any canning method, it is best to store your cans without the rings on them. If you store them with the rings, they could come unsealed and reseal without you knowing. Storing the jars without the rings will allow you to know if something happens to the seal so you can keep your family safe!
I hope you really enjoy this simple black raspberry jam recipe and the other black raspberry recipes on the blog! Be sure to find some wild ones if you can next summer or use these recipes with your favorite kind of raspberries from the farmers market or store.
No Pectin Black Raspberry Jam
Equipment
- 3-4 8oz jars & lids
- 2 large pots
Ingredients
- 4 cups black raspberries
- 2 cups sugar
- 2 tbsp lemon juice
Instructions
- Put jars and lids in a large pot with water. Bring the water to a boil and allow to boil while you make the jam.
- To make jam, add berries, lemon juice, and sugar to a large pot. Make sure to have room at the top so it doesn't boil over.
- Heat the pot over medium heat, mashing and stirring the berries constantly until they have released their juices.
- Turn the heat up to high and boil the mixture rapidly, stirring occasionally.
- Boil and cook for 8-10 minutes and begin testing for doneness.
- You can test for the gel stage by taking a spoon and dipping it into the jam. Pour the liquid out of the spoon and observe how it drips off. If the liquid drips in individual droplets, it is not done yet. You'll know if it has reached gel stage if the liquid no long drips off of the spoon in droplets, but comes off more as a glob or a "sheet." The temperature of the jam should now be 220ºF.
- Once the jam is done, remove it from the heat and immediately begin filling the jars.
- Carefully take jars and lids out of the other pot using tongs. Fill each jar leaving at least 1/4 inch of space at the top.
- Process the jars for 10 minutes. Allow to cool and store in a cool, dry place.


7 Comments
Pingback:
Pingback:
Pingback:
Pingback:
Pingback:
Pingback:
Pingback: