Easy Three Ingredient Low Sugar Thimbleberry Jam Recipe
If you’ve been searching for a low-sugar thimbleberry jam recipe, you know how rare these wild berries—and reliable recipes—can be. Thimbleberries have a bright, tart flavor and soft texture that makes them perfect for jam, but their naturally low pectin content means they need just the right method to set.
This recipe uses less sugar than traditional versions, so you can really taste the thimbleberries. It’s ideal for smaller batches, and it works well with fresh or frozen berries. Using a low or no-sugar pectin helps achieve a good consistency without needing to over-sweeten.
Whether you’re foraging, growing your own, or were lucky enough to get some from a friend, this thimbleberry jam will help you enjoy their fleeting season all year long.
Looking for more jam recipes with less sugar? Check out some of our favorites on the Jams and Jellies page.
This post contains affiliate links. This will not cost you anything but will help us offset the cost of running the blog. We only share products we use and would recommend to a friend. Thank you for your support! Click ‘HERE’ for more info.
Quick Summary of How to Make Low-Sugar Thimbleberry Jam
- Step 1: Prep berries – Rinse and check thimbleberries for bugs or debris.
- Step 2: Cook the jam – Simmer berries and sugar over medium-low until juicy.
- Step 3: Add lemon & boil – Stir in lemon juice, bring to a boil, and cook for 3 minutes.
- Step 4: Fill jars – Ladle hot jam into jars, wipe rims, and apply lids fingertip-tight.
- Step 5: Water bath can – Boil jars for 10 minutes, rest 5, then cool 12–24 hours before storing.
Must-Have Tools & Ingredients for this Foraged Berry Jam
- Thimbleberries- These soft, tart wild berries are the star of the recipe. Fresh or frozen both work well, though fresh will give the brightest flavor.
- Sugar– Just enough to sweeten the jam without overpowering the natural taste of the thimbleberries. You can adjust slightly based on preference. I prefer to use organic, raw sugar.
- Lemon juice– Adds brightness and acidity to help balance the flavor and support proper preservation when canning.
- Water bath canner– Essential for processing your jars to make the jam shelf-stable and safe for storage. Ideal for high-acid foods like jams and jellies. The one I’ve linked includes a set of canning tools.
- Canning tools– Typically includes a jar lifter, wide-mouth funnel, bubble remover, and headspace gauge. These simple tools make the canning process safer and more efficient.
- 8 oz jars (half-pint)– Just the right size for jams and perfect for sharing. Always use jars designed for canning to ensure they can withstand the boiling process.


What are Thimbleberries & Where to Find Them
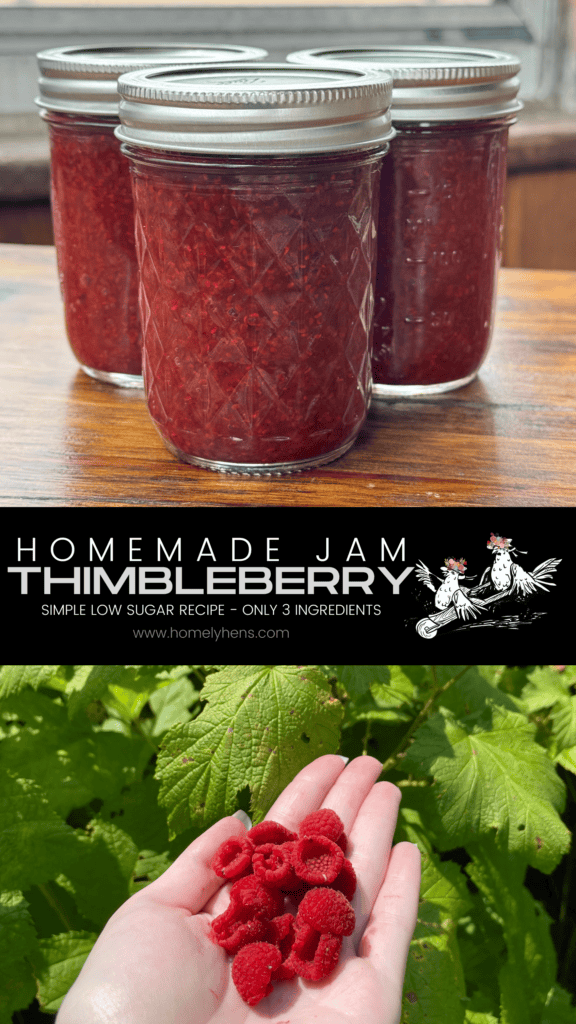
Thimbleberries are soft, tart red berries that resemble raspberries but are flatter, fuzzier, and more delicate. They grow on tall, shrubby plants with large, maple-like leaves and are known for their bright, tangy flavor, perfect for making jam. Unlike raspberries or blackberries, thimbleberries are naturally low in pectin, which makes them ideal for small-batch, low-sugar recipes where you want the true berry flavor to shine.
These berries are native to parts of the northern U.S. and Canada, especially in cool, forested regions near the Great Lakes. You’ll most often find them growing wild along roadsides, hiking trails, and forest edges during midsummer.


We kept our eyes open for these red gems during our daily adventures up in the UP. We found some on the last day of our trip along the side of the road. There were people along the road the days before, and we suspected they might be picking berries—and we were right!
We pulled off to the side of the road and spent about an hour collecting what we could. Thimbleberries, unlike black raspberries, don’t have thorns, so they were easy to pick and squeeze through. Some of the plants were taller than me! They grow between 4 to 8 feet tall.
Foragers love thimbleberries not only for their flavor but also because they’re so easy to harvest—just gently pull, and the berry falls right off the stem. If you’re lucky enough to find a patch, gather what you can and turn them into something delicious while they’re fresh.
How to Make Low-Sugar Thimbleberry Jam Without Pectin
The steps to make this low-sugar thimbleberry jam recipe are so easy, so make sure to try it if you ever get your hands on thimbleberries. We picked between 4-5 cups of berries and kept them in the fridge, unwashed, overnight. Then, we kept them in a cooler on our way back to IL.
Once we were ready to make the jam, we rinsed and searched the thimbleberries for any bugs that might have snuck in while we picked them. Next, prepare the jars by cleaning the jars, lids, and rings.
Add thimbleberries, lemon juice, & sugar to a pot and set the heat to medium-low. Stir constantly until the berries let out their juices. Don’t worry about exact measurements here. Because we aren’t using pectin to create the gel, the measurements for sugar to berries don’t have to be exact. This isn’t the case if you’re using pectin.
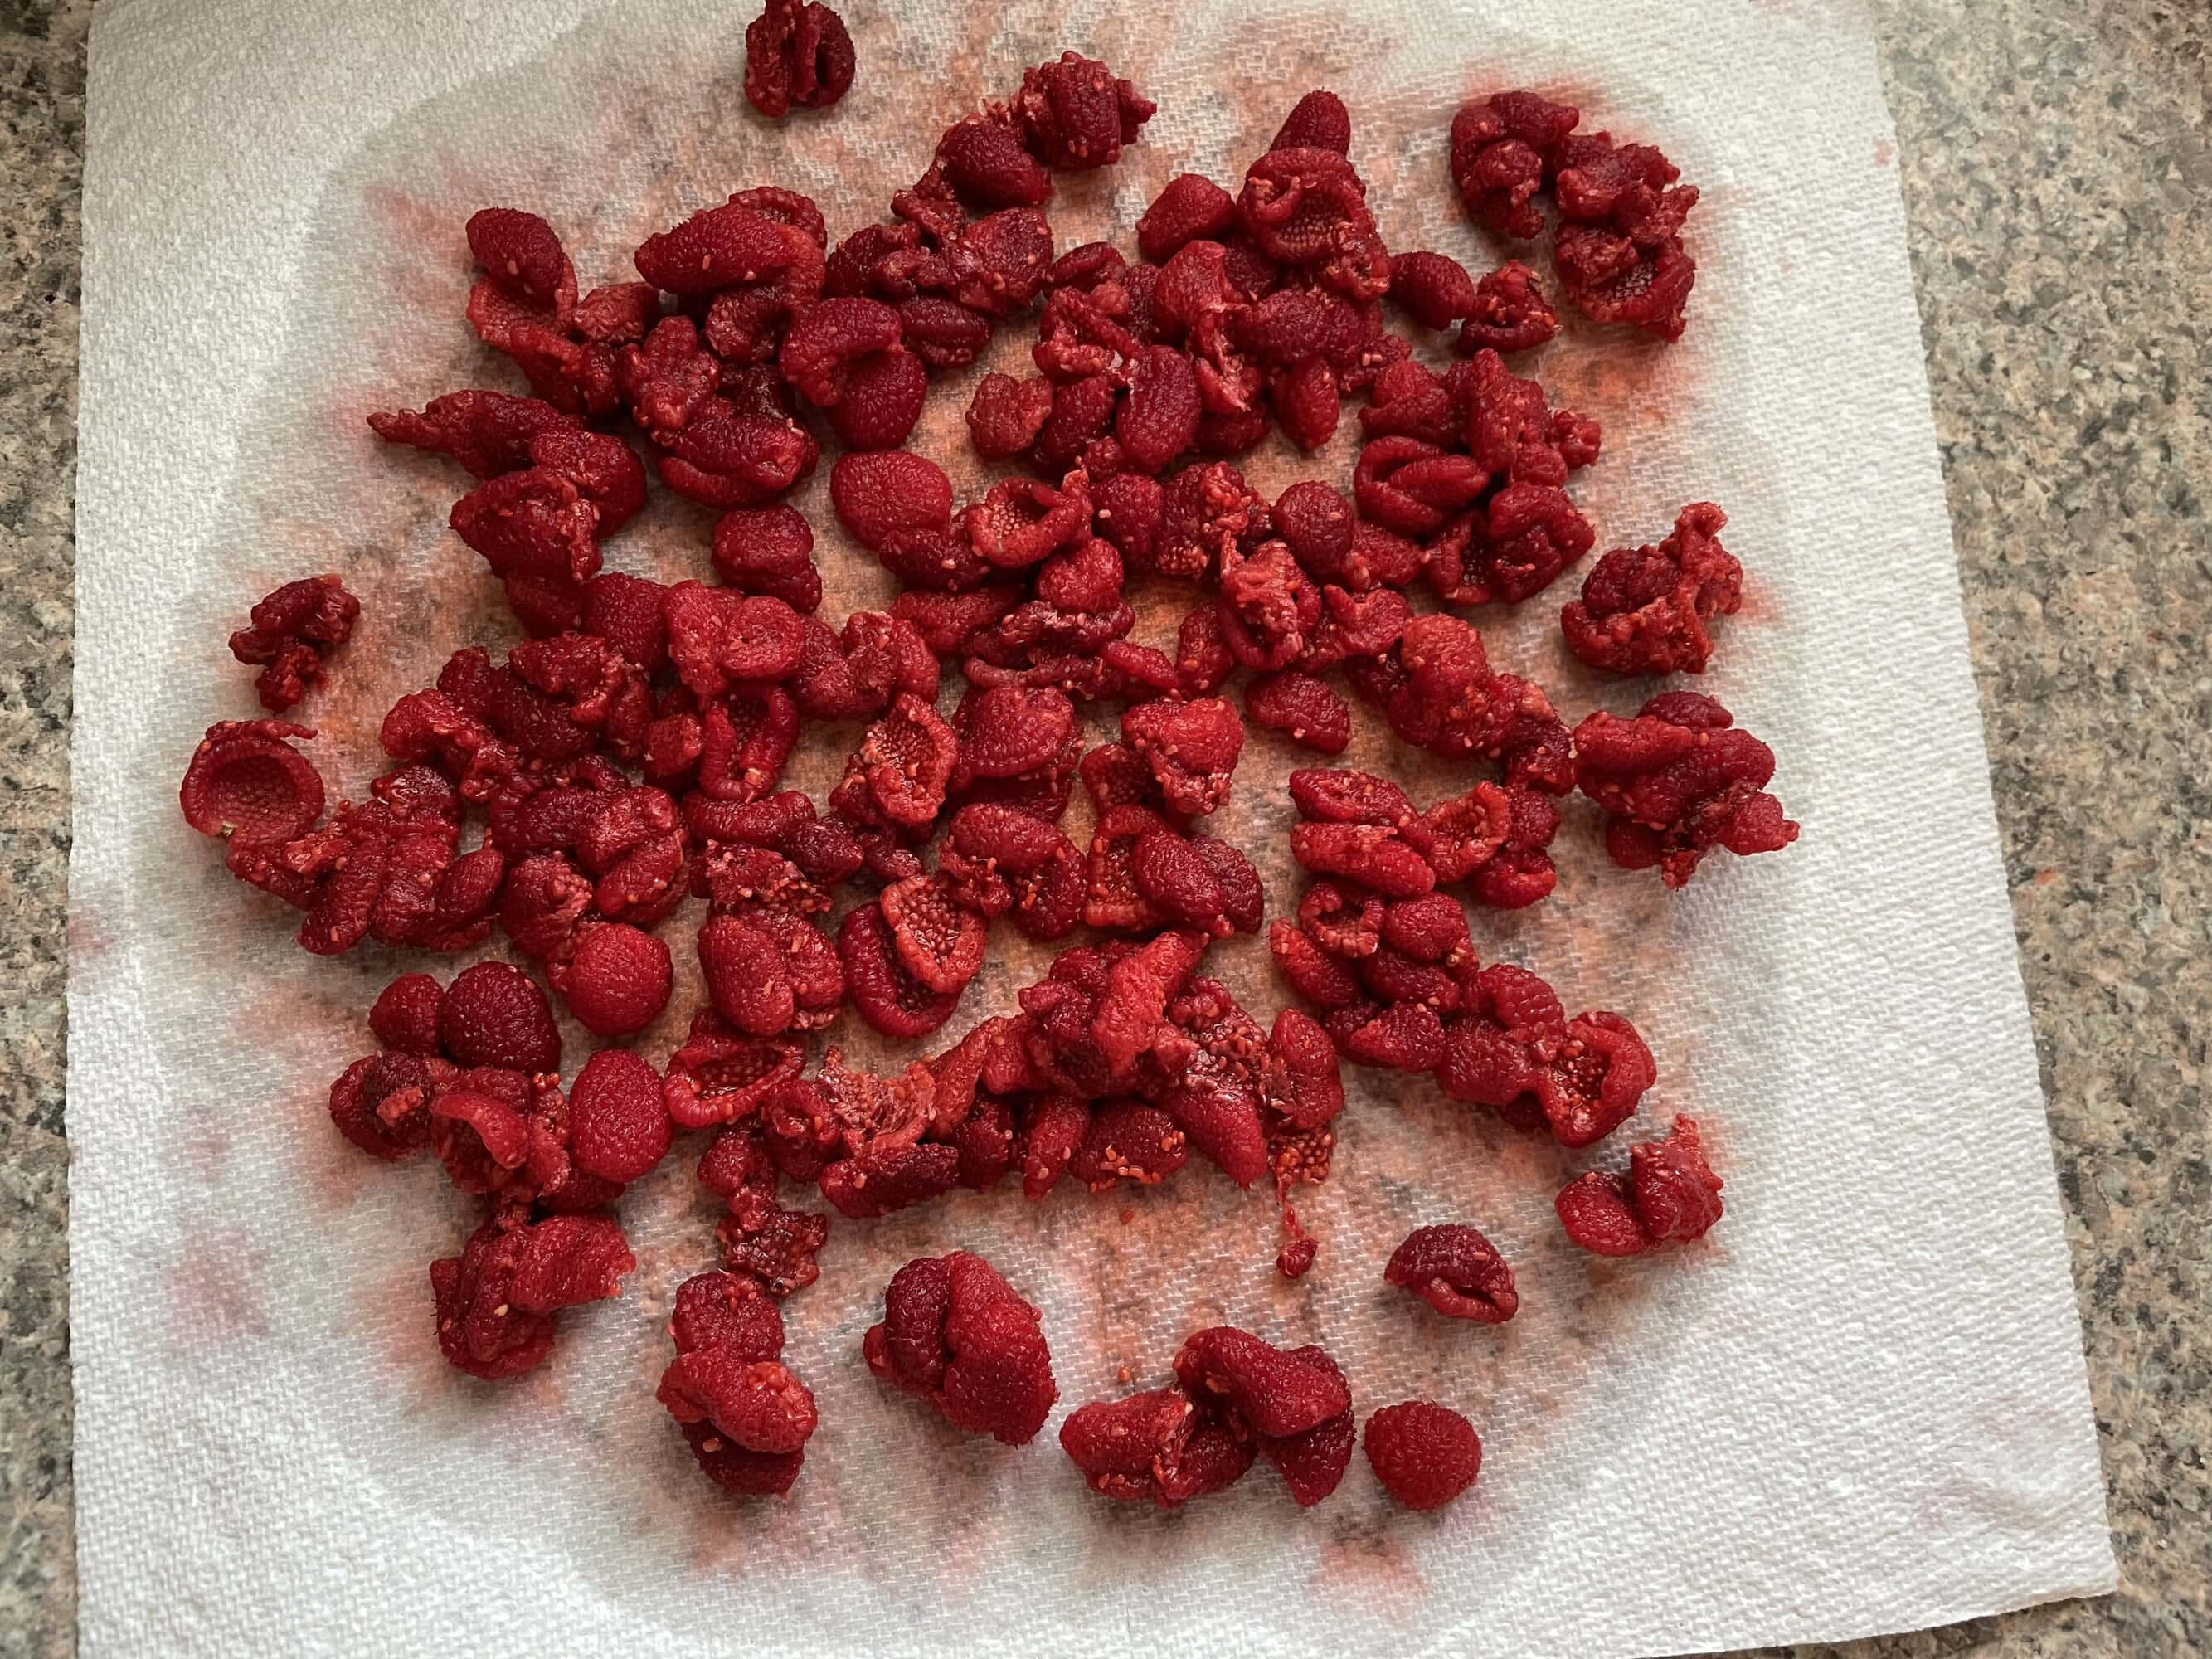
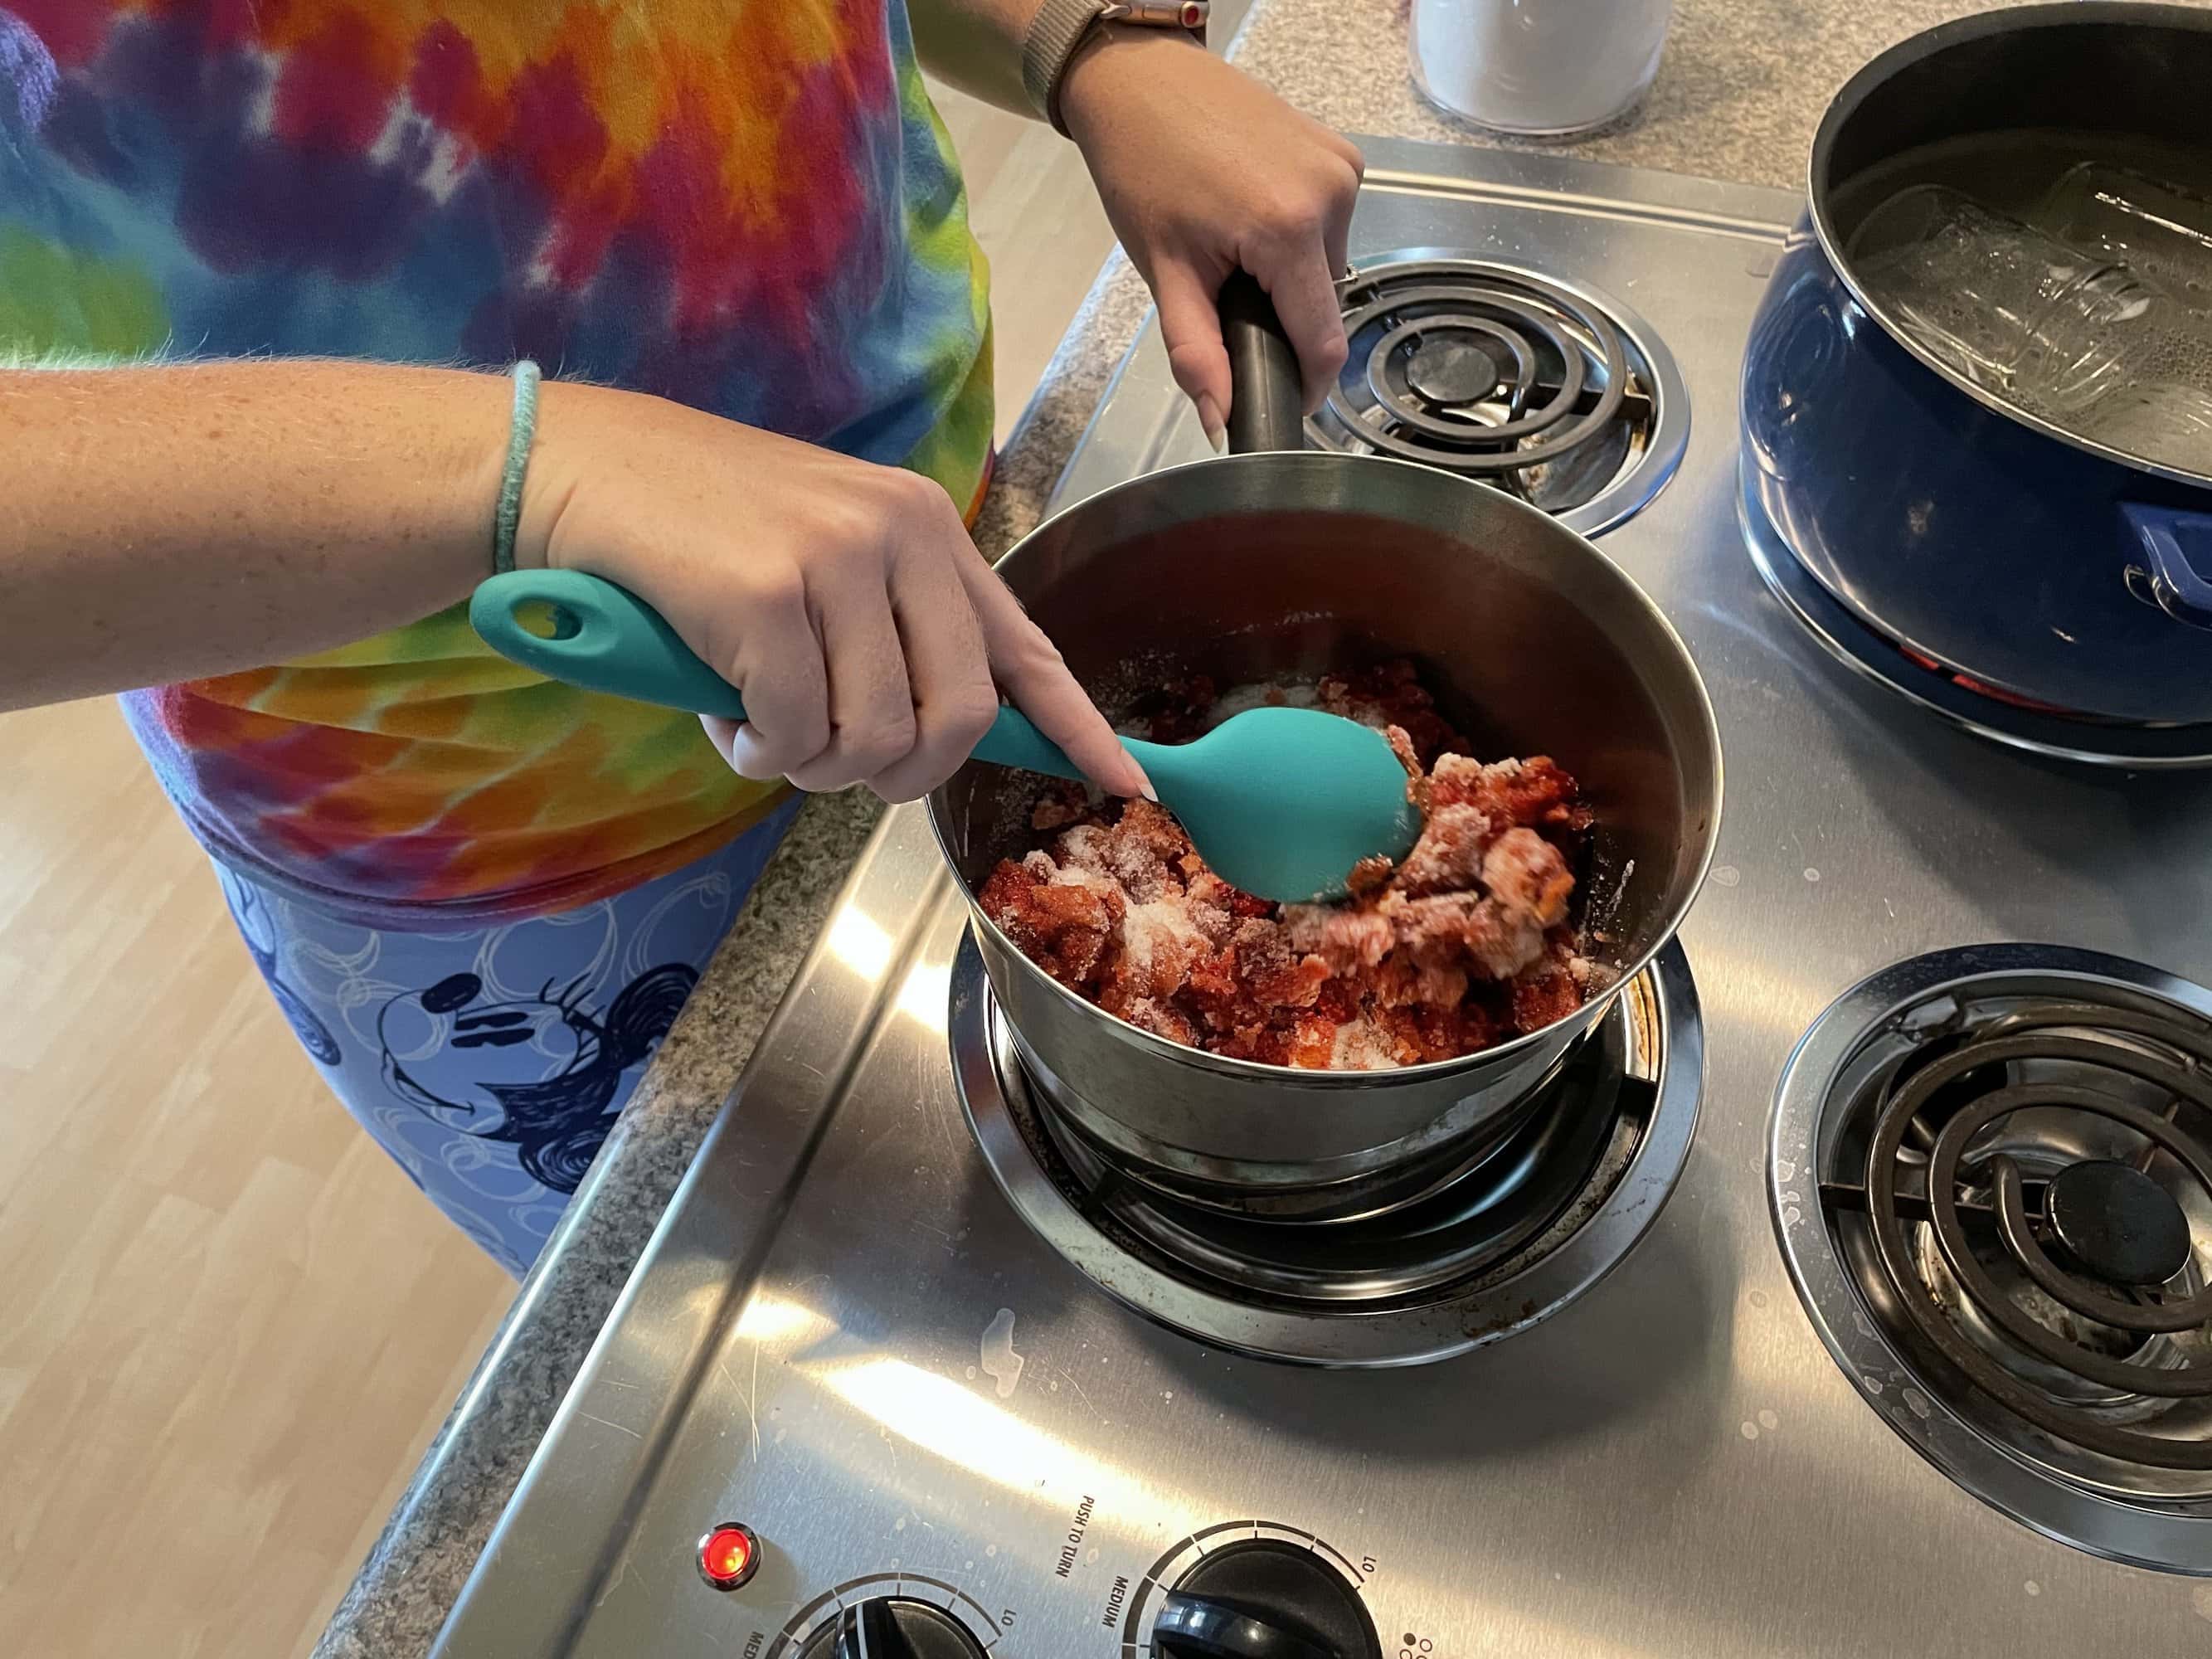
Once we made it back to IL, our thimbleberries were pretty squished and juicy, so we only had a little over 3 cups. This recipe is so flexible. I would suggest going with less sugar rather than more if you’re on the fence. The jam is SO GOOD without heaps and heaps of sugar.
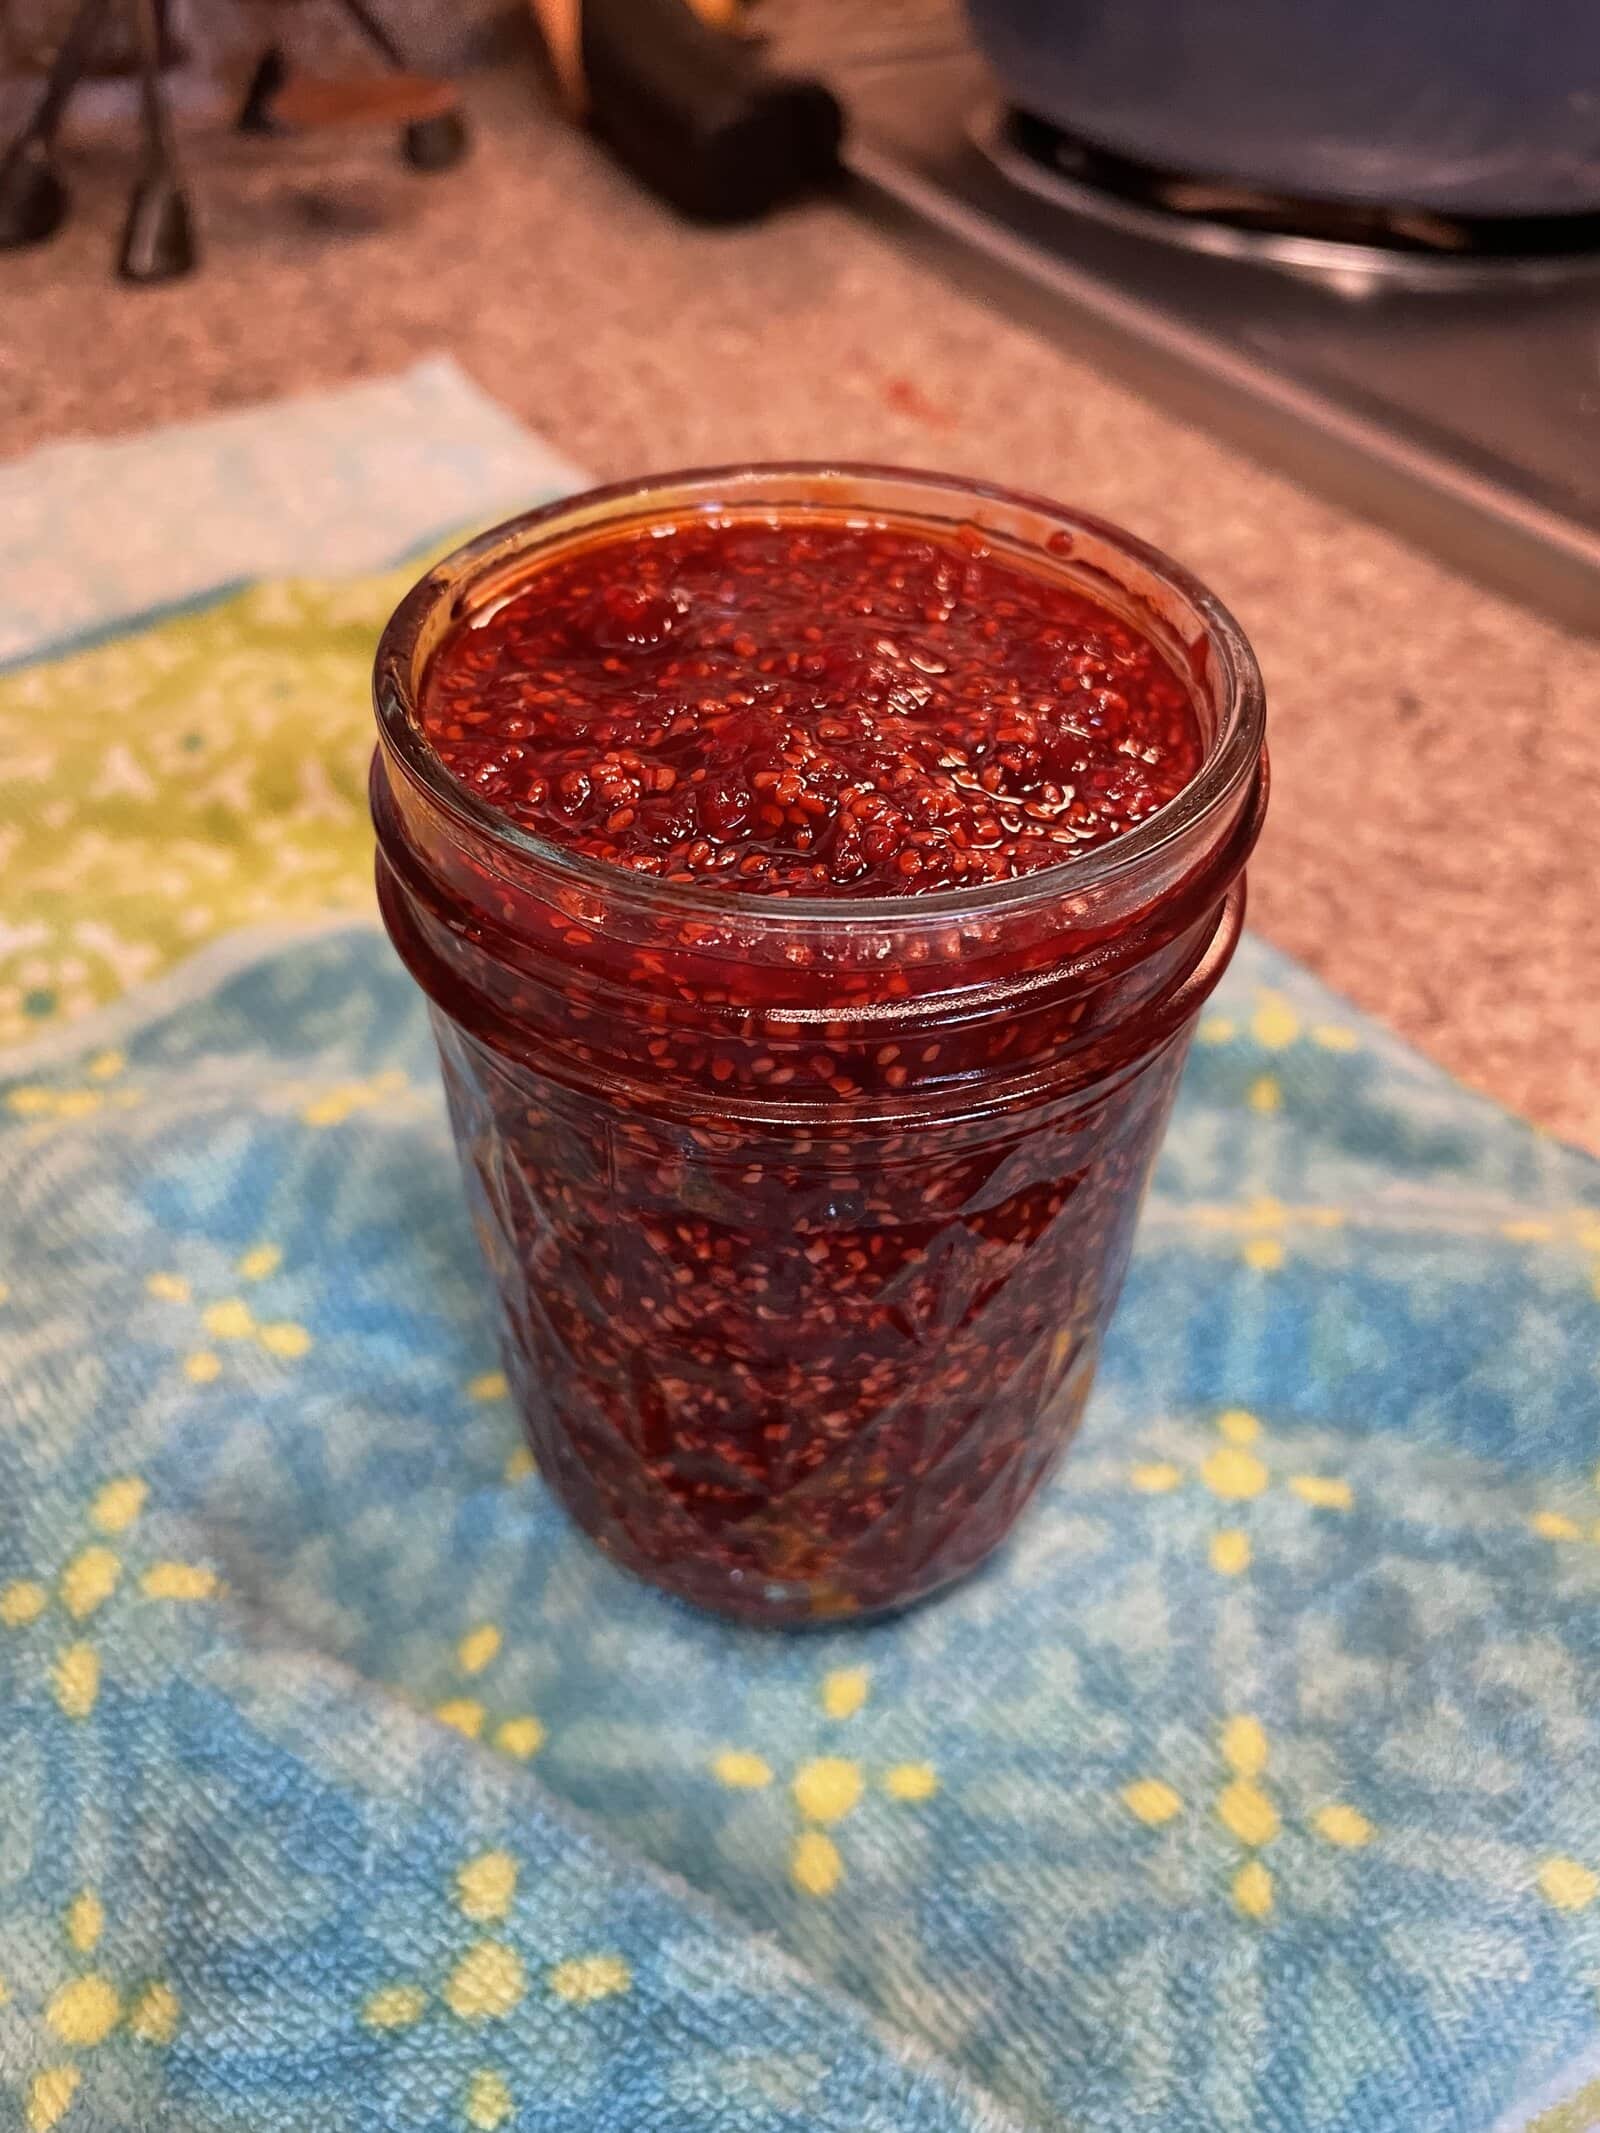
This recipe doesn’t use pectin, so it is going to be a little thinner than other jam recipes you might have tried. We love it this way because it is so spreadable. If you want it a little thicker, boil it longer.
When the berries have released their juices, add the lemon juice and turn the heat up a little to medium/medium-high. Bring the mixture to a boil. Stir often so the berries don’t stick to the bottom of the pan. Boil them for about 3 minutes and remove from the heat.
How to Can Thimbleberry Jam in a Water Bath
Using a funnel, ladle the jam into clean, hot jars, leaving 1/4 inch headspace. Wipe the rims with a clean cloth and put the lids on. Tighten to fingertip tight. Put the jars in the water bath canner and lower the rack. The water should cover the jars by 1-2 inches. Add water if needed. Put the top on the canner and bring the water to a boil. Once it is boiling, process the jars for 10 minutes.
When the timer goes off, turn the heat off and let them sit for 5 minutes. Remove the lid and remove the jars using a jar lifter. Let it sit for 12-24 hours and then check for proper seals. Store in a cool, dry place with the rings off. Learn more about why you should store your jars with the rings off here.
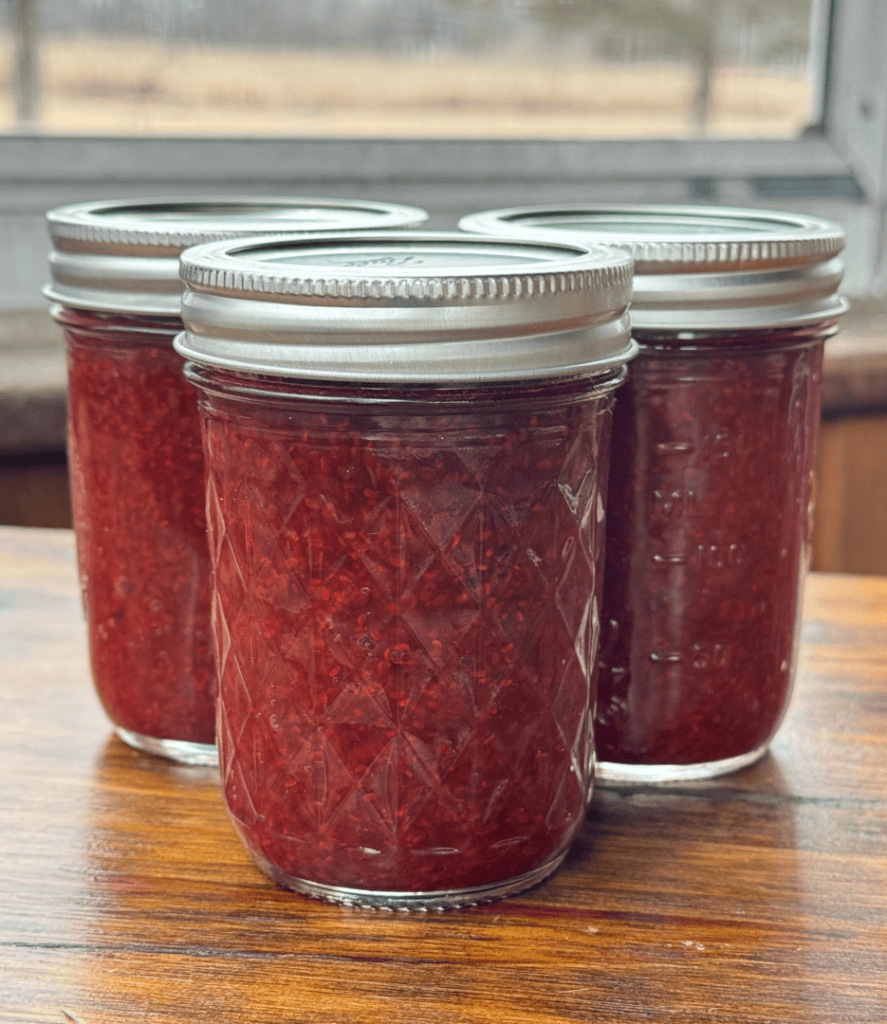
More Foraged Berry Jam Recipes
- Black Raspberry Jam– this is my personal favorite!
- Black Raspberry Currant Jam– the currants add a little twist that resembles the taste of cranberries.
- Gooseberry Jam by Masala Herbs
- Mulberry Jam by Lady Lee’s Home
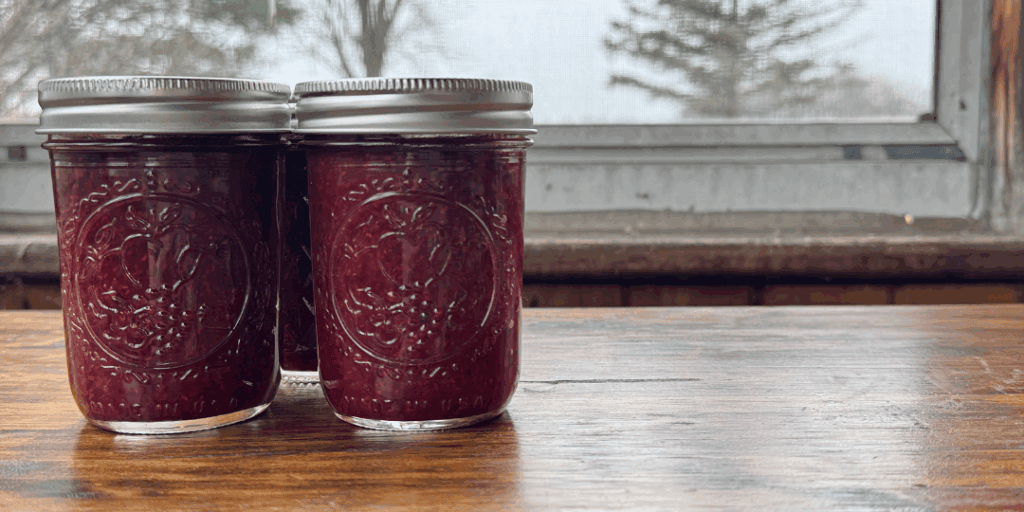
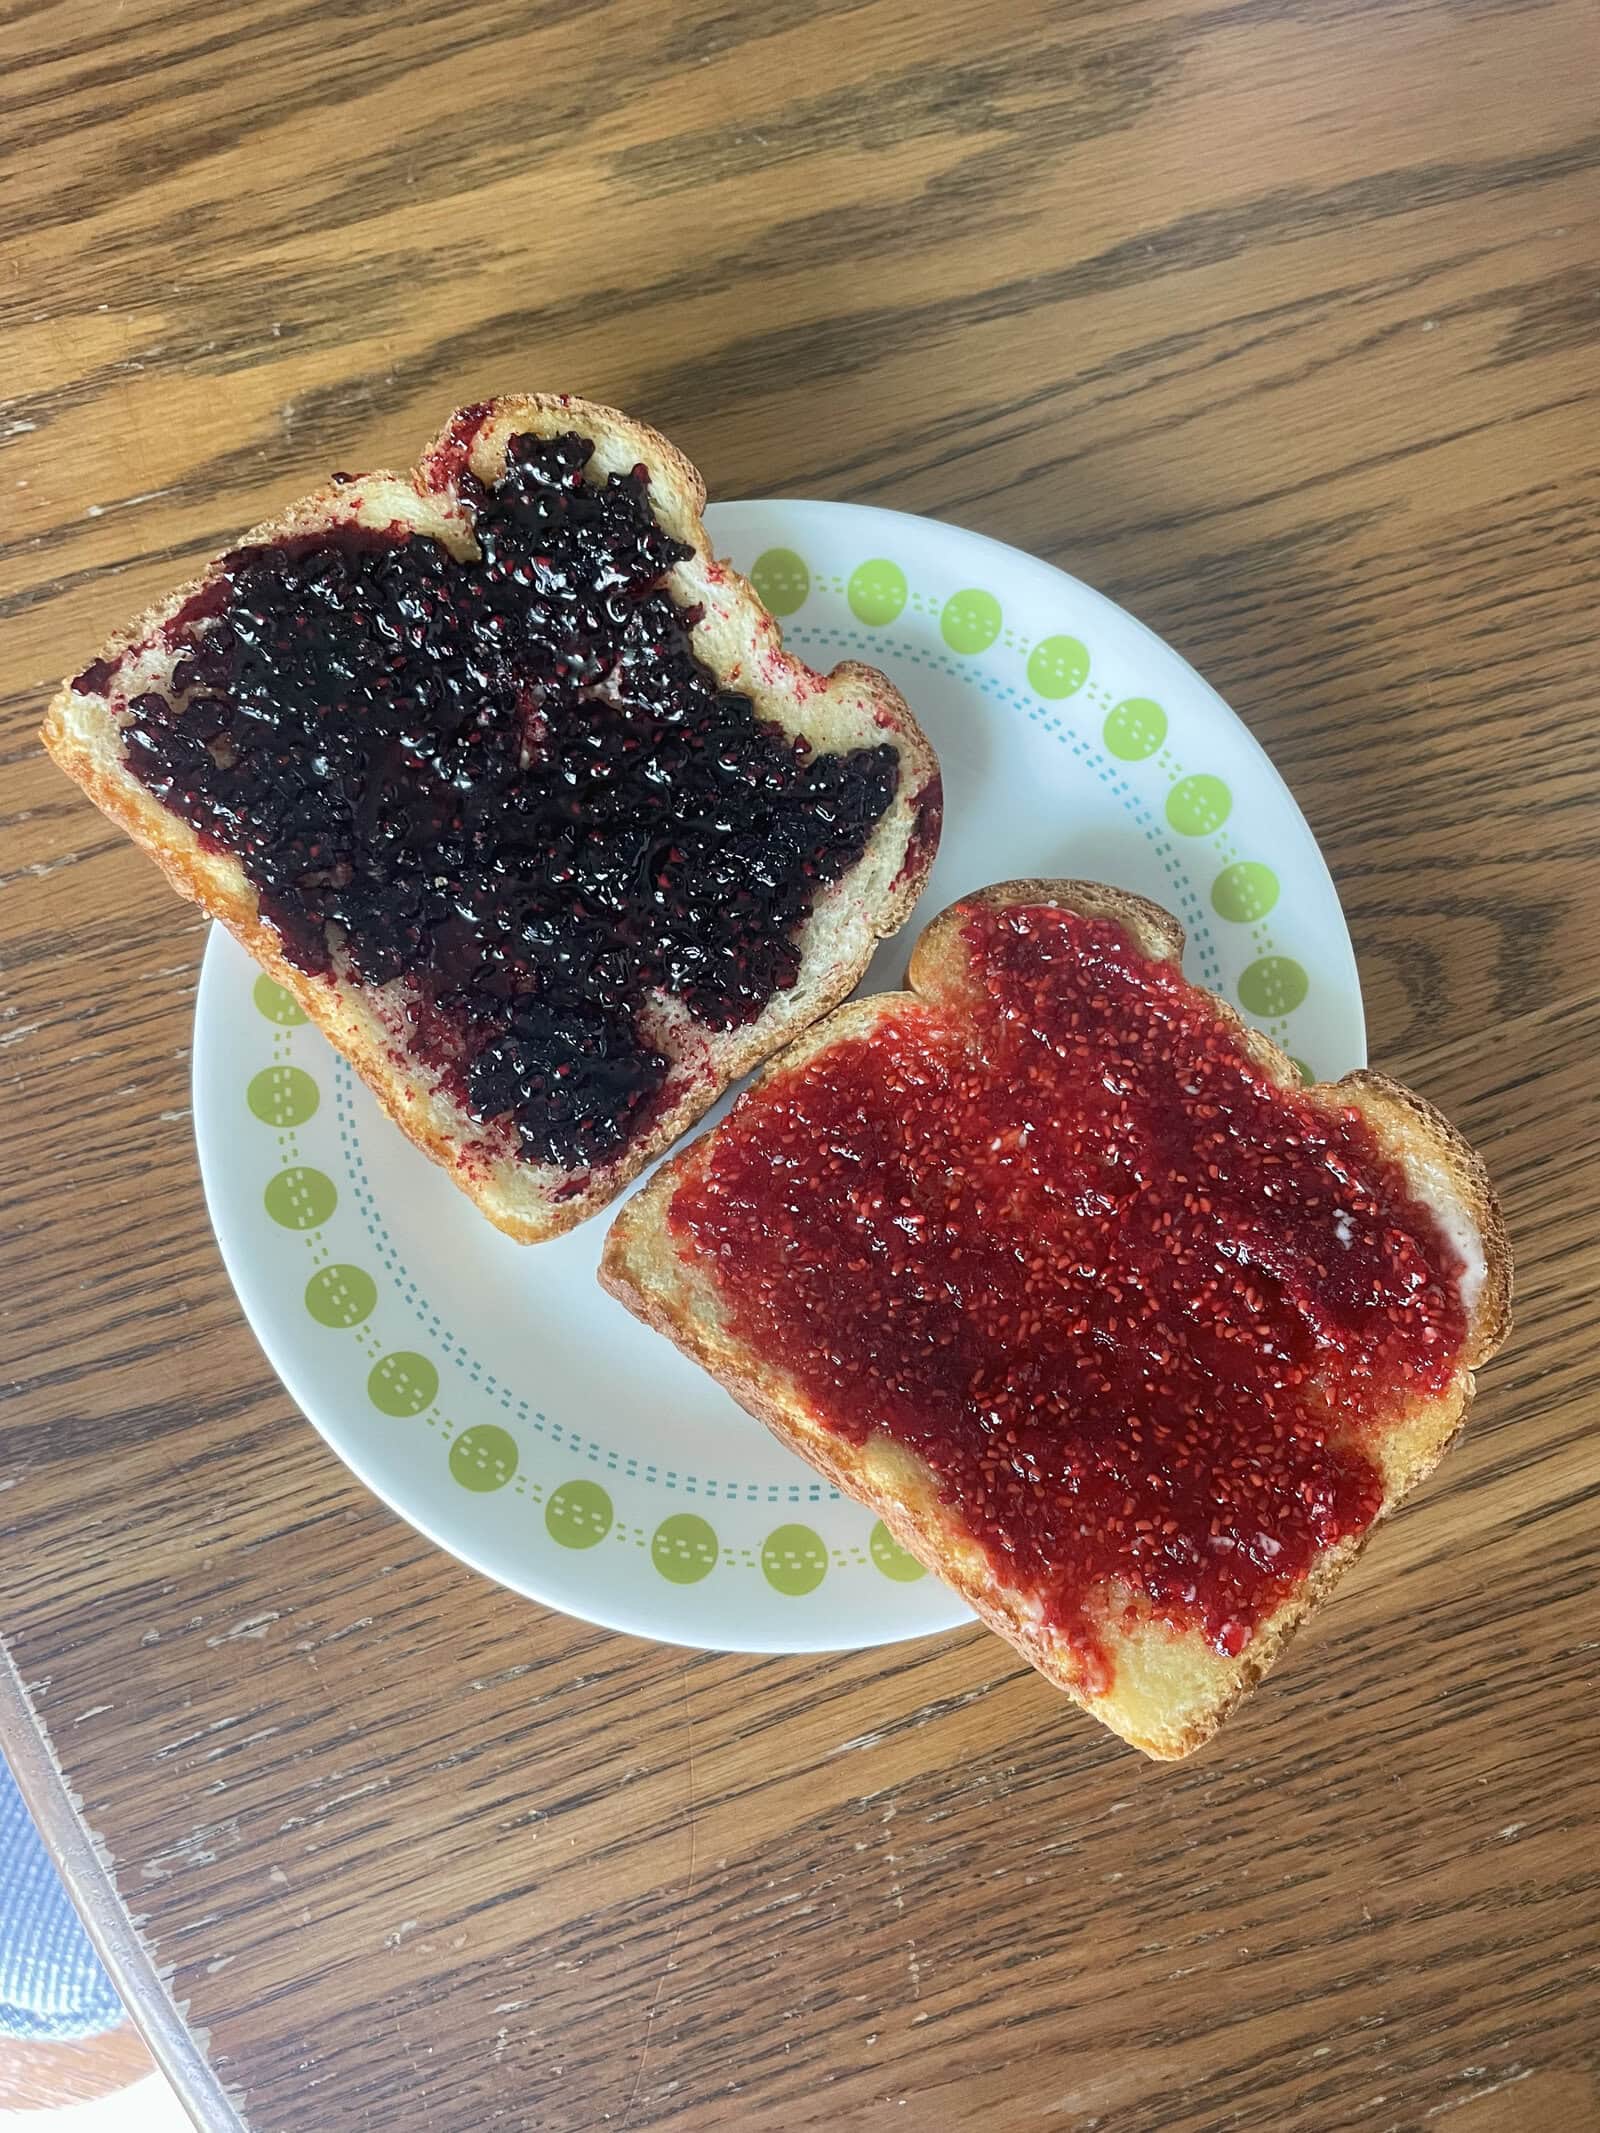
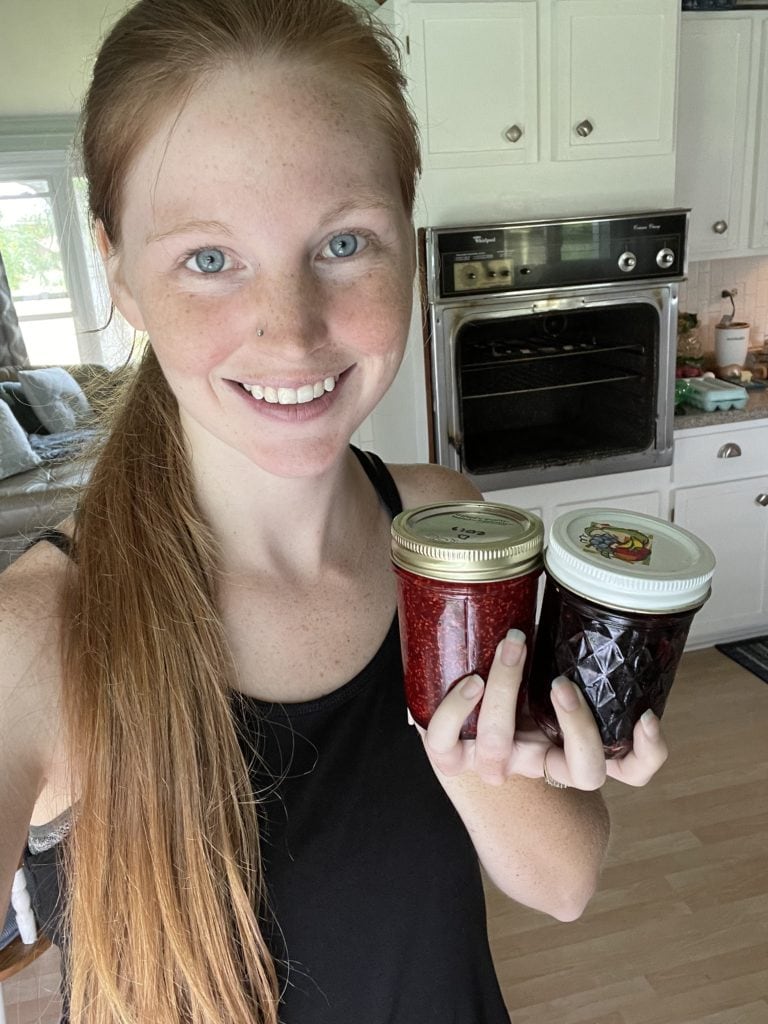
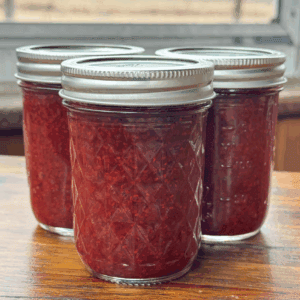
Here’s our comparison of both the thimbleberry & black raspberry jams that we made this summer. I favor the black raspberry jam, but my husband likes the thimbleberry. I think it probably has something to do with me growing up eating black raspberries and him growing up eating thimbleberries. Those memories have a big effect on your taste buds!
Best Way to Use a Small Batch of Berries

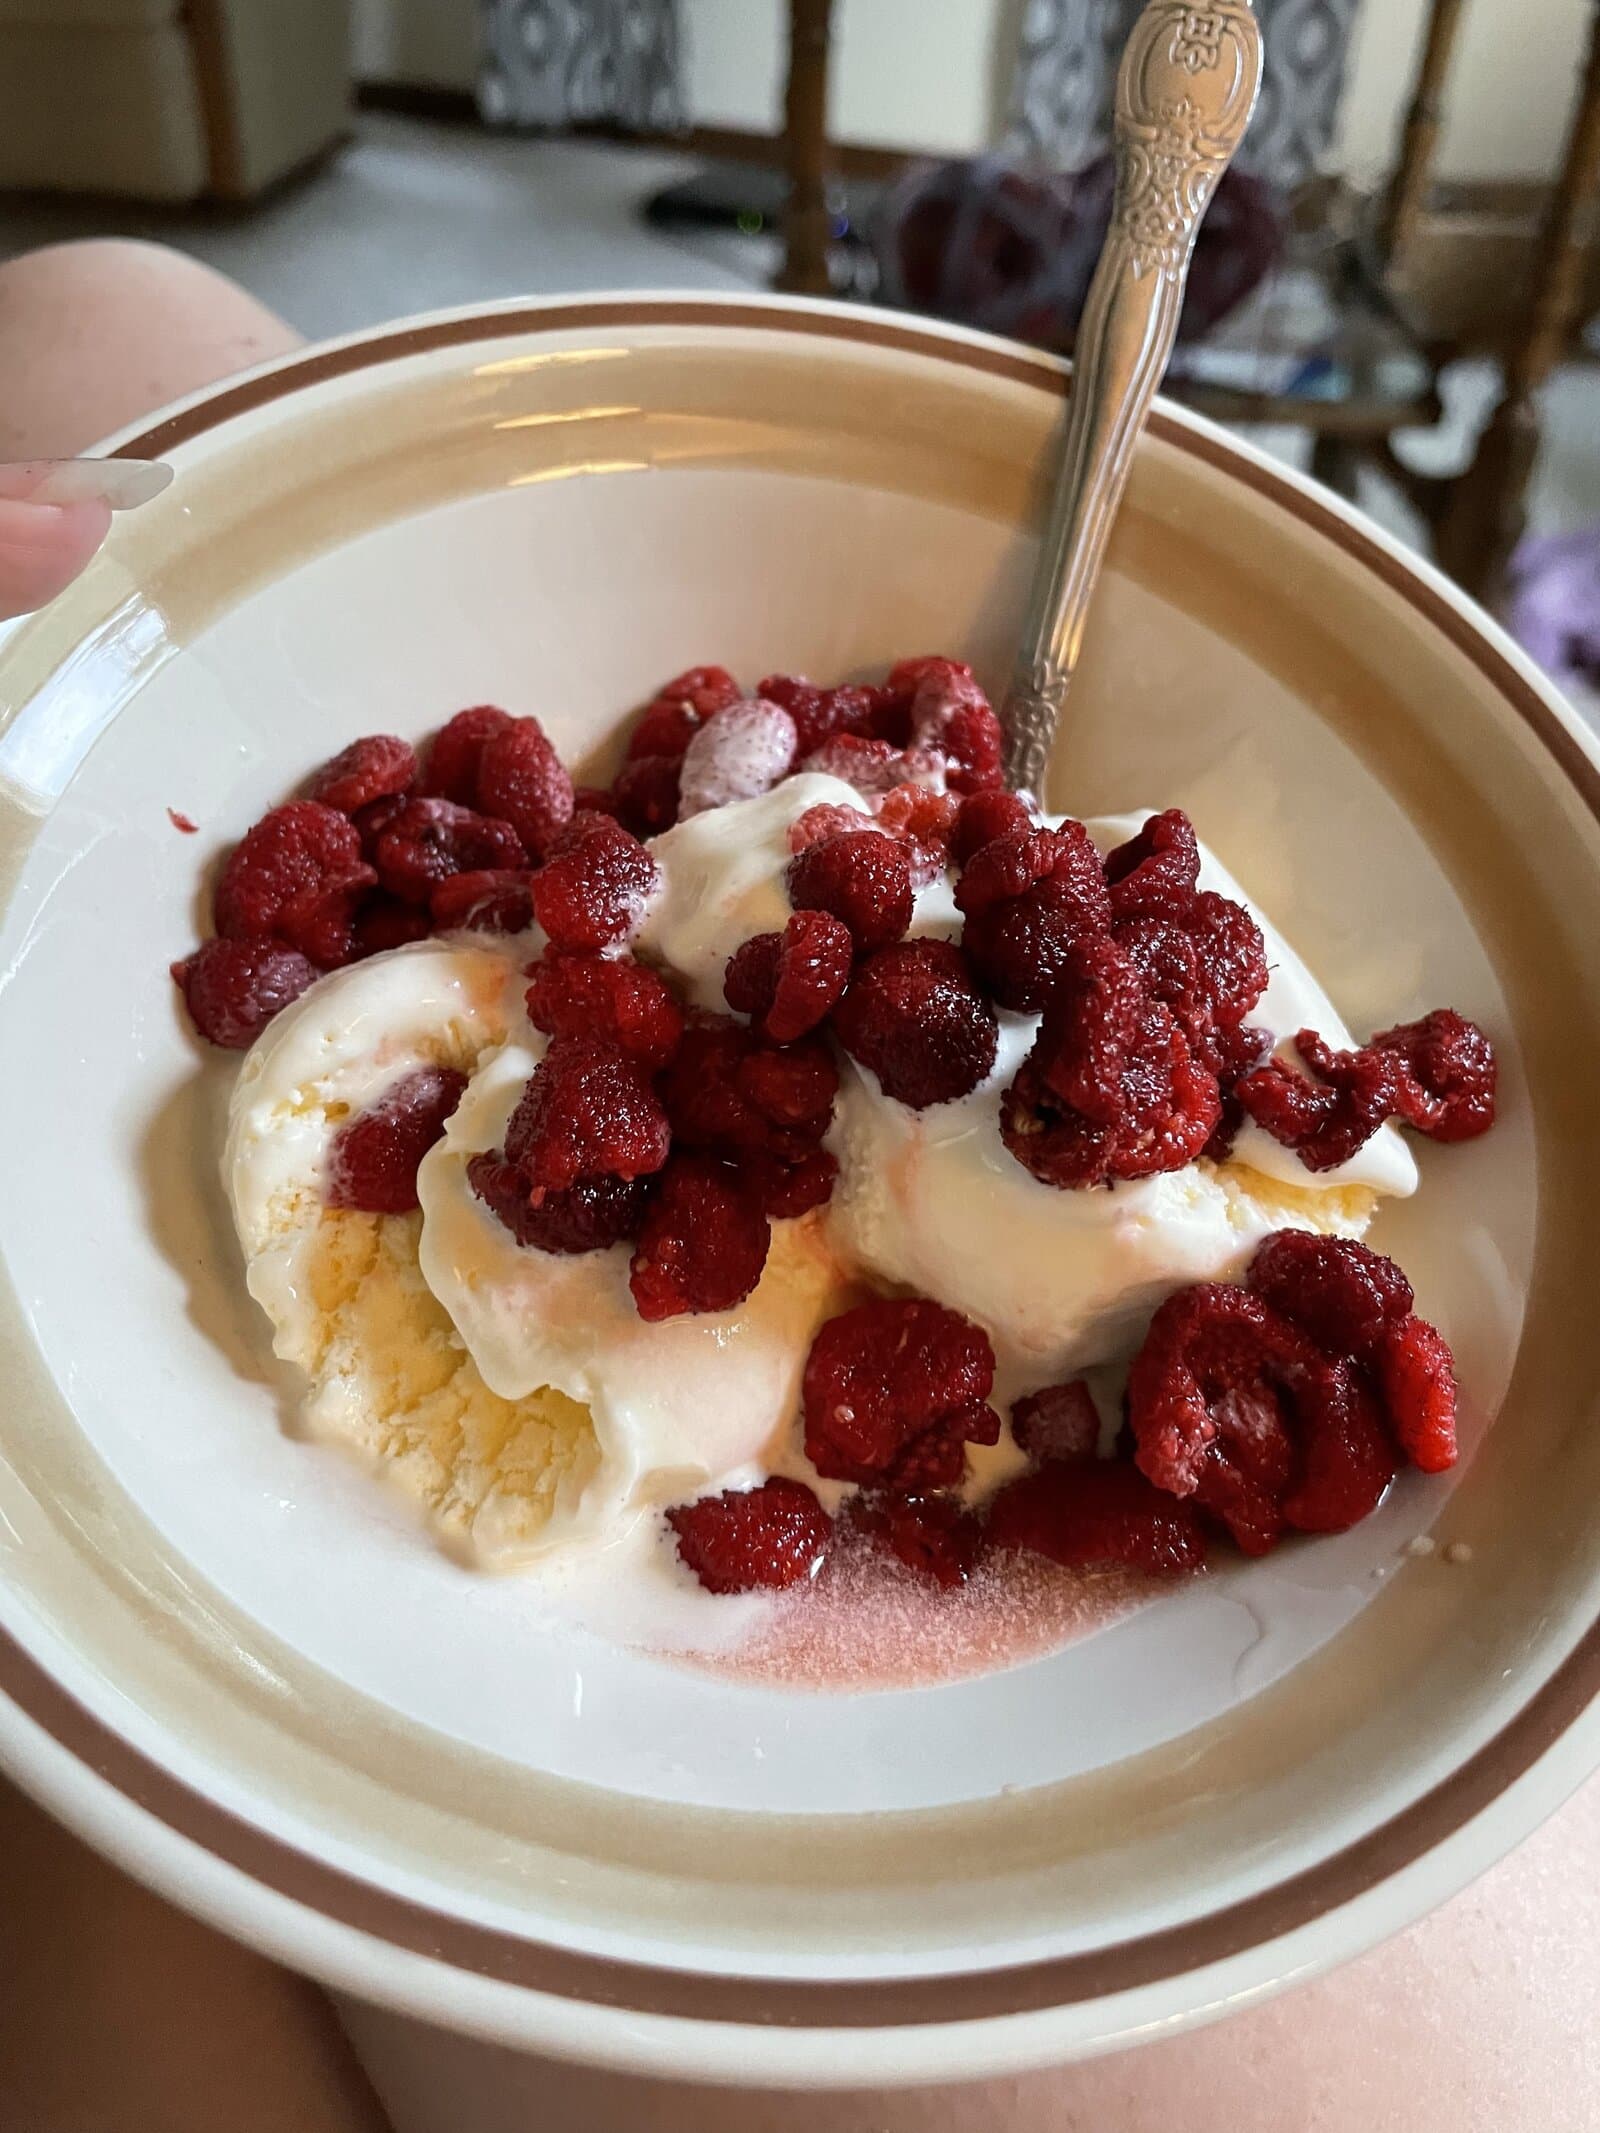
If you ever have just a few berries that you’ve picked (of any kind, really), the best way to eat them is over some really good vanilla ice cream. We got to do that too during our trip, and it was delicious!
Berries never disappoint when they’re on ice cream! I’m craving more, just typing about it!
Frequently Asked Questions
Yes! You can make this jam with pectin if you want. The benefits of using pectin are that the recipes are consistent and fast. If you want to stick with a low-sugar jam, you will need to buy a low-sugar pectin and follow the directions on the jar. This will likely result in a thicker jam.
Absolutely! When you’re using frozen berries, use them just the same as fresh ones. You can put them in your pot frozen, and they will thaw as they cook.
When canned properly, thimbleberry jam will last about 1 year stored in a cool, dry place. Once the jar is opened, it will be good for 3-4 weeks in the refrigerator. Always check for freshness and signs of spoilage.
You can double this recipe without much trouble. Generally, you don’t want to make huge batches of jam because sometimes making too much at one time will affect how it thickens.
If you don’t have a water bath canner, no problem! Freezer jam is just as delicious as canned jam. Leave a little more headspace to allow for some expansion. The jam will last in the refrigerator for about 2-3 weeks and in the freezer for about a year.
Yes! Adding other fruits to your jam gives it a personal twist. Fruits that would go well with thimbleberries are raspberries, blueberries, and strawberries.
Low Sugar Thimbleberry Jam
Equipment
- jars & lids
- water bath canner
- Canning Tools
Ingredients
- 4 cups thimbleberries
- 1 cup sugar
- 1 tbsp lemon juice
Instructions
- Rinse and search the thimbleberries for any bugs that might have snuck in while you picked them.
- Put jars and lids in a large pot and cover with water. Bring the water to a boil and let it continue to boil while you cook the berries.
- Add thimbleberries and sugar into a pot and set the heat to medium-low. Stir constantly until the berries let out their juices.
- When the berries have released their juices, add lemon juice and turn the heat up a little to medium/medium-high. Bring the mixture to a boil. Stir often so the berries don't stick to the bottom of the pan.
- Boil for about 3 minutes and remove from the heat.
- Using a funnel, ladle the jelly into clean jars, leaving 1/4 inch headspace. Wipe the rims with a clean cloth and put the lids on. Tighten to fingertip tight.
- Put the jars in the canner and lower the rack. The water should cover the jars by 1-2 inches. Add water if needed. Put the top on the canner and bring the water to a boil. Once it is boiling, process the jars for 10 minutes.
- When the timer goes off, turn the heat off and let it sit for 5 minutes. Remove the lid and remove the jars using a jar lifter. Let it sit for 12-24 hours and then check for proper seals. Store in a cool, dry place with the rings off.



6 Comments
Pingback:
Pingback:
Pingback:
Cherylann
My family and I found about 4 cups on a walk not too far from home. We live in the Pacific Northwest. Your recipe worked perfectly and we’re enjoying the fruits of our labor as I write this. Thanks so much for sharing!
Samantha
I’m so happy that you liked it. Thank you for commenting to share that with us! My husband and daughter will be heading to Upper Michigan to try to get their hands on some thimbleberries next week so we can make some jam and hopefully a crumble as well this year.
Pingback: