How to Do Water Bath Canning at Home Safely and Easily
If you’ve ever dreamed of lining your pantry shelves with jars of homemade jam, sweet fruit syrups, or garden-fresh tomatoes, water bath canning is the perfect place to start. This beginner-friendly preservation method has been trusted for generations—and when done properly, it’s incredibly safe, satisfying, and simple.
In this guide, you’ll find everything you need to get started with confidence, from the tools and safety tips to step-by-step instructions and common mistakes to avoid. Let’s dive in and take the overwhelm out of home canning, one jar at a time.
Explore our full Food Preservation guide to stock your shelves with home-canned goodness.
This post contains affiliate links. This will not cost you anything, but will help us offset the cost of running the blog. We only share products we use and would recommend to a friend. Thank you for your support! Click ‘HERE’ for more info.
What Is Water Bath Canning and When Should You Use It?
Water bath canning is a method of canning that involves boiling high-acid foods like fruits, pickles, and jams in a large pot filled with water. It doesn’t require fancy equipment or years of experience to get started. Whether you’re stocking up for winter, avoiding food waste, or just want to enjoy homemade flavors year-round, learning how to water bath can at home is a skill worth mastering.
Water bath canning is generally quicker than pressure canning and kills bacteria, yeast, and mold in higher-acid canned foods, making them shelf-stable for extended periods.
You can use this method with most fruit recipes, like jam, jelly, pie filling, preserves, whole or cut fruit, and juices. It’s also common to water bath can pickled veggies and tomatoes, because they are high in acidity.


Essential Supplies You’ll Need to Get Started
There are a few essential tools you need for water bath canning, along with some common ingredients that are used in a lot of water bath canning recipes. Once you have these basic supplies, you can preserve many things to help keep your family happy and healthy with homemade goodies.
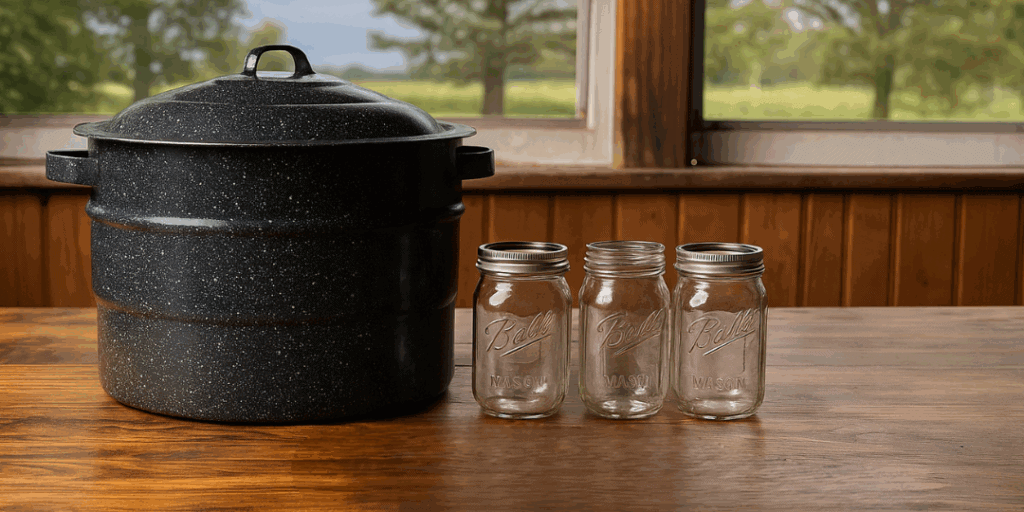
- Water Bath Canner – A large, lidded pot with a rack to safely process high-acid foods at boiling temperatures.
- Canning Tools – Jar lifter, funnel, bubble remover, and lid wand make filling and handling hot jars safe and easy.
- Jelly Jars, Rings, and Regular Mouth Lids – The essential trio for canning jellies and jams in airtight, reusable glass containers.
- Wide-Mouth Jars, Rings, and Lids – Great for pie fillings and things that need to be in larger jars. I recommend finding jars at your local stores because they are cheaper!
- Stainless Steel Funnel – A durable funnel that makes filling jars cleaner, faster, and less messy.
- Lemon Juice – Helps maintain safe acidity levels and brightens the flavor of fruit preserves.
- Vinegar – Essential for pickling and balancing acidity in canning recipes.
- Pectin & Low Sugar Pectin – A natural thickener that helps jams and jellies set perfectly.
- Sugar – Adds sweetness, helps preserve set, and extends shelf life. Use organic when possible.
- Dissolvable Labels – Keeps your pantry organized and lets you track batches.
Step-by-Step Instructions for Water Bath Canning Success
Prepare the water bath canner by filling it with enough water to cover the jars you’ll be canning. Start heating the water so it is hot when you add the jars, if you’re going to be adding hot ingredients to the jars.
Prepare your recipe while the water heats. Pack the food into jars using a funnel and a ladle. The rule of thumb is that if you’re hot packing the jars (packing hot food into hot jars), then you’ll want the water to be hot when you put the jars in your canner. If you’re cold packing (packing raw food into room-temperature jars), you put the jars into your canner with room-temperature water. This ensures there is no temperature shock or breakage, and the food, jars, and water are all about the same temperature.
The recipe will tell you how much headspace to leave after packing your food. Too much or too little headspace can affect the jar’s seal, so always check the recipe for the required headspace. For general reference, here is how much headspace is needed for some water bath canning recipes:
- Fruits and Juices: about ½ inch of headspace.
- Pickles: about ½ inch of headspace.
- Tomatoes and Sauces: about 1 inch of headspace.
- Jams and Jellies: about ¼ inch of headspace.
Using a tool or a small spatula, remove air bubbles by sliding the tool down and around the side of the jar. Wipe the rim of the jar with a clean washcloth and put a new, clean lid in the center of the jar. Put the ring on and make it fingertip-tight. Fingertip tight means that you tighten the ring only with your fingers; don’t use any wrist movement.
Making the rings fingertip-tight allows air to escape during processing, creating a vacuum seal when the jar cools. Making the rings too tight may result in too much pressure inside the jar because the air cannot escape, causing the jar to break or not seal properly.
Place the jars in your water bath canner’s rack and lower it into the hot water. Ensure the jars are covered with 1-2 inches of water, and add water if needed. Don’t overcrowd your canner. Leave about 1 inch of space between each jar to allow for proper heat circulation and even processing. Put the lid on the canner and bring the water to a boil.
Process for the time your recipe calls for. Make sure the water comes to a full boil before starting the timer. Once the timer goes off, turn off the heat and remove the lid from the canner.
Let the jars sit in the water for 5 minutes, then carefully remove them from the water using a jar lifter. Place them on a towel or flat surface, trying not to jostle them too much. Leave the jars undisturbed for 12-24 hours to cool and seal properly; do not tighten rings that might have come loose.
After 12-24 hours, check the seals by removing the rings and pulling straight up on the lids. The lids should not come off or pop up and down. If the jars are sealed, store them for later use in a cool, dry place with the ring off. If the lid comes off, put it back on with the ring and store the jar in the refrigerator, and eat the food within about a week.
How to Adjust for Altitude When Water Bath Canning
When you’re water bath canning, the altitude at which you’re canning is an important factor to consider. At higher altitudes, the boiling point of water is lower, so it takes longer for your canned goods to reach the required temperature for safe canning and sterilization. To adjust for altitude, you’ll need to increase your processing time to compensate for the lower temperature.
As your altitude increases, the boiling point of water decreases. At sea level, water boils at 212°F (100°C). At higher altitudes, water boils at a lower temperature, which means it’s not as hot as it should be for killing bacteria and ensuring that the food inside the jars is sterilized properly.
By increasing the canning time, the jars remain in the hot water long enough to ensure they reach the proper temperature for safe canning. Here’s how you adjust your canning time to account for the altitude change:
- Determine your altitude above sea level. This can be done using an online tool or map. You can simply search “What is the altitude of Chicago, IL?” It will tell you the altitude is about 597 feet above sea level. If you live in Oklahoma City, OK, the altitude is about 1,198 feet above sea level. If you live in Denver, CO, the altitude is about 5,280 feet above sea level.
- Using your altitude, adjust your processing time accordingly:
- Sea Level to 1,000 feet: No adjustment needed
- 1,001 to 3,000 feet: Increase processing time by 5 minutes
- 3,001 to 6,000 feet: Increase processing time by 10 minutes
- 6,001 to 8,000 feet: Increase processing time by 15 minutes
- Above 8,000 feet: Increase processing time by 20 minutes
Typically, recipes are written at sea level. If you live in Chicago, you would not adjust your time at all. If you live in Oklahoma City, you would increase your time by 5 minutes, and if you live in Denver, you would increase your time by 15 minutes.
Common Mistakes to Avoid When Water Bath Canning
Even seasoned canners can make mistakes that affect food safety or jar seal quality. Here are some of the most common pitfalls to watch for:
- Underprocessing – Cutting the processing time short can leave harmful bacteria alive in your food. Always follow the tested recipe’s time exactly, adjusting for altitude when needed.
- Overfilling Jars – If the headspace is too small, food may siphon out during processing, preventing a proper seal. Follow the recommended headspace for each recipe.
- Not Adjusting for Altitude – Processing times in tested recipes are based on sea level. If you live above 1,000 feet, you’ll need to increase your time to ensure safety.
- Reusing Old Lids – Canning lids are designed for one-time use; reusing them can lead to seal failures. Always start with brand-new lids for each batch.
Best Foods to Preserve with Water Bath Canning
You can preserve many foods to enjoy throughout the year, with just a water bath canner. Make your own jams and jellies, utilize those garden cucumbers or onions for pickles, or make delicious pizza sauce from tomatoes you bought on sale.
Jams and Jellies
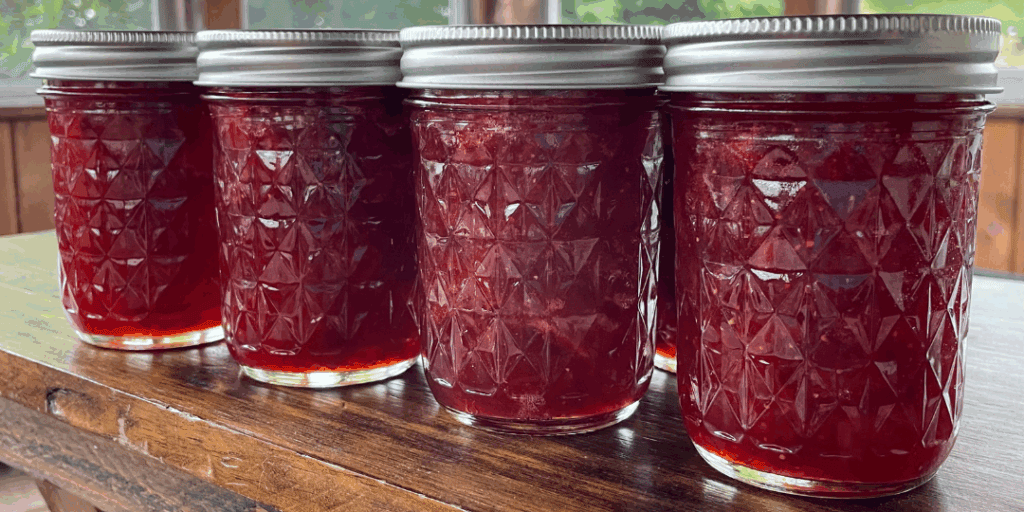
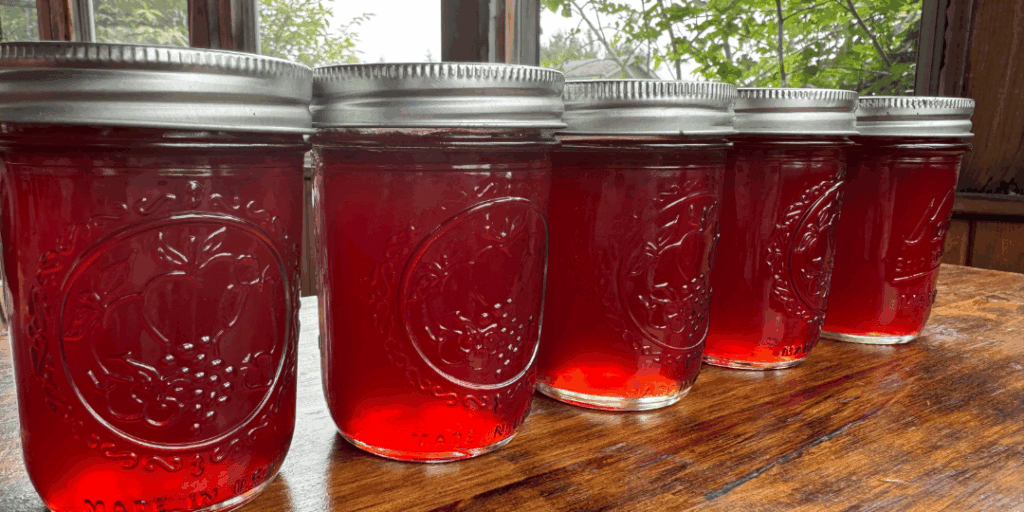
Jams and jellies are great starter recipes for new canners. They are delicious (even if the consistency doesn’t turn out perfectly), and they are quick to can. Grab some fresh fruits from the farmer’s market or your garden and give this homemade goodness a try.
Customize the fruity flavors and the amount of sugar in each jar. You can make delicious jams and jellies with much less sugar than the store-bought counterparts. Sometimes lemon juice is needed to ensure a safe acid level.
Pickled Recipes
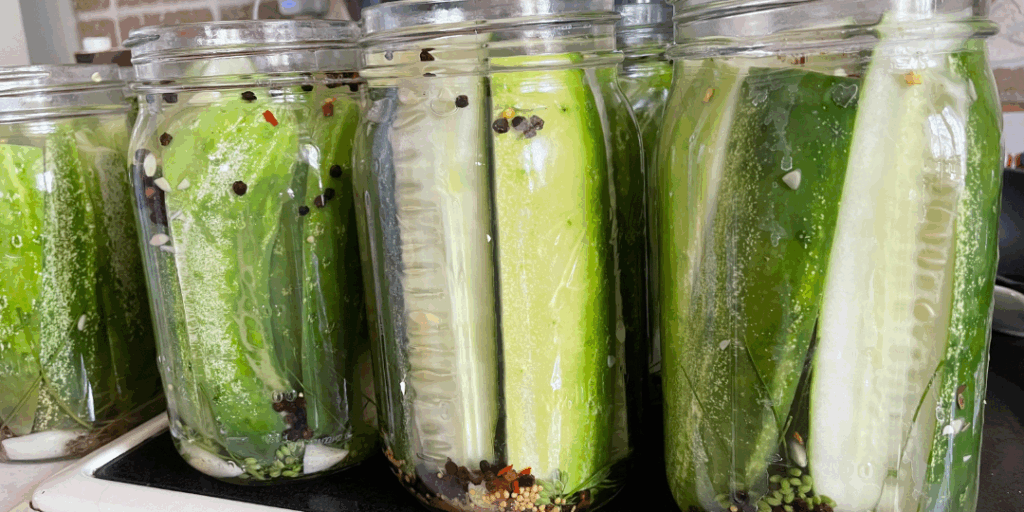
Pickles are fun to make and customize. Plus, you can get creative with what you want to try pickling! Make some classic dill pickles, or try something new like pickled beets or pickled onions. The vinegar in pickled recipes makes them safe for water bath canning.
Fruit Preserves and Pie Fillings
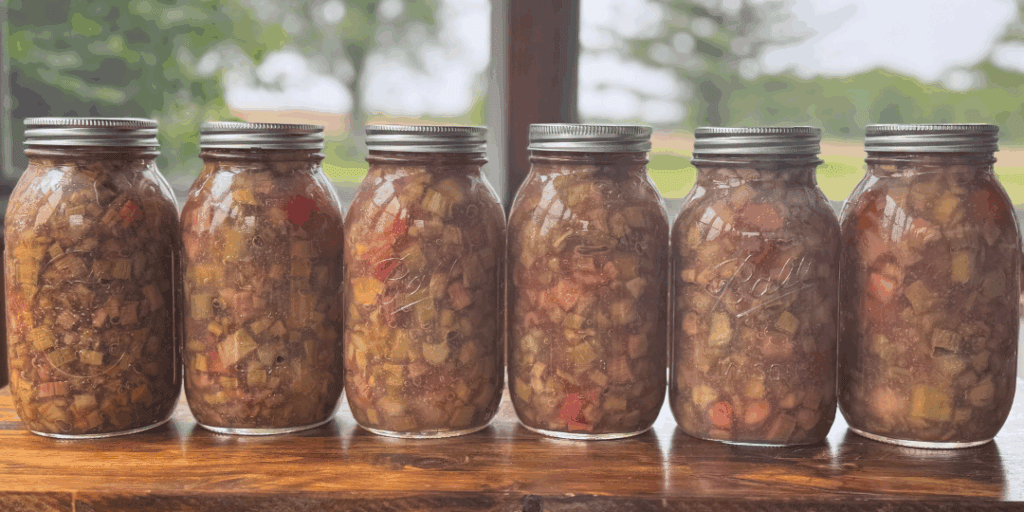
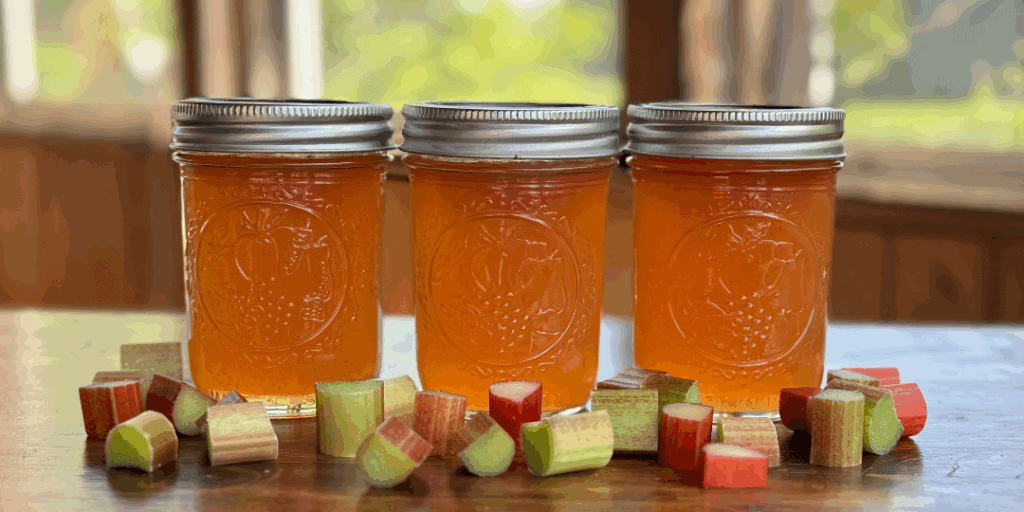
We love canning fruit, fruit juices, and fruit pie fillings from fresh fruit when it’s in season or on sale! Sometimes requiring lemon juice, these recipes make perfect water bath canning projects. Is it apple season? You can make applesauce, apple butter, apple juice, and apple pie filling to enjoy all year long, all with your water bath canner and a handful of jars.
Tomato Recipes
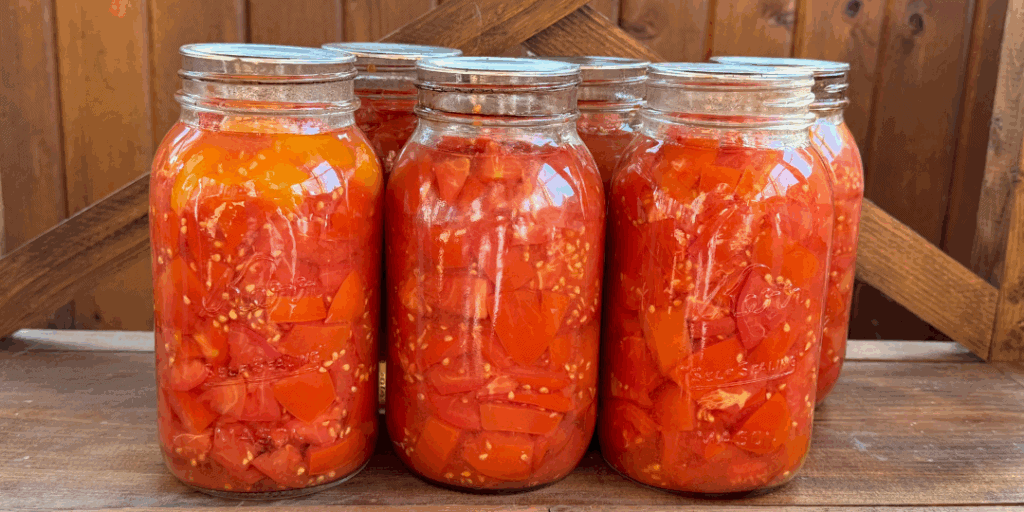
When tomato season hits, I am so thankful that I learned how to can. Every year, I try something new with them, and I’m never disappointed. From diced tomatoes to marinara sauce and tomato juice, there are so many tomato recipes that you can water bath can, so you can keep that fresh tomato flavor in your cooking, long after tomato season is over.
Like the other fruit canning recipes, lemon juice to added to make sure your acid level is high enough to prevent botulism.
How to Sterilize Jars Properly (and When You Don’t Need to)
Sterilizing jars is an important step for some water bath recipes, but not always necessary. If you’re processing your jars for 10 minutes or longer, the heat during canning will sterilize them, so you can skip pre-sterilizing. Just wash jars well in hot, soapy water and rinse before filling.
For recipes with a shorter processing time, you’ll need to sterilize jars first by boiling them in water for 10 minutes (adding 1 extra minute for every 1,000 feet above sea level). Whether sterilizing ahead of time or not, always keep jars hot until you’re ready to fill to prevent cracking from sudden temperature changes.
How Long Do Water Bath Canned Foods Last?
Properly processed and sealed water bath canned foods can last 12–18 months at peak quality, though they’re often safe to eat longer if stored correctly. Jars should be stored with the rings off so you know for sure they stayed sealed. Read more about that in Why Store Jars with the Rings Off. Keep jars in a cool, dark, and dry place, away from sunlight, extreme temperatures, or moisture, to slow down flavor and texture changes.
Always inspect before opening: look for broken seals, bulging lids, leaking, off smells, or signs of mold. If anything seems off, throw it out without tasting. Even if it still looks fine after years, using home-canned goods within that 18-month window will give you the best flavor and texture.
Is it Safe to Adjust Sugar or Salt in Water Bath Recipes?
When water bath canning, sugar and salt are often added for flavor, texture, or preservation quality, but they aren’t always critical for safety. In most fruit-based recipes like jams, jellies, and pie fillings, you can reduce the sugar without risking spoilage, as long as you follow the proper processing time and use tested recipes.
Keep in mind that lowering sugar may change the texture, set, or color over time. Salt in pickles and relishes is usually for flavor and crispness, so you can cut it back for dietary needs, but the result may taste different or lose some crunch.
The exception is when sugar or salt plays a role in a tested preservation balance (such as certain brined vegetables or sweet preserves with pectin); in those cases, only make adjustments if the recipe specifically allows for it.
Explore More: Jams, Pickles, and Easy Canning Recipes to Try
Looking for easy beginner recipes to start with? Explore our most popular water bath canning posts and seasonal ideas below to stock your pantry the simple way.
Water Bath Canning FAQs
Water bath canning can feel intimidating at first, but once you understand the process, it becomes second nature. These FAQs answer the most common beginner questions—so you can can with confidence and avoid common mistakes. Whether you’re wondering about jar sizes, reusing lids, or troubleshooting a failed seal, we’ve got you covered.
Only if your processing time is under 10 minutes. Otherwise, clean and hot is enough.
No, low-acid foods require pressure canning to prevent botulism.
Headspace is the empty space between the food and the lid. It allows for expansion during processing and helps form a strong seal.
Jars don’t seal for a multitude of reasons. It could be due to improper headspace, damaged rims, old lids, or improper processing time.
No, use new lids each time to ensure a safe seal.
Ready to Start Water Bath Canning with Confidence?
Water bath canning is a fun, beginner-friendly way to preserve fresh food from your garden, orchard, or local farmers’ market. Whether you’re putting up jams, fruits, or pickles, learning the correct method ensures safety and shelf-stable results.


