How to Make Cran-Raspberry Jam using Cranberry Juice
Cran-raspberry jam with cranberry juice is a sweet-tart twist on a classic fruit spread — and it’s surprisingly hard to find! After coming up short in my search, I decided to create my own version, and it turned out even better than expected.
The tart cranberry juice adds a bright pop to the raspberries and gives this jam a nostalgic flavor that reminds me of the juice I loved as a kid.
Want more recipes that use juice or simple ingredients? Browse our Jams and Jellies page for ideas that go beyond the basics.
This post contains affiliate links. Using them will not cost you anything but will help us offset the cost of running the blog. We only share products we are using and would recommend to a friend. Thank you for your support! Click ‘HERE’ for more info.
Quick Summary: Cran-Raspberry Jam from Juice Recipe
- Prep your water bath canner, heat jars, and lids.
- Simmer raspberries and cranberry juice in a saucepan until berries begin to thaw.
- Stir in pectin, add butter, and bring to a rolling boil over high heat.
- Add sugar, return to a boil, and cook for 1 minute while stirring constantly.
- Ladle jam into hot jars, wipe rims, add lids and rings, and tighten to fingertip-tight.
- Process jars in boiling water for 10 minutes, let sit 5 minutes, then cool undisturbed for 24 hours.
Supplies & Ingredients for Cran-Raspberry Jam

Supplies
- Water bath canner– Essential for processing your jars to make the jam shelf-stable and safe for storage. Ideal for high-acid foods like jams and jellies. The one I’ve linked includes a set of canning tools.
- Canning tools– Typically includes a jar lifter, wide-mouth funnel, bubble remover, and headspace gauge. These simple tools make the canning process safer and more efficient.
- 8 oz jars (half-pint)– Just the right size for jams and perfect for sharing. Always use jars designed for canning to ensure they can withstand the boiling process.
Ingredients
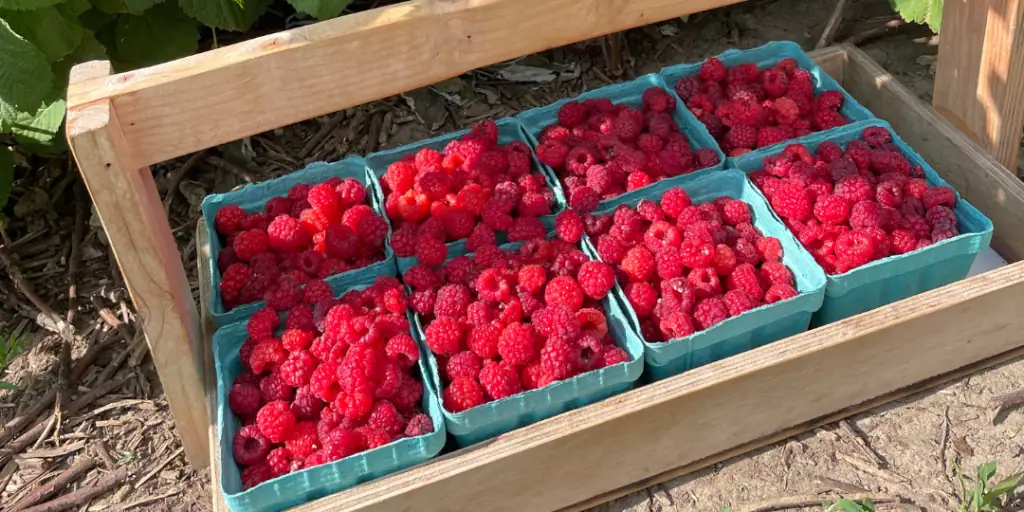
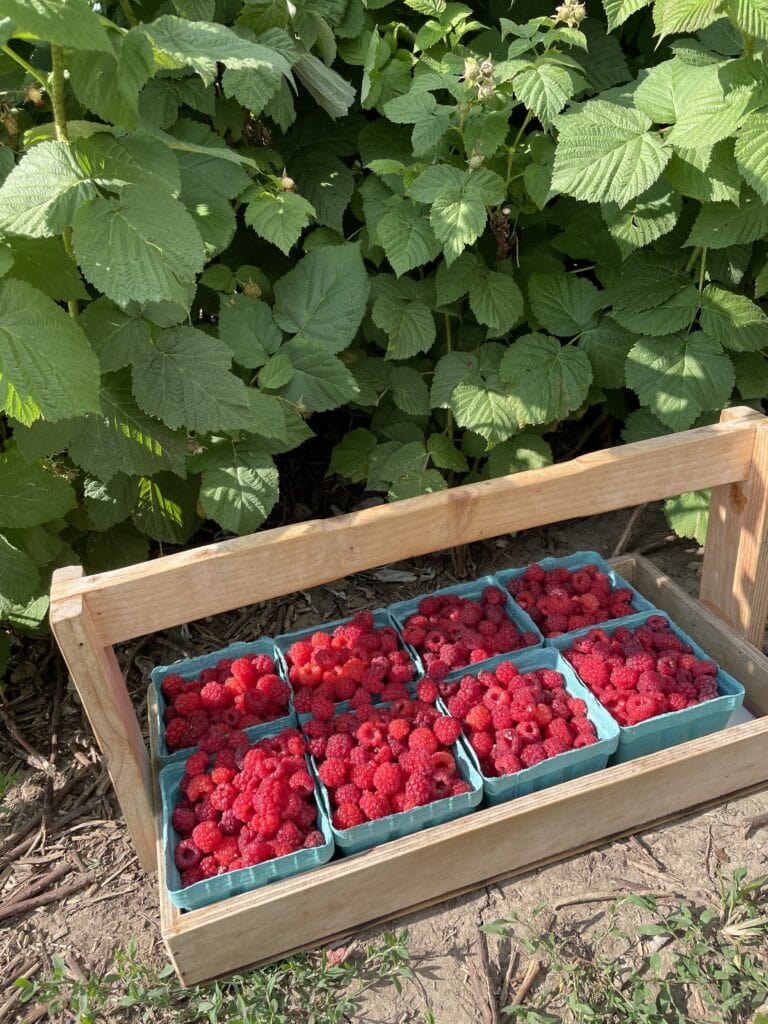
- Raspberries (fresh or frozen)– These give the jam its bright, sweet-tart flavor. Frozen berries work just as well if fresh berries aren’t in season.
- Cranberry juice (organic, no sugar added)– Adds a tangy depth and helps balance the sweetness. Make sure to use 100% juice with no added sweeteners.
- Ball RealFruit Low/No-Sugar Needed Pectin– This lets the jam set beautifully while allowing you to control the sugar level. Perfect for low-sugar recipes like this one.
- Sugar– I like to use organic raw sugar for a more natural option. Just enough to sweeten the jam without overpowering the fruit.
- Butter (optional) – A tiny bit helps reduce foaming while the jam cooks, giving you a cleaner finish when filling jars.


Do I Need to Thaw the Raspberries?
I know there are some opinions about whether you should thaw your fruit before making jam. Sometimes I think it’s a good idea, and sometimes I don’t really think it matters. It just depends on the recipe. For jams, I usually don’t thaw them first, but you can!
What you have to be careful of is having too much liquid in your jam. When berries thaw, they let go of a lot of extra liquid, and this could make your jam not set. If you have a problem with your jam being too runny, you’ll want to thaw and drain your berries before making your jam.
Step-by-Step Instructions for Making Cran-Raspberry Jam using Cranberry Juice
Get your water bath canner and all your canning supplies ready to go. Wash your jars, lids, and rings. I have canned without some of the tools, and it is doable, but do yourself a favor and just get the proper equipment; it is so much easier.
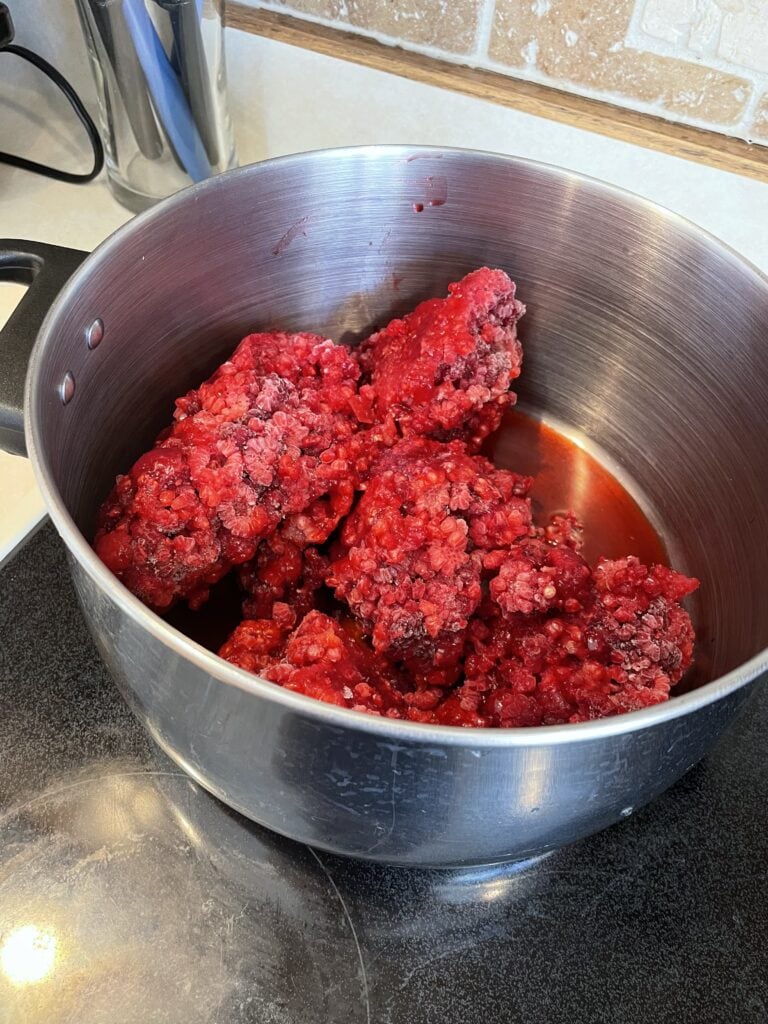
In a large saucepan, combine raspberries and cranberry juice over medium heat until the berries start to thaw. I let them thaw just enough to loosen them up. If you’re working with thawed raspberries, you can go ahead to the next step.
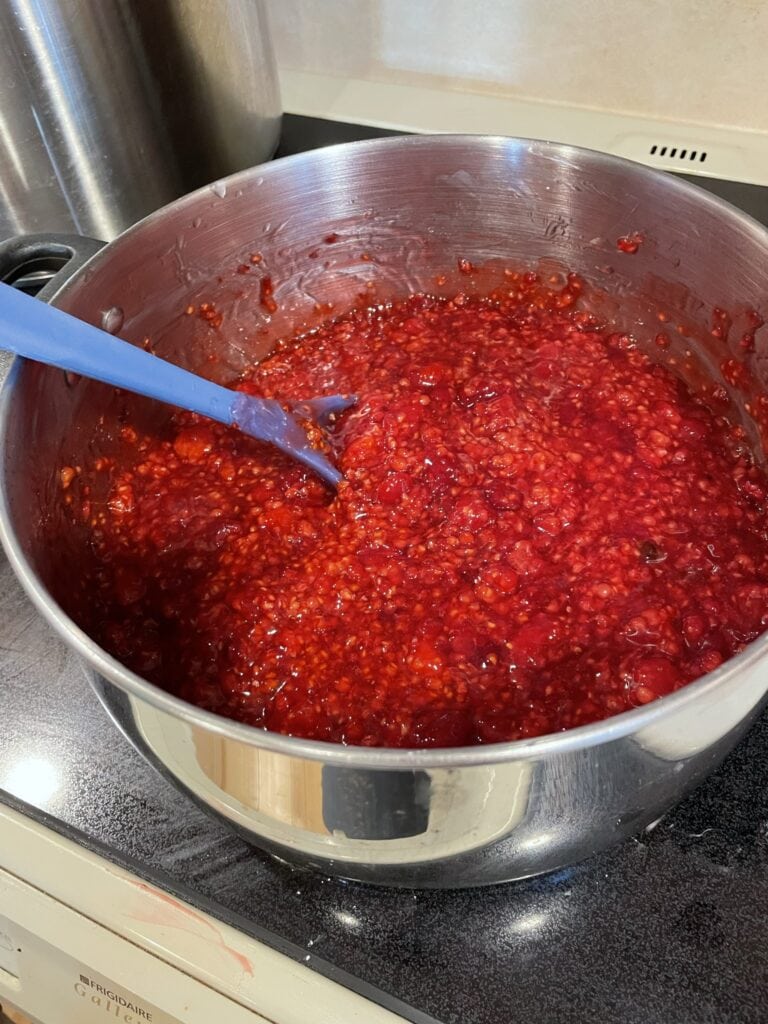
Gradually stir in the pectin and stir as you go so it doesn’t clump. Add butter and bring the mixture to a rolling boil over high heat, stirring constantly. The rolling boil should not be able to be stirred down. The reason you add butter is to reduce the amount of foam on the top of your jam.
Personally, the foam doesn’t bother me, but I add the butter anyway! You can omit it and skim the foam off the top, or just leave it! Add the sugar and return the mixture to a rolling boil. Boil while stirring constantly for 1 minute. Take off the heat and get your jars!
How to Process Jam
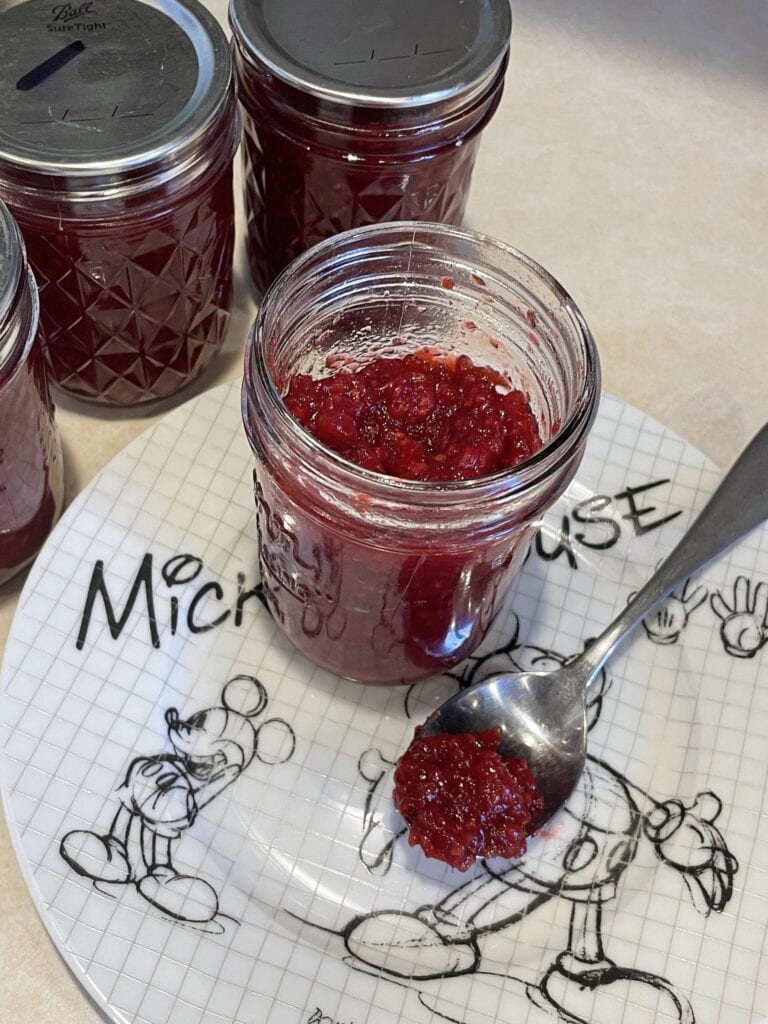

Ladle the cran-raspberry jam into the hot jars, leaving 1/4 inch of head space. Wipe the rims and put the lid in the center of the jar. Put the ring on a make it fingertip-tight.
Place the jars in your water bath canner and cover with 1-2 inches of water. Put the lid on the canner and bring the water to a boil. Boil for 10 minutes and then let jars sit for 5 minutes with the lid off. Remove the jars and allow the jam to cool for 24 hours without being disturbed.
Check the seals by removing the rings and gently pulling on the lids. Lids should not come off or flex up and down. If the jars are sealed, store them for later use.
Store your sealed jars without the ring, so if your jars do decide to unseal on you, you’ll know because they cannot reseal without a ring. After you break the seal, you have to put the ring back on and store it in the fridge.
Alternatively, you can get some white plastic screw-on lids and use those after you’ve opened your jars. I like them because they are easier to get on and off. They have large-mouth lids and small-mouth lids. Remember, you can’t use these plastic lids to seal your jars.
If you try this recipe, make sure to comment below and let me know how you liked it! Tag us on Instagram using @homelyhens or @sam.thatsme. If you’re looking for another recipe to try with your raspberries, give these Berry Bars a go; you won’t be sorry!
Cran-Raspberry Jam
Equipment
- 1 water bath canner
- 4 half pint jars, lids, rings
Ingredients
- 2 2/3 cups raspberries (fresh or frozen)
- 2/3 cups cranberry juice organic, no sugar added
- 3 tbsp Ball RealFruit Low or No-Sugar Needed Pectin
- 1 cup sugar
- 1/4 tsp butter
Instructions
- Prepare the water bath canner and heat jars and lids.
- In a large saucepan, combine raspberries and cranberry juice over medium heat until berries start to thaw.
- Gradually stir in the pectin. Add butter and bring the mixture to a rolling boil over high heat, stirring constantly. The rolling boil should not be able to be stirred down.
- Add sugar and return the mixture to a rolling boil. Boil while stirring constantly for 1 minute. Take off the heat.
- Ladle the jam into hot jars, leaving 1/4 inch of head space. Wipe the rims and put the lid in the center of the jar. Put the ring on a make it fingertip-tight.
- Place the jars in your water bath canner and cover with 1-2 inches of water. Put the lid on the canner and bring the water to a boil. Boil for 10 minutes and then let jars sit for 5 minutes with the lid off.
- Remove the jars and allow them to cool for 24 hours without being disturbed. Check the seals by removing the rings and gently pulling the lids. Lids should not come off or flex up and down. If the jars are sealed, store them for later use.



One Comment
Pingback: