


Turn Whelk Shells into Beautiful Succulent Planters
First, you go to the beach…then you make the pretty succulent planters. My family recently moved to Northern Illinois from Eastern North Carolina and while in NC I loved going with a friend of mine to the beach to find shells and shark teeth. Walking along the beach is always fun, shells or no shells. One of our favorite spots to find whelk shells is Shackleford Banks. And what better way to remember those trips than to make beautiful succulent planters with them? Aside from lining my garden with them, that is!
Shackleford Banks


Shackleford Banks is a beautiful place to spend a peaceful day at the beach. If you love seeing wildlife like jellyfish, horseshoe crabs, dolphins, snails, sand dollars, or even horses, this is definitely the place! To get to the bigger whelk shells you have to walk pretty far down the beach (about 3-4 miles) and the walk back is quite a hike depending on how many shells you are bringing back. It definitely isn’t for the faint of heart! Please remember that you should always check to make sure there’s nothing living in the shells you’re taking. Some of the prettiest shells we find still have a tenant so we always put them back so they can continue living a healthy life!


The view of the lighthouse on Cape Lookout is pretty too. If you’re feeling extra energetic after your long walk on Shackleford, you can take the ferry to Cape Lookout and get an even closer look. I usually take the ferry from Harkers Island. You can find ferry tickets here if you’re ever interested!
Prepare your Shells to be Succulent Planters
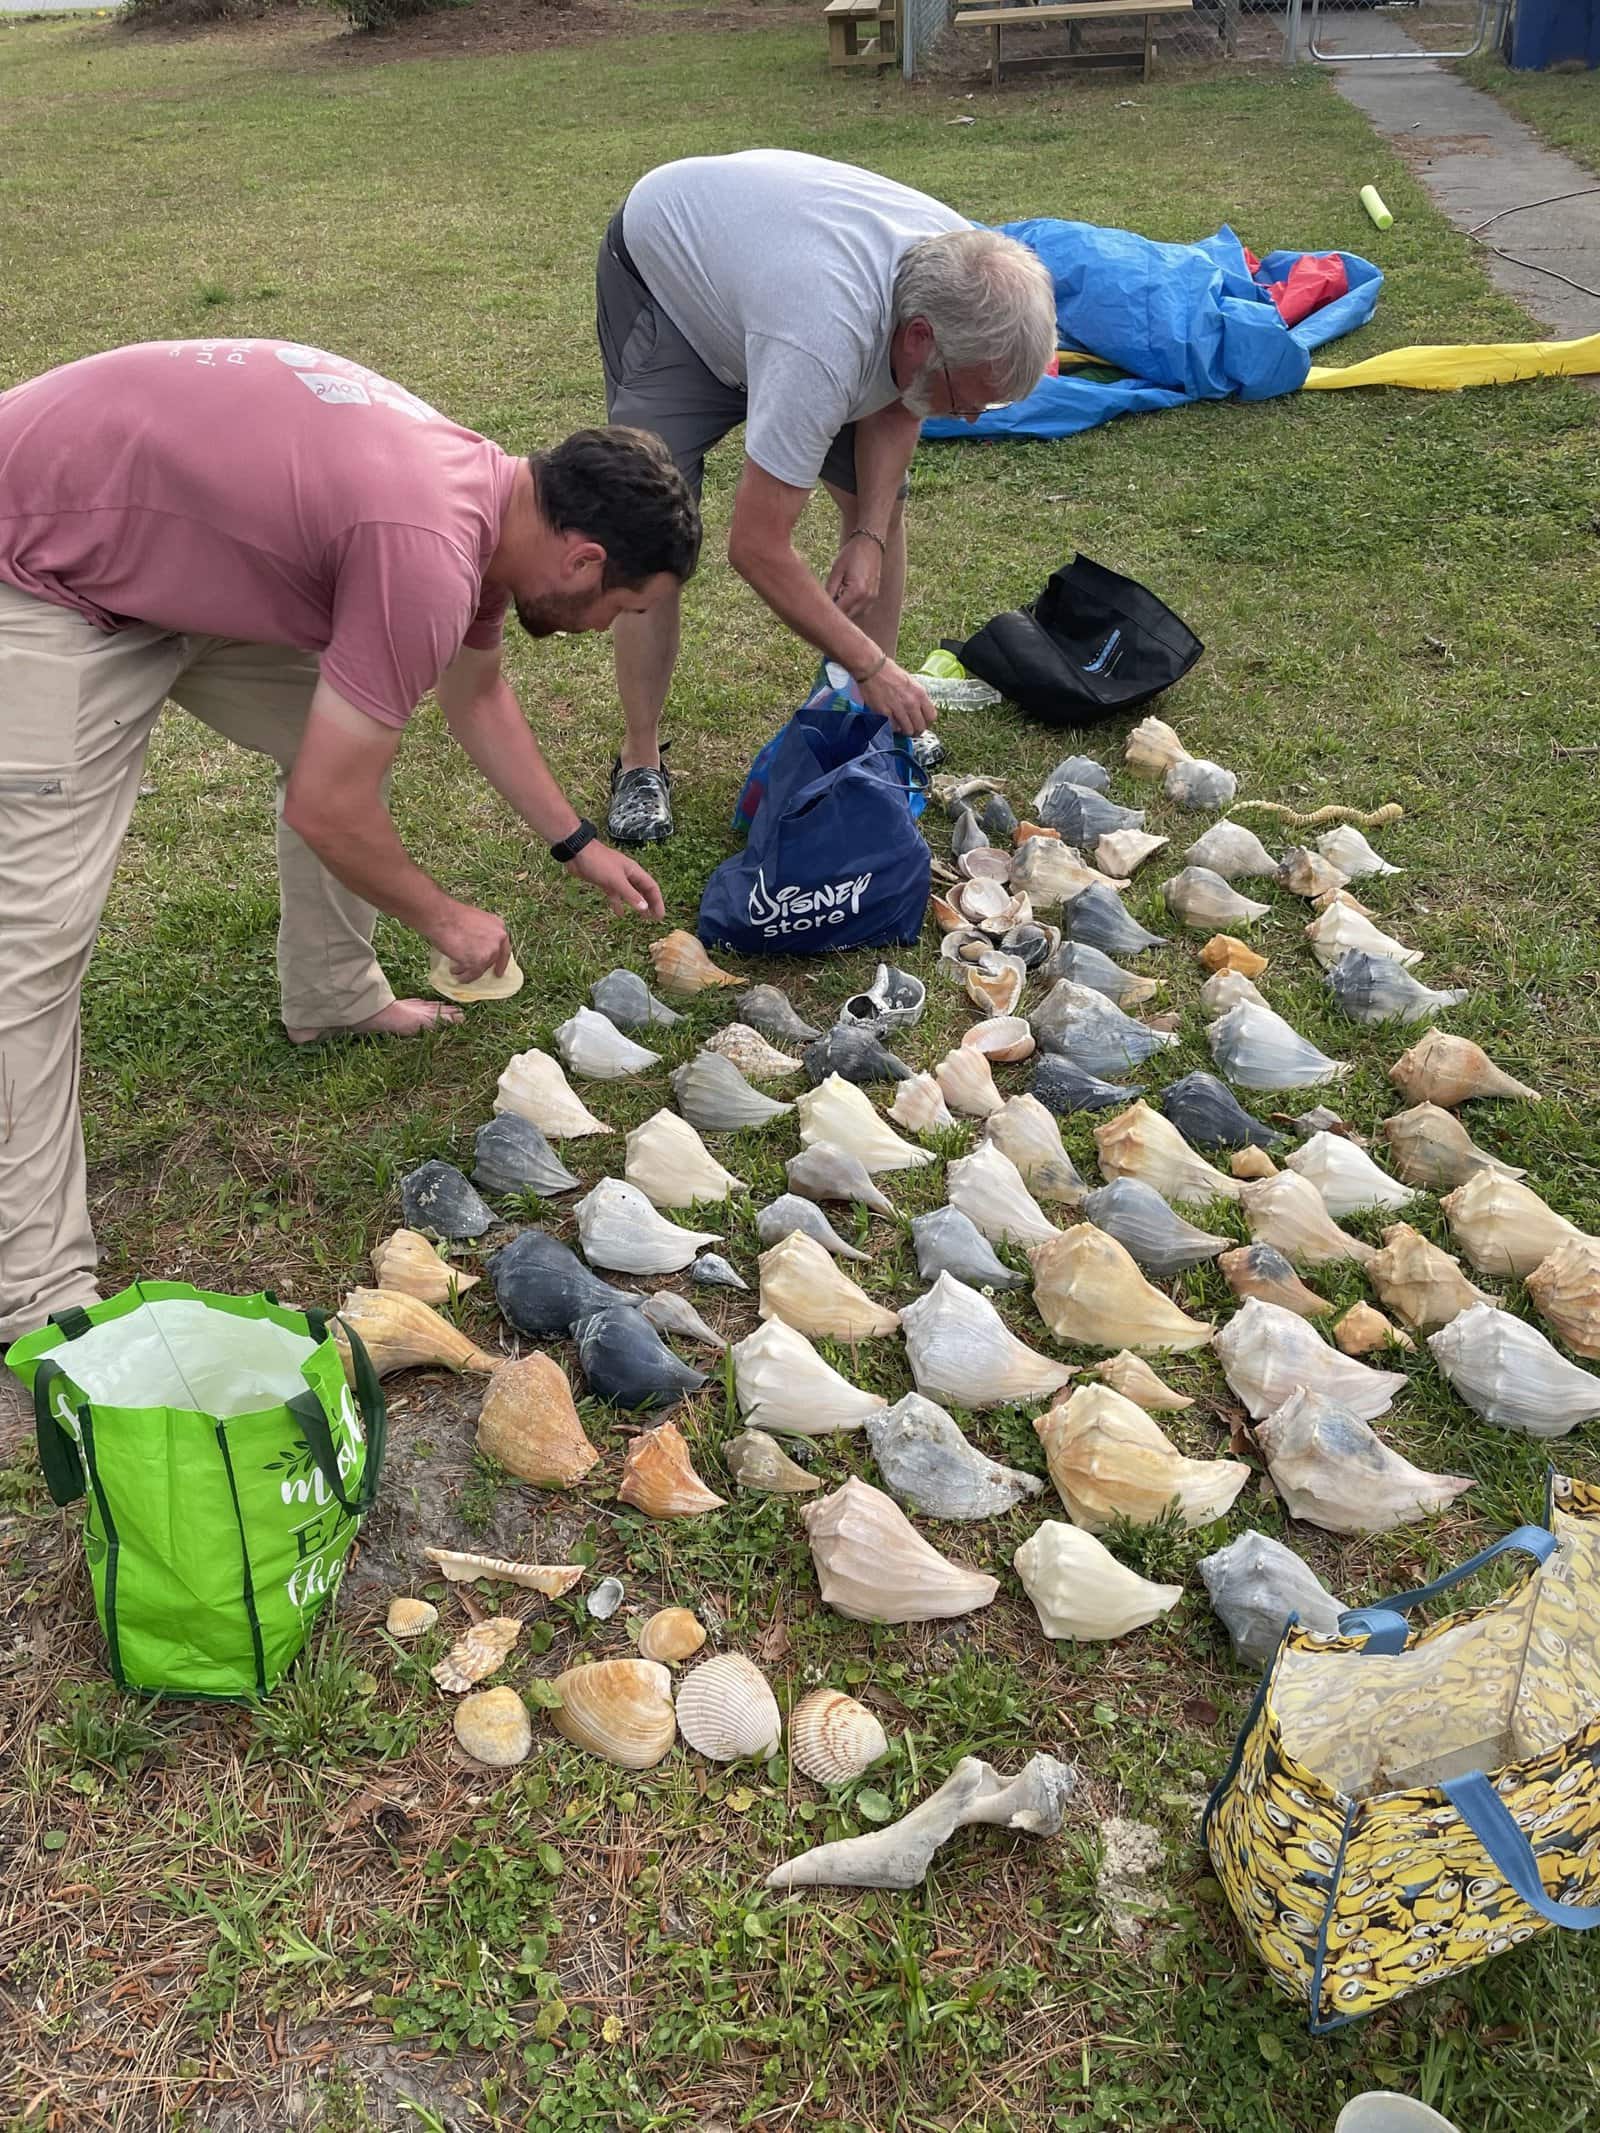


When you get the shells out of your bags or backpacks, give them a good rinse and shake all that sand out. Some of them can be a little stinky so if you have some that need more than just a water rinse, soak them in a bleach/water mixture. When they’ve soaked for an hour or so you can use a toothbrush to scrub a little of the extra grime off. If there are barnacles or harder pieces stuck to the shell you’ll have to use something a little stronger, like a flathead screwdriver.
Wash them with soap and water when you’re done so they’re ready to be turned into succulent planters! I only soak with bleach when I really need to because it is hard to get that bleach smell out once you soak them. Plus, I never like using bleach! If you find a better way to clean your shells let me know in the comments!

Arrange the Succulents


I went to a few different stores (Walmart, Lowes, Home Depot) and searched for the succulents. I think the key is finding ones that are different sizes so that you can piece them together nicely. The most difficult ones for me to find were the really small succulents. I use them as fillers around the bigger succulents. Make sure you get some small ones that can be broken apart. It’s also important to put smaller plants on the end to help keep the dirt secure on the bigger shells.


When choosing plants, start with the biggest succulent to go in the shell. Then, find medium and smaller ones to go around the bigger ones. Put a little dirt where there is space for it so the succulents are snug. Water about once a week and let the extra water drain out of the end of the shells. Have fun with the different variations of succulents! All of them are so beautiful. If you do succulent planters like these tag us in your pictures on Instagram so I can see them too! @homelyhens
Need another Beach-Themed DIY Project? Check out my Beach Wine Bottle Decor!


2 Comments
Pingback:
Pingback: