Elderberry Syrup Recipe: Make It Once, Use It All Winter
Elderberry syrup is one of my go-to herbal remedies for cold and flu season, and I make it every year.
It’s packed with immune-supporting goodness, comes together with just a few ingredients, and gives me peace of mind knowing what’s actually in it.
Whether I’m pouring a spoonful for sniffly kiddos or tucking away jars for winter, this syrup is a simple and powerful way to stay ahead of seasonal bugs.
Let me show you how I make this elderberry syrup recipe—with options to can, freeze, or keep it fresh. If you need more herbal remedies, check out our Natural Living and Herbal Remedies page.
This post contains affiliate links. This will not cost you anything but will help us offset the cost of running the blog. We only share products we use and would recommend to a friend. Thank you for your support! Click ‘HERE’ for more info.
Why I make Elderberry Syrup at Home
Store-bought elderberry syrup is expensive, and if you’ve flipped over the bottle to look at the ingredients, you might have seen added sugars or thickeners, too. That’s not what I want when my family is under the weather.
Buying from a local seller who sells homemade elderberry syrup is another great option, but it can be pricey. I can’t resist a good DIY, especially when it saves money.
Making elderberry syrup at home gives me full control, too. I can use fresh or dried berries, skip the additives, and sweeten it just the way I like, usually with raw honey for its antimicrobial benefits.
I started making this when I had young kids and wanted a natural remedy I could trust. Now it’s a staple in my herbal cabinet and a tradition I make time for every year.
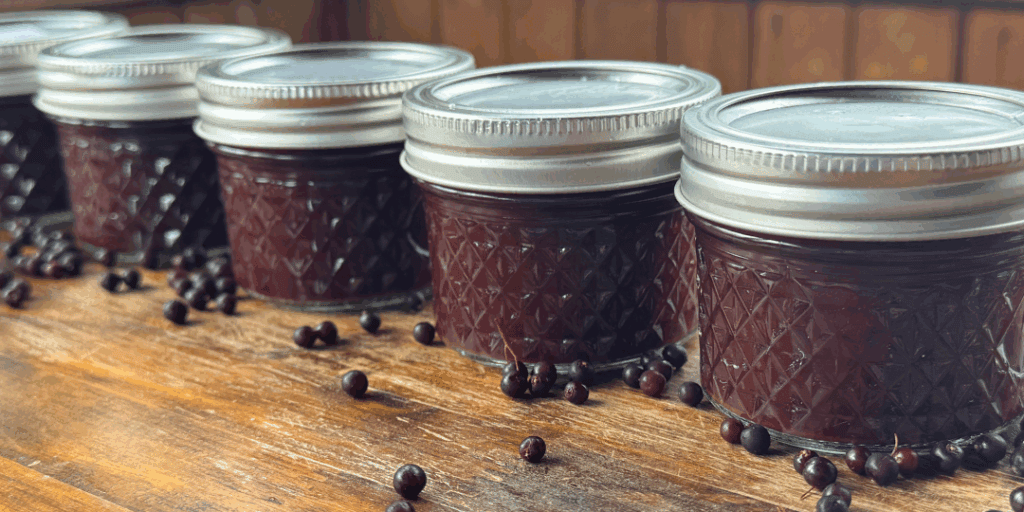
Plus, by water bath canning, I can preserve it for months on the pantry shelf and not have to worry about it taking up fridge space.
What You’ll Need:
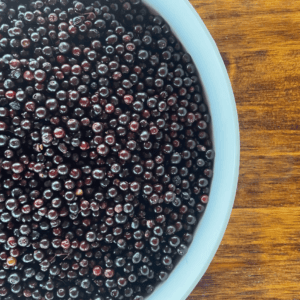
- 4 cups fresh or 2 cups dried elderberries – The base of the syrup, rich in antioxidants and immune-boosting compounds. Learn to dehydrate your own elderberries here to save for later.
- 8 cups of water – Helps extract the medicinal properties while simmering.
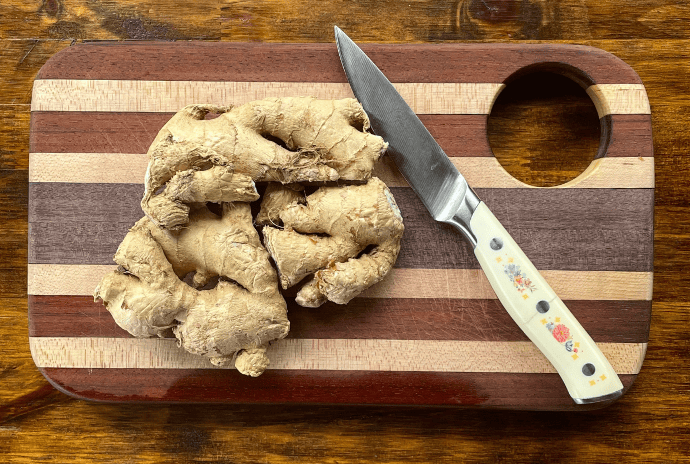
- 2 tbsp minced ginger root (fresh or dried) – Warming, soothing, and great for digestion.
- 2 tsp ground cinnamon or 2-3 cinnamon sticks – Adds flavor and supports the immune system.
- 1 tsp ground cloves or 6-8 whole cloves – A potent antimicrobial herb that deepens the flavor.
- 3 tbsp lemon juice – Adds acidity for safe canning and a bright flavor.
- Raw honey (to taste) – Optional, added after cooking or canning to preserve its raw benefits.
- Mesh strainer or cheesecloth – For straining out berries and herbs after simmering.
- Canning jars with lids – Use half-pints or 4-oz jars if you’re preserving it.
- Water bath canner with tools (optional) – Needed only if you’re canning the syrup for long-term shelf storage.
Why These Ingredients Work Together
When making elderberry syrup at home, I choose ingredients that not only taste good but also offer natural immune support. Here’s why I include elderberries, ginger, and raw honey in every batch.
Elderberries
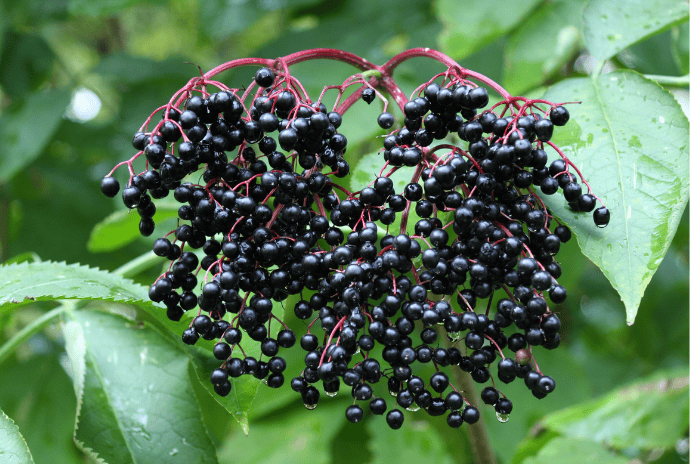
Elderberries are a great immune system booster, thanks to their antioxidants. Elderberries can help with cold and flu symptoms by reducing congestion and easing other symptoms. They’re also used to help prevent colds. Elderberries can also help decrease inflammation and bruising when applied topically.
Ginger
Ginger joins elderberries in helping to build your immune system. It can help with nausea, digestion, pain relief, heart health, and more! It is so exciting to me that nature provides so much for us, and sometimes it is found right in your backyard.


Raw Honey, Unfiltered Honey
Raw honey has its own great qualities and will be a perfect addition to your elderberry syrup. Honey has properties that are antibacterial, antifungal, and antiviral. It helps boost your immune system, relieves some allergy symptoms, and has antioxidants. Honey can also help with energy, blood sugar regulation, and heart health. It contains a lot of minerals, including potassium, magnesium, and phosphorus!
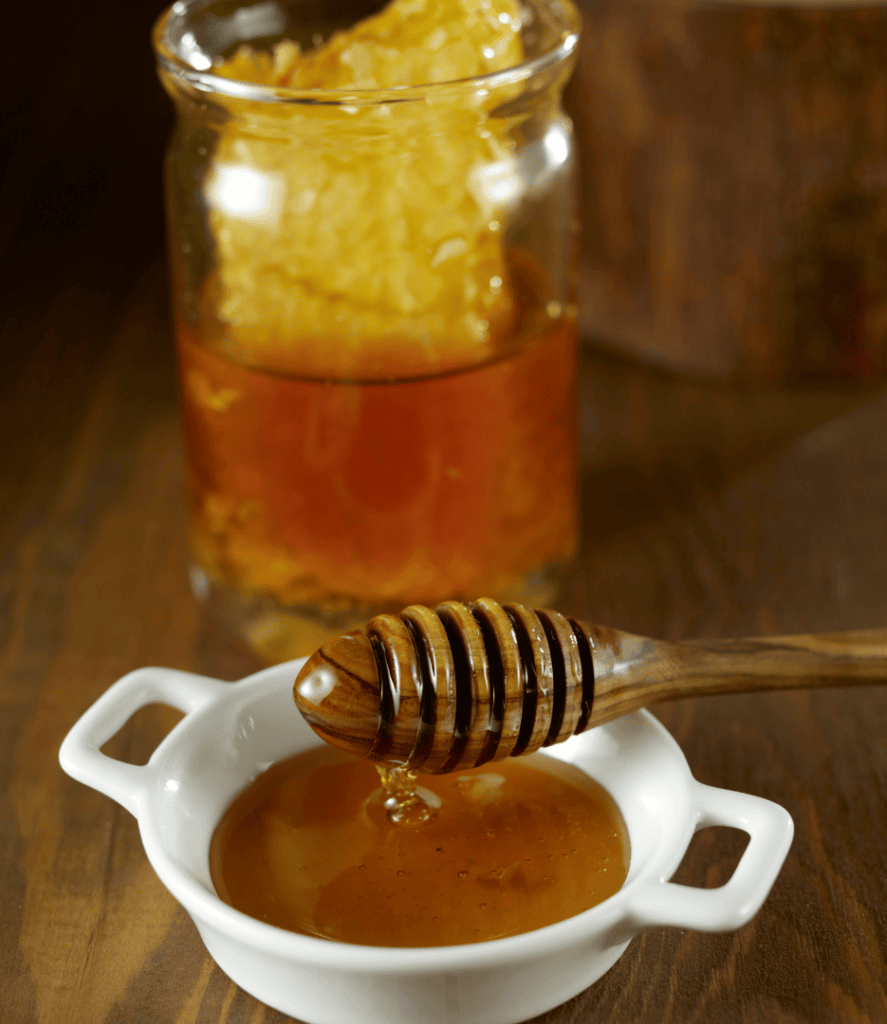
Make sure when you choose honey, you get RAW local honey. Raw honey is not processed, so the nutrients are all still in your liquid gold. Store-bought honey is often heated so much that most of the nutrients are killed. The heat destroys antioxidants, vitamins, minerals, and antibacterial properties.
What’s the point if all the good stuff is killed?! Because heating kills all the good stuff in honey, we won’t be canning our elderberry syrup with the honey in it. We’re just going to be canning the elderberry juice and then adding honey later, so we can get the amazing benefits from all the ingredients!
We need all the help we can get during cold and flu season. Remember that babies under 1 year old cannot have honey.
How to Make Elderberry Syrup
If you picked your own elderberries, make sure you get all the ripe berries off the vines and discard any unripe berries, leaves, stems, etc. Also, if you picked your berries…PHEW, good work, it is not for the faint of heart. Wash the berries and add them to a pot.
Mince some gingerroot and throw it in there. I LOVE the smell of fresh ginger! Add 8 cups of water to the pot and heat over medium-high heat. Boil the mixture for 30 minutes, stirring occasionally so nothing burns to the bottom of the pot.
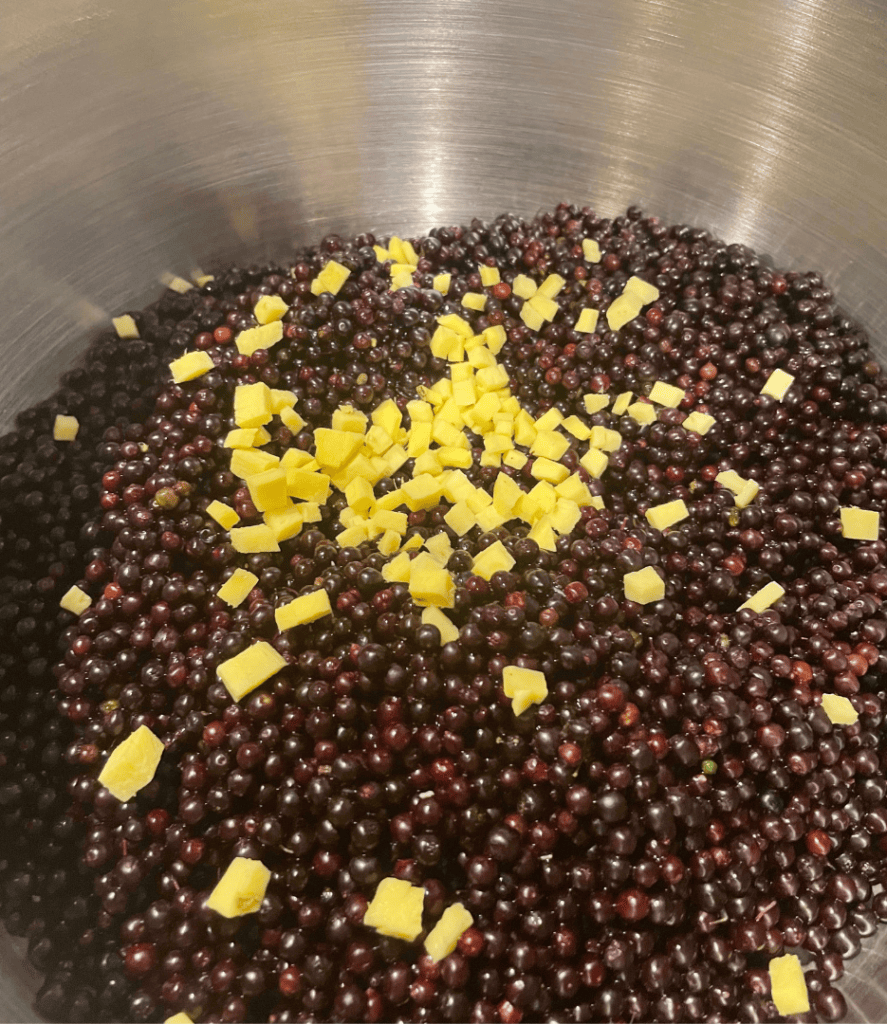
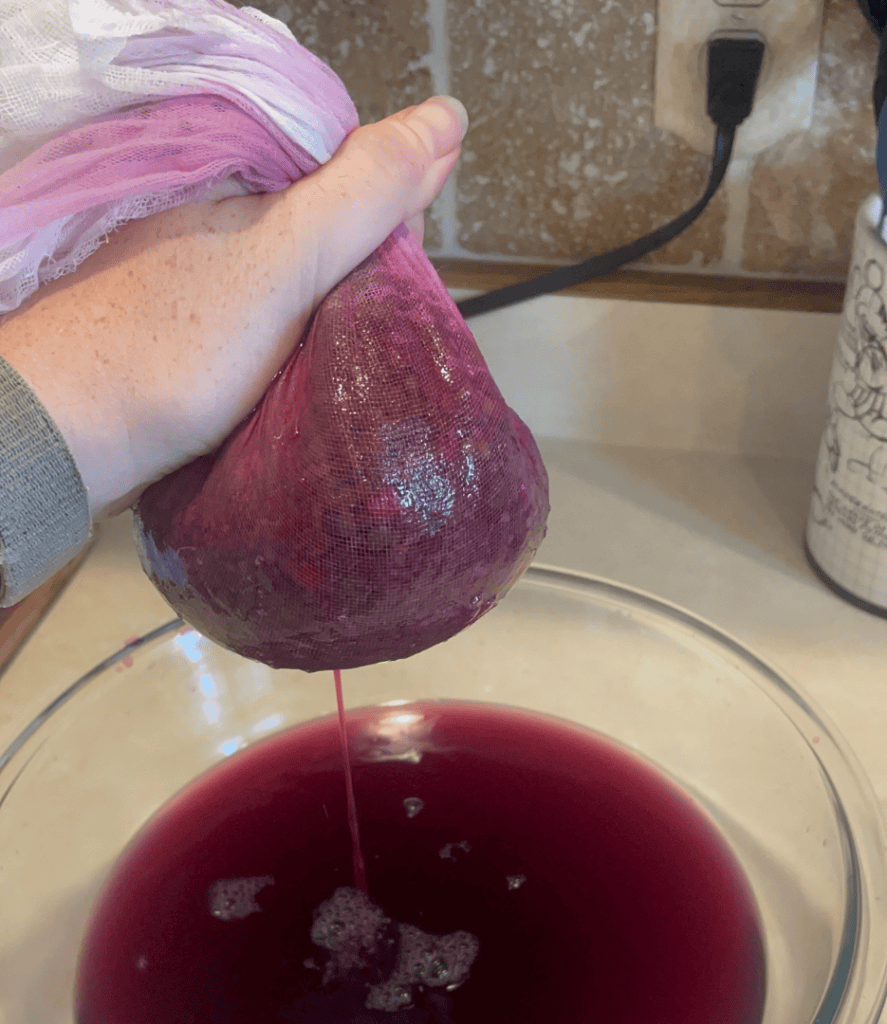
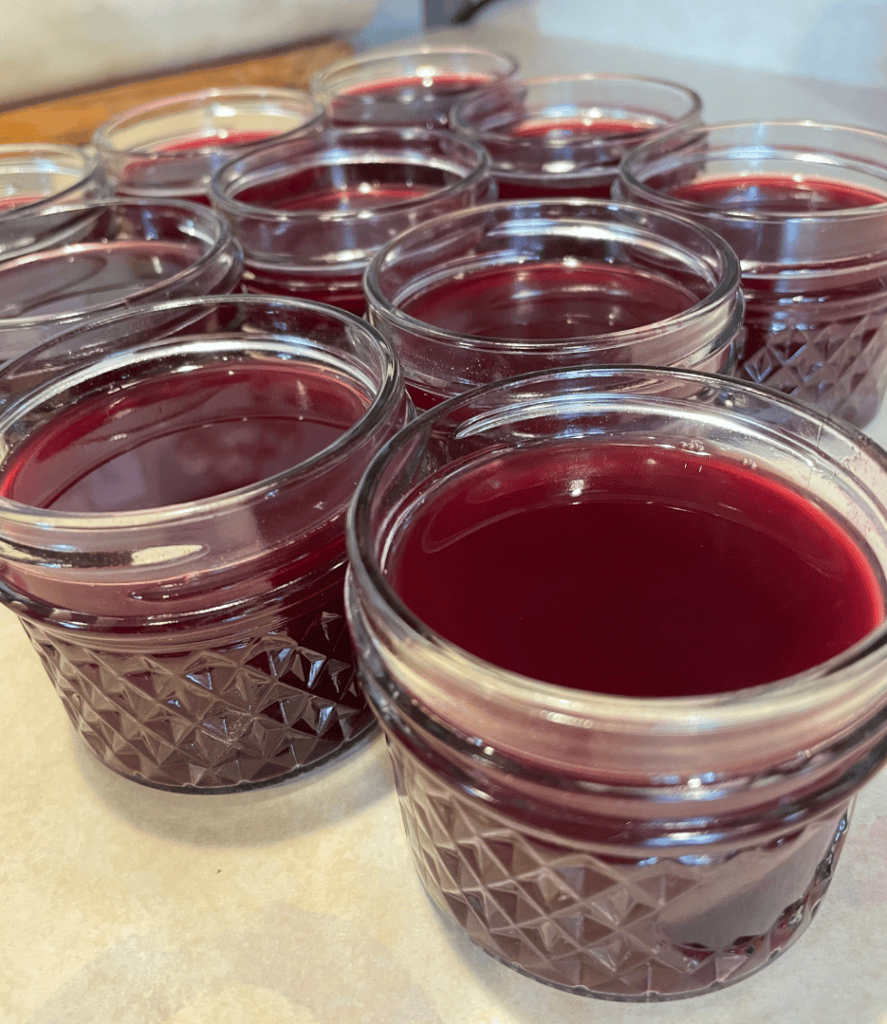
Turn the heat off and let it cool for about 30 minutes, until you can work with the berries. Using cheesecloth over a bowl, strain the berries. Squeeze out all of the juice from the berries; don’t leave any of that good stuff. The ginger can get stinky on your hands, so if you want to avoid that, wear gloves!
Return the juice to a clean pot and stir in ground cinnamon and cloves (if you didn’t use whole cinnamon and whole cloves). Bring back to a boil over medium-high heat. Reduce the heat and simmer for 30 minutes, stirring occasionally. Enjoy the delicious smell while your mixture simmers.
If you’re going to enjoy your elderberry syrup fresh or frozen, allow the elderberry juice to cool. Now is the time to add your raw honey to taste. Store it in the fridge in an airtight glass container for up to 2-3 months.
How to Freeze Elderberry Syrup
When your elderberry syrup has cooled and you’ve added the honey, you can put it in freezer safe jars or ice cube trays. You can freeze elderberry syrup for up to 6 months. Here are some tips for successfully freezing your elderberry syrup in glass jars:
- Use freezer-safe jars
Look for jars labeled “freezer safe.” Wide-mouth jars without shoulders (straight-sided) are best. 8 oz or 16 oz wide-mouth Ball or Kerr jars work great. - Leave more headspace
Leave at least 1 to 1.5 inches of headspace at the top to allow for expansion as the syrup freezes. This is crucial to prevent cracking. - Cool completely before freezing
Let your elderberry syrup cool to room temperature before placing in the freezer. Never put hot syrup into a cold jar or freezer. - Loosen the lids or use plastic
If using metal canning lids, either:- Leave the lid slightly loose while freezing and tighten after frozen, or
- Use plastic storage lids for more flexibility during expansion.
- Freeze upright and undisturbed
Place jars upright in the freezer where they won’t get bumped for the first few hours. A flat tray can help prevent tipping. - Label with date
Don’t forget to add a label with the date and contents for easy use later.
To thaw your elderberry syrup, move it to the fridge overnight. You can use a plate or towel under the jar to catch condensation as it thaws.
Do not microwave in the jar. Sudden temperature change can crack the glass. If you’re in a hurry, remove the syrup from the jar and gently warm it in a saucepan on the stove.
Once thawed, use within 2–3 weeks and always use a clean spoon to avoid contamination.
How to Can the Elderberry Juice
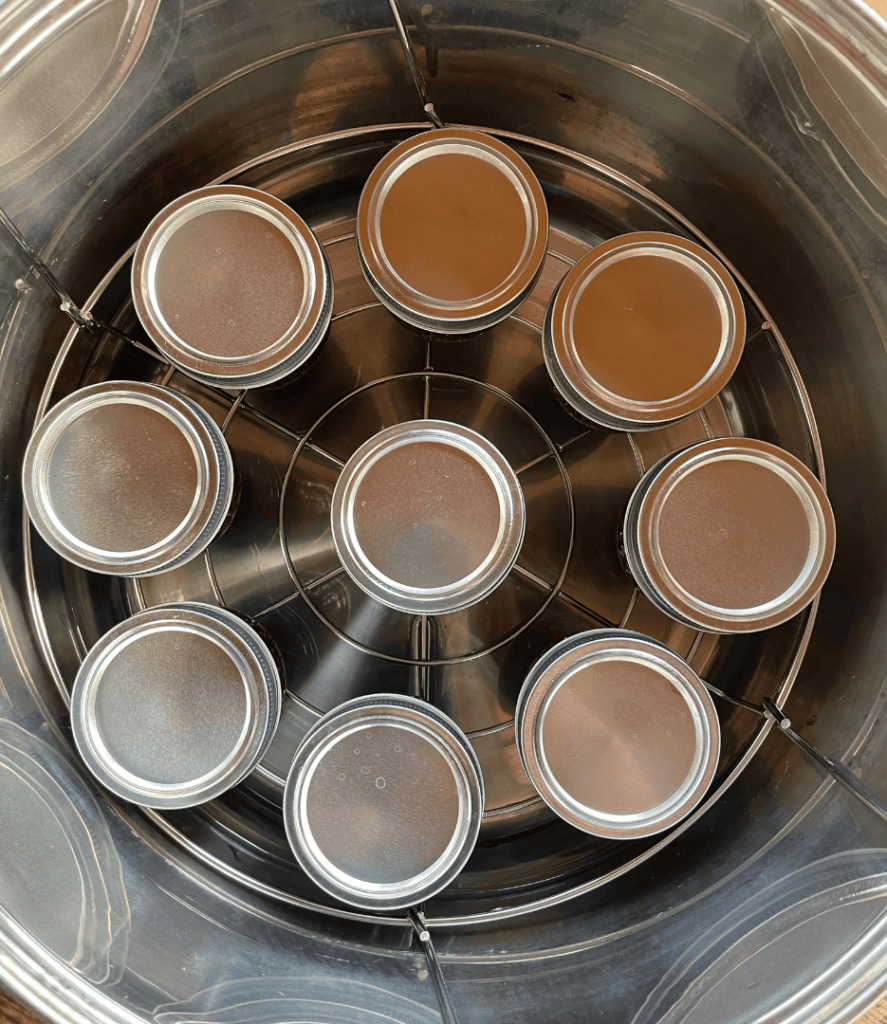
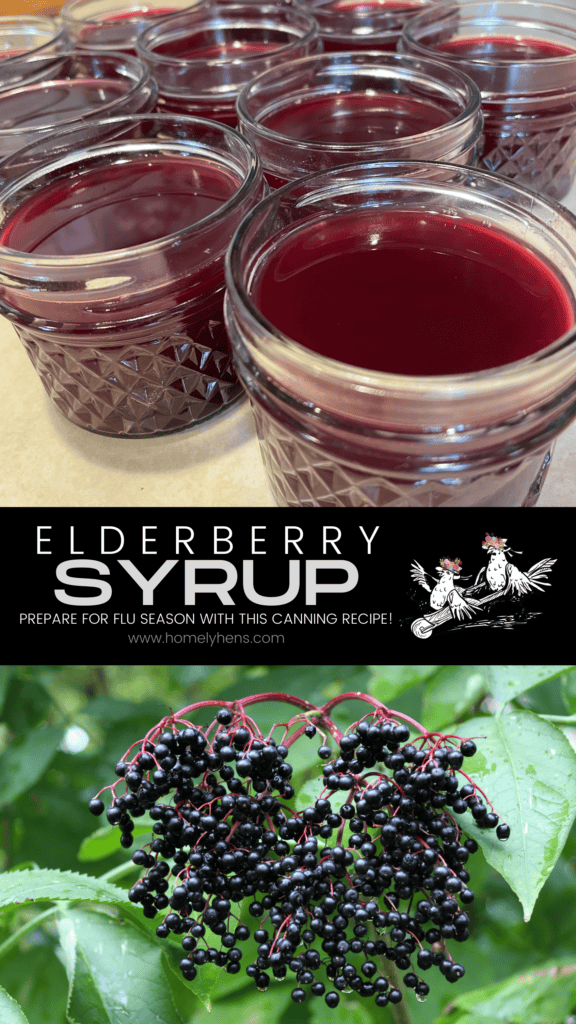
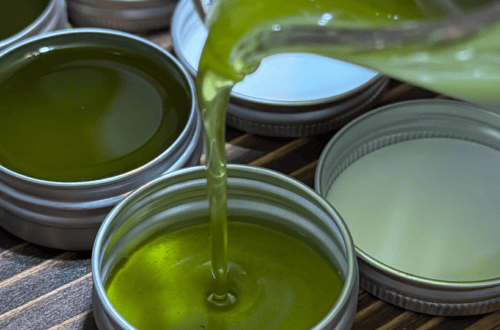
Prepare 4-oz or 8-oz canning jars and fill the canner with water. Start heating the water. Fill each jar and then add 1 tbsp lemon juice (1/2 tbsp per 4-oz jar), leaving 1/2 inch head space. When ladling the juice into the jars, make sure you stir up the spices so they don’t all end up in the bottom of the pot and in your last few jars. Spread out all the delicious flavors.
Wipe the rims of the jars with a clean washcloth and put the lids and rings on. Add the jars to the canner and process for 15 minutes. Don’t start the timer until the water is boiling. Turn off the heat and let it sit for 5 minutes before removing the jars from the canner. Let cool for at least 12 hours before checking for a proper seal. Remember, when storing your jars, store them with the rings off. Store for about a year.
Add Honey When You Open Your Elderberry Juice
When you’re ready to open a jar of elderberry juice, transfer it to a larger jar and add raw local honey to taste. I usually add about 2 tbsp to 4 oz of juice and 4 tbsp to 8 oz. Mix well! Remember that babies under 1 year old should not have honey.
As always with canning, make sure you do your own research and know all the proper measurements needed for a safe acidity level. Use trusted, well-tested recipes and the correct type of canner. Thanks for checking out this post, and I hope you LOVE your elderberry syrup. Let me know in the comments what you think.
Using Elderberry Syrup
Wondering how much elderberry syrup to take and when? While there’s no one-size-fits-all dosage, many families follow these general guidelines based on tradition and herbalist recommendations:
- For Daily Immune Support:
- Adults: 1 tablespoon daily
- Children (age 1+): 1 teaspoon daily
- When Sick or Exposed to Illness:
- Adults: 1 tablespoon every 2–3 hours
- Children (age 1+): 1 teaspoon every 2–3 hours
Always remember: children under one year old should not consume syrups made with honey. If you want to share this remedy with little ones, make a version using maple syrup or another safe sweetener.
Explore More Herbal Remedies
Looking for more homemade, natural ways to support your family’s health and wellness? Try one of these trusted recipes:
Visit the Natural Living Pillar Page for more recipes and herbal tips.
FAQs About Elderberry Syrup
Yes! Many people use elderberry syrup daily throughout cold and flu season as a preventative measure.
If refrigerated, a fresh batch lasts 2–3 months. If frozen, it can last up to 6 months. Canned syrup (using proper water bath canning) can be shelf-stable for up to 12 months. Always check for signs of spoilage.
Yes. You can use maple syrup, agave, or leave it unsweetened if you’re freezing it. Just note that the flavor and preservation time will change.
That’s normal, especially with raw honey. Just give it a good stir or gently warm it to loosen it up.
Absolutely. Dried elderberries are shelf-stable, convenient, and just as potent when prepared properly. See the recipe above for measurements.
Ready to Make a Batch?
Whether you’re simmering a quick stovetop syrup or canning a shelf-stable batch for winter, this elderberry syrup recipe is a timeless favorite for a reason. Simple, nourishing, and packed with benefits, it’s a must-have in any natural remedy cabinet.
Grab your berries, prep your jars, and let’s get brewing!
No Sugar Canned Elderberry Syrup
Equipment
- Waterbath Canner
- 5-6 half pint jars or 10 4oz jars
Ingredients
- 4 cups fresh elderberries or 2 cups dried
- 8 cups water
- 2 tbsp ginger root minced
- 2 tsp ground cinnamon
- 1 tsp ground cloves
- 6 tbsp lemon juice 1 tbsp per jar
Instructions
- Wash elderberries and make sure there are no underripe berries in your mix. Mince the gingerroot.
- Add elderberries, gingerroot, and water to a pot and bring the mixture to a boil over medium-high heat, stirring occasionally. Turn the heat down and simmer for 30 minutes.
- Turn the heat off and let cool for about 30 minutes, until you can work with the berries.
- Using a cheesecloth over a bowl, strain the berries. Wearing gloves, squeeze out all of the juice from the berries. (The ginger can get stinky on your hands if you don't wear gloves)
- Return the juice to the pot and add cinnamon and cloves. Bring back to a boil over medium-high heat. Reduce heat and boil for 30 minutes, stirring occasionally.
- Prepare 4-oz or 8-oz canning jars and fill the canner with water. Start heating the water. Fill each jar and then add 1 tbsp lemon juice (1/2 tsp for 4-oz jars), leaving 1/2 inch head space. Wipe the rims of the jars with a clean washcloth and put the lids and rings on. Process in the canner for 15 minutes (start the timer when the water is boiling). Turn off the heat and let it sit for 5 minutes before removing the jars from the canner. Let cool for at least 12 hours before checking for a proper seal.
- When ready to open a jar of elderberry juice, transfer to a larger jar and add raw honey to taste. Mix well! (About 2 tbsp for 4 oz jars & 4 tbsp for 8 oz jars.)




9 Comments
judy
hi
I have picked and canned Elderberry juice , for several years, I call it “tonic” as I also don’t add any sugar till im ready to drink it.( and I add fresh ginger and cinnamon ) My question is about the lemon juice addition. I just this year was reading about the concern about elderberry’s not having enough acidity to safely can?
Well I just did a batch without any sugar or lemon juice…..I guess my quesion is it ok to Not use the lemon juice? and would you be able to tell if it went bad….after canning.
I have drank, jars of my elder tonic with no ill effects in the past?
thanks
sincerely. Judy
Samantha
Hi Judy! Thanks for your comment. I saw a few recipes for canned elderberry syrup with honey in it and the heat will kill much of the good stuff that’s in honey so that’s why I decided to add my honey later. You could, however, add sugar if you wanted before canning and that wouldn’t change anything. I choose honey over sugar though for the extra benefits.
Anyway, about your acidity question: the reason we add lemon juice to low acidic food is to make them safe from bacteria growth and botulism. Sometimes you can clearly see when something canned has gone bad because there is mold or a bad smell. Unfortunately with botulism, you can’t see, smell, or taste, anything different in your food and it is very serious. The risk of botulism is relatively low but if you’ve canned your elderberry juice without lemon juice then the risk is higher that bacteria could grow in there. There are many people out there that say they’ve followed certain recipes for a long time and never had any problems so I can’t say if your elderberry juice will cause you any problems, but to me it isn’t worth the risk. You don’t have a problem with things like that until one day you do.
I hope that was helpful!
Anita
I’ve been researching and have found it is not safety to home can elderberries. I do a lot of canning so I understand it all. So we’ve been preparing it but freezing instead.
Samantha
I think it is great that you are freezing your elderberry juice! At the end of the day you have to can what you feel comfortable canning based on the information and research that we have and as long as we’re getting all those beneficial properties of elderberries in a safe way, that’s all that matters. Canning elderberries as juice or jam isn’t something that I have been able to find a ton of research on. What I do find though talks about how canning elderberries is unsafe due to the higher ph, like many other foods, so I feel comfortable adding lemon juice to mine and canning it. Other things that I’ve read say that there just hasn’t been enough tested recipes for canning elderberries and that’s why there isn’t an “approved recipe.” I look forward to doing some ph testing myself in the future and for when there’s more solid information out there on canning elderberries. Thanks for your comment and happy preserving!
Chantel Lamb
My question is how much lemon juice do you add per jar? I made this but didn’t see any amount for lemon juice for acidity.
Thanks
Samantha
Hi Chantel, so sorry that I missed putting the lemon juice amount on the recipe card! I added it there now and I used 1/2 Tbsp of bottled lemon juice per half pint jar.
Sue
How long do you hot water bath for pint jars?
Samantha
Canning elderberry juice would be the same for all jar sizes so 15 minutes.
Tracie
You can pressure can it safely