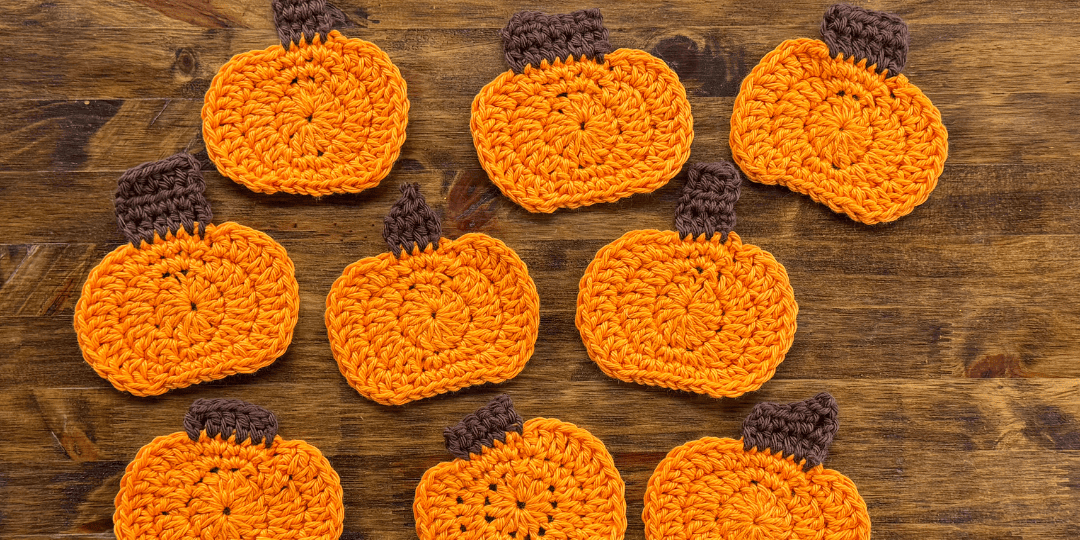
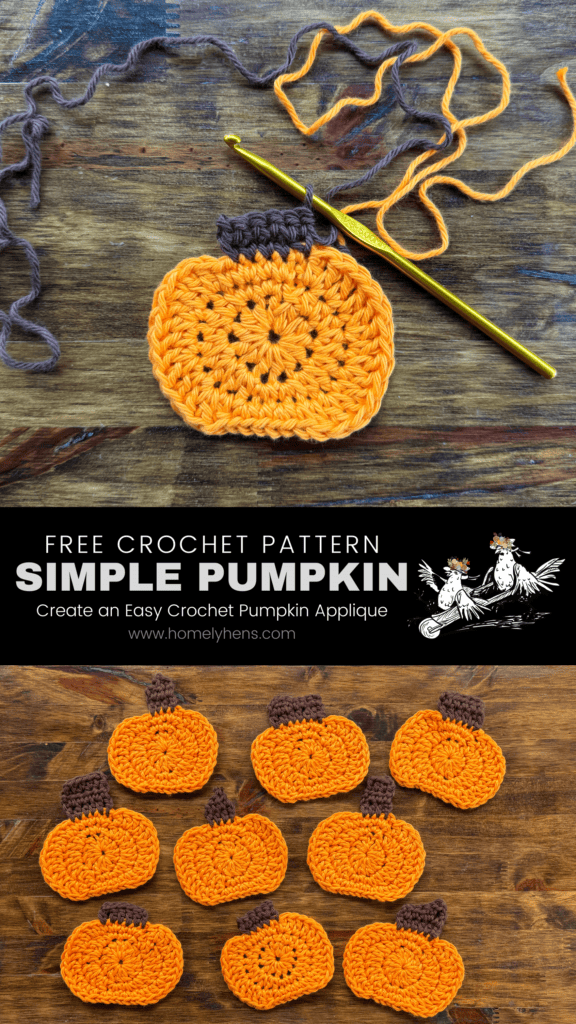
Free Little Pumpkin Crochet Pattern
This cute little Pumpkin Crochet Pattern is part of the collection of appliques I made for my daughter’s monthly photos when she was a baby! These were so fun to make and personalize. I wanted to share the patterns with you because they are great for beginner crocheters. These pumpkins are a great little project for fall decor, Halloween, and Thanksgiving too. You can use them as appliques on larger crochet projects, like bags, pillows, wall hangings, gift bags, clothes, etc. The options are endless on what you can do with these easy crochet pumpkins.
This post contains affiliate links. This will not cost you anything but will help us offset the cost of running the blog. We only share products we use and would recommend to a friend. Thank you for your support! Click ‘HERE’ for more info.
Materials
- I Love This Cotton: Glowing
- I Love This Cotton: Brown
- H/6mm hook
- scissors/yarn needle
Pattern Abbreviations
- ss: slip stitch
- st: stitch
- sts: stitches
- ch: chain
- sc: single crochet
- hdc: half double crochet
- dc: double crochet
Pumpkin Crochet Applique Pattern
This simple 3 round pattern is a great beginner pattern for anyone to try. I’ve included a magic circle alternative in case you’re not comfortable doing a magic circle just yet. You’re going to start each round with 2 chains and they do not count toward the total number of stitches that are at the end of each row’s instruction. Here is the pattern:
Round 1: Make a magic circle and ch 2. Work 12 hdc in the magic circle. Ss to the first st and pull the tail to close the ring. (12 sts)
Round 2: Ch 2, *2sc in the first 2 sts. 2hdc in the next 4 sts* Repeat from * to *. Ss to the top of the chain 2. (24 stitches)
Round 3: Ch 2, *(2sc in the first st, 1sc in the next st) two times. (2dc in the next stitch, 1dc in the next st) repeat 4 times* Repeat from * to * once more time. Tie off the orange yarn.


Next, with brown yarn, insert the hook into the top of the pumpkin and make a single crochet. Sc in the next 4 stitches. *Turn and ch 1. Sc in each st across.* Repeat 1 more time or until your stem is long enough. Tie off and tie in your ends.


Pattern Alternatives
If you’re not comfortable using a magic circle just yet there’s an alternate way of starting this pattern, or any circular pattern! Start with a slip knot and chain 3. Work 12 hdc into the 3rd chain from the hook. Ss to the top of the original chain. Now continue the pattern in round 2.
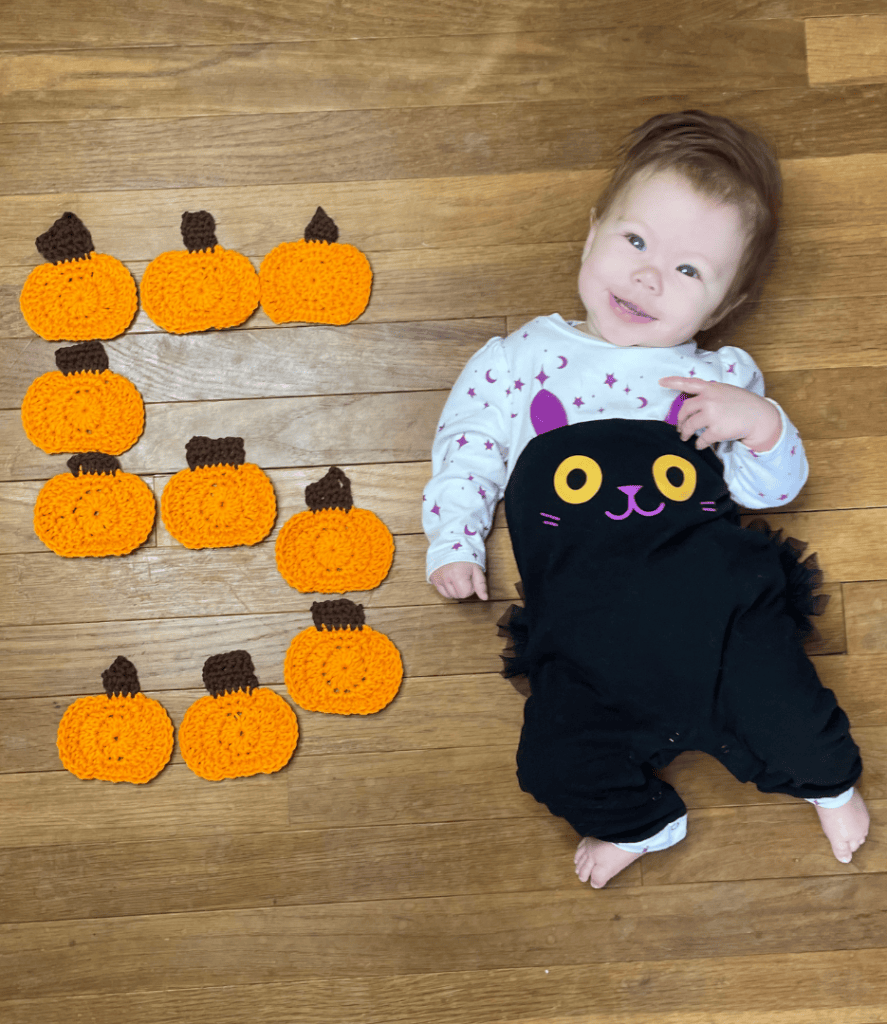
You can customize your pumpkin’s stem! This pattern has the stem straight across but try experimenting with double and treble crochets to make your top a little pointed. You can also make your step wider or slimmer, longer or shorter. I made a variety for my daughter’s 5-month photos because I liked that they weren’t all going to be exactly the same.
Thanks for checking out this pumpkin pattern! Comment below if you give it a try. It’s a bonus if you’re using it for your baby’s monthly photos, too! I used the pumpkins for October’s photo when my little one was 5 months old.
More Crochet Appliques:
Other Crafts for You to Try:


One Comment
Pingback: